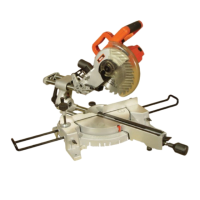
Operation
When cutting small workpieces, push
the carriage to the end towards the
cross bar and tighten the locking screw to fix
the carriage. Then use the vice to secure
the workpiece.
When cutting wide workpieces, release
the locking screw to slip the carriage freely and
pull the carriage towards the operator.
Before cutting always wait until the sawblade
reaches it´s maximum speed.
After finished cutting turn the switch off and
wait until the sawblade stops completely,
then raise the handle.
Set a bevelled joint angle
Loosen the hand shank by turning it in
counterclockwise, press down the spring
pin so the rotary table is free to turn.
When desired angle is set on the miter
square, turn the shank clockwise to
tighten it.
Set a bevelling angle
Only when the auxiliary stopper is fixed
on the left side as shown on the drawing,
the sawblade can be bevelled to 45° angle.
To adjust the bevelling angle loosen the
fixed handle, then incline the sawblade to
the left until the indicator reaches the desired
angle on the miter square.
Tighten the fixed handle firmly.
5
Replacing the carbon brushes
Check and replace the carbon brushes
regularly. Replace when they are worn
down to the limit mark. Keep the carbon
brushes clean and free to slip in the holders.
Both carbon brushes should be replaced at
the same time.
Use a screwdriver to remove the brush holder
caps. Take out the worn carbon brushes, insert
the new ones and secure the brush holder caps.