ETC Setup Guide
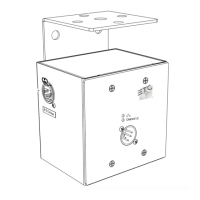
Response MIDI Gateway Setup Guide
Response MIDI Gateway Page 3 of 4 ETC
Connect to your MIDI Gateway Over the Network
1: Connect an Ethernet cable to the Ethernet port on you MIDI gateway and then connect the cable to
a network switch on your Eos console’s lighting network.
2: If the port on the switch is not PoE, you can use the USB port to power the gateway.
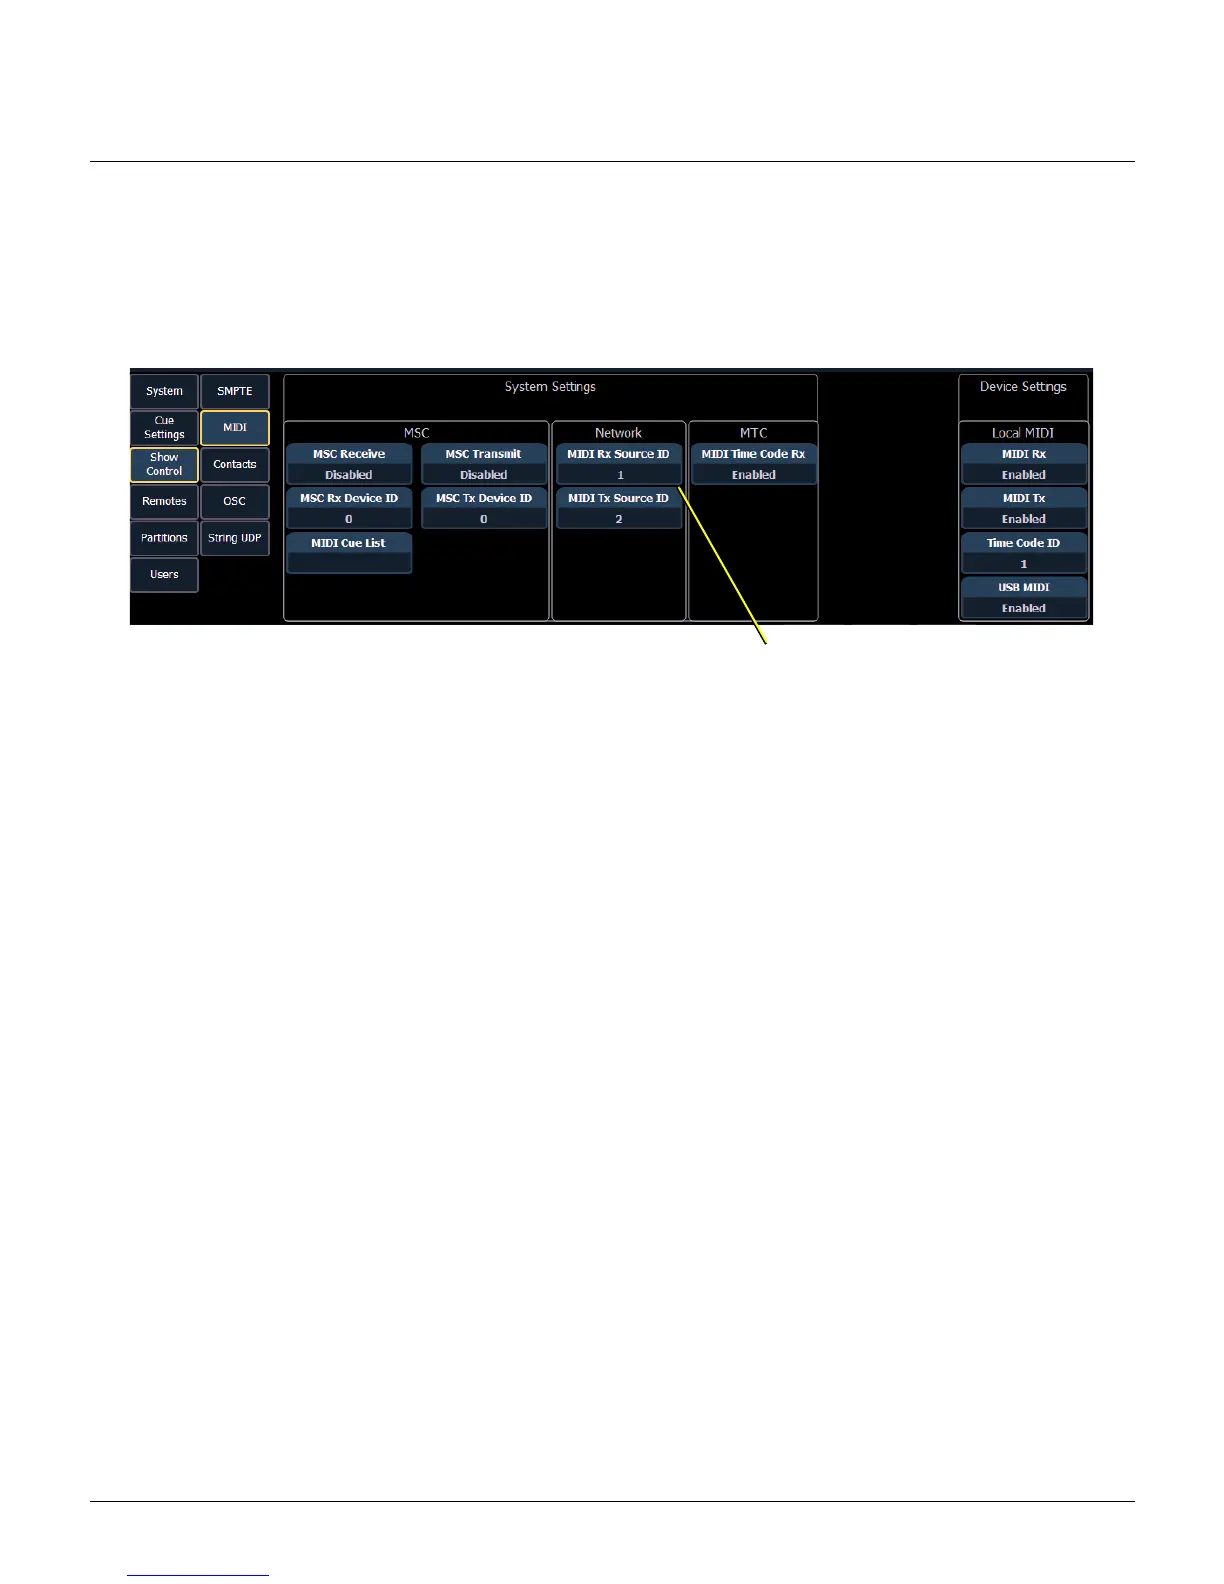
3: On your console, navigate to Setup > System > Show Control > MIDI.
4: Ensure that the parameter values set for Network MIDI Rx Source ID and MIDI Tx Source ID on your
console are also set for the Source IDs for your MIDI gateway:
• On your MIDI Gateway, press the Check Mark button to bring up the menu
• Navigate to Setup > Source IDs > (available range is 1-32)
Configuration
You can perform the following tasks using the built-in functionality of the MIDI Gateway. Additional
configuration of the MIDI Gateway is done in Net3 Concert. Refer to the MIDI Gateway device-specific Help
in Concert for more information.
View Device Information
To view information specific to your gateway, select the About menu from the home screen. From the
About menu, you can select one of the following four options:
• Version - Provides the version of software running on the device
• MIDI In - Provides the message type and first and last 5 bytes of the last message received (or a dash
if no messages received since last startup)
• MIDI Out - Provides the message type and first and last 5 bytes of the last message sent (or a dash if
no messages sent since last startup)
To view the Rx ID and Tx ID associated with your MIDI gateway, select Setup > Source IDs from the home
screen.
 Loading...