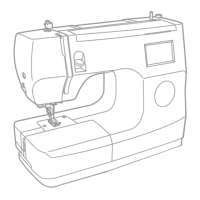
6. Buttonholes are sewn from the front of the
presser foot to the back, as shown.
37
BUTTONHOLE STITCHING
BUTTONHOLE STITCHING
6
7. Raise the presser foot and cut thread. To
sew over same buttonhole, raise the presser
foot (will return to original position). After
sewing the buttonhole stitch, raise the
buttonhole lever until it stops.
7
PUSH
Please Note: After finishing the
buttonhole stitch, LCD screen will be
demonstrated the
, it is to remind you to
lift the buttonhole lever.
warning animation
message display
 Loading...