40
EYELET STITCH
EYELET STITCH
1. Select pattern 27 to get the eyelet stitch.
Attach presser foot "A".
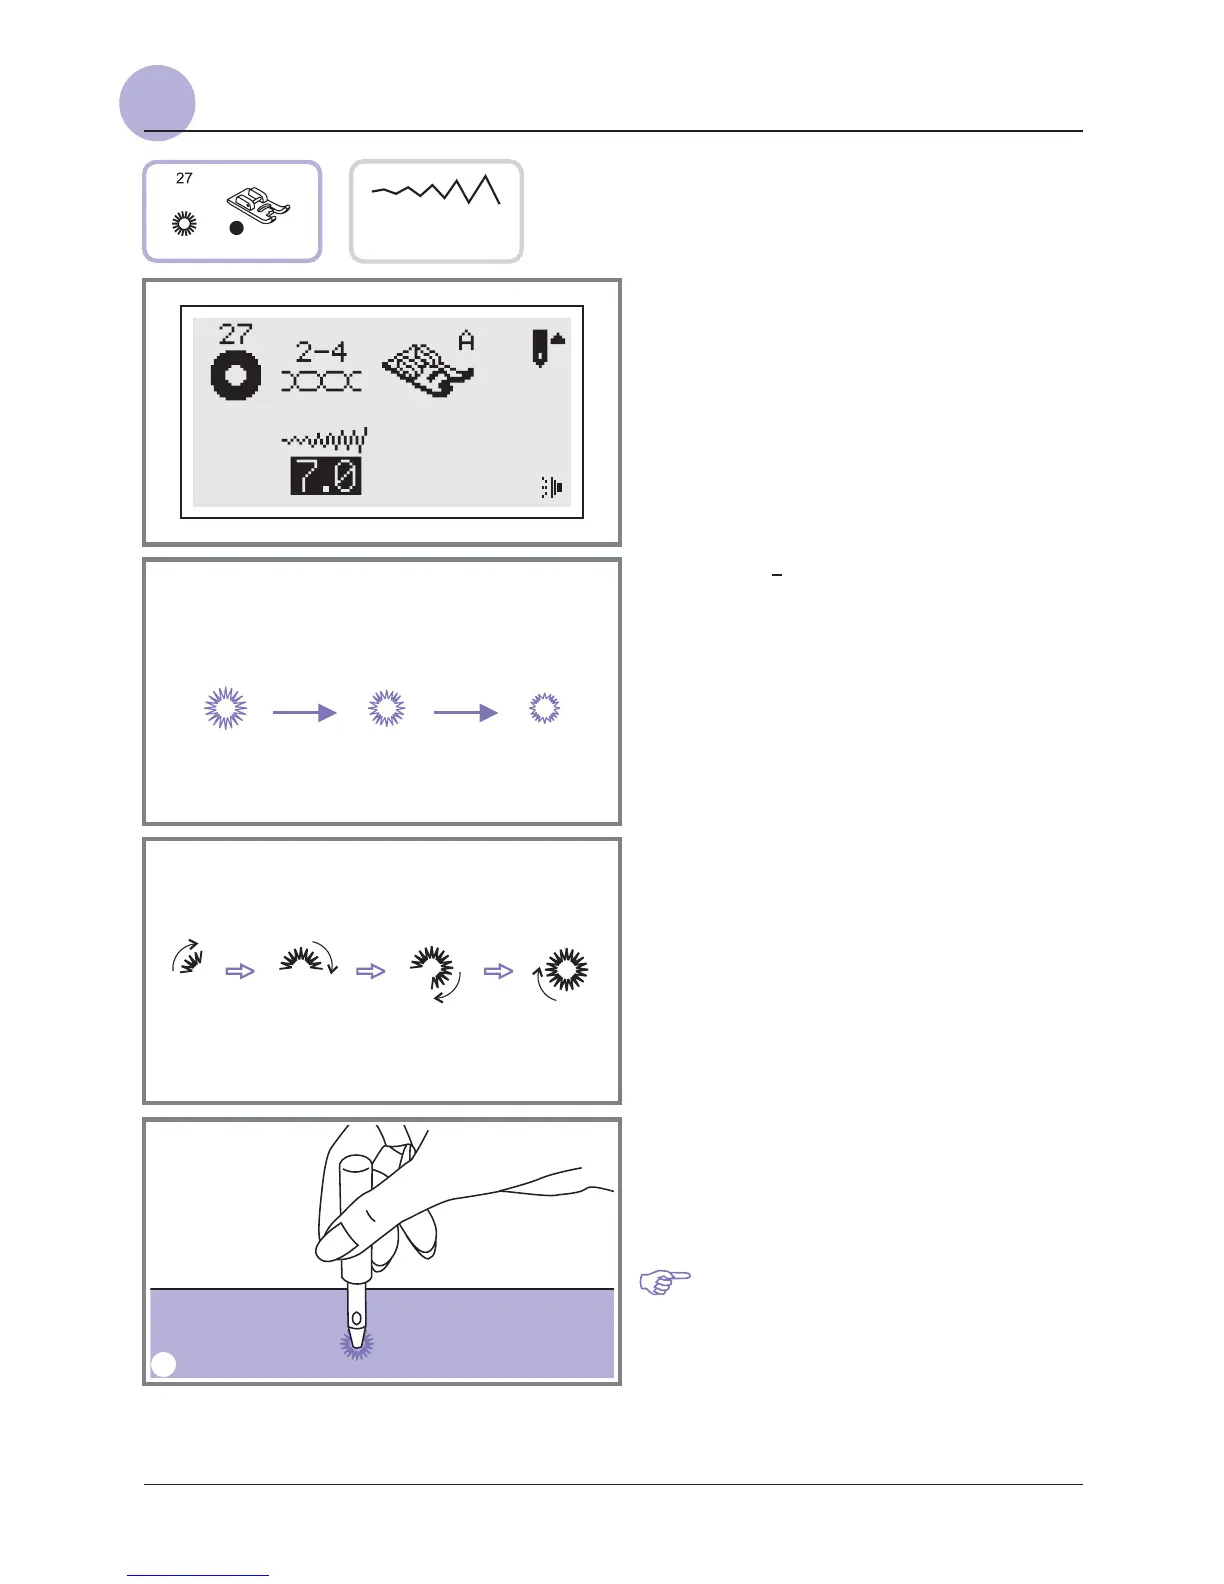
2. Press the " " or "+" stitch width adjustment
to button select the eyelet size.
Size of eyelet.
A. Large: 7.0mm (1/4 inch).
B. Medium: 6.0mm (15/64 inch).
C. Small: 5.0mm (3/16 inch).
3. Lower the needle into the fabric at the
beginning of the stitching, and then lower
the presser foot lever. Once sewing is
completed, the machine automatically
sews reinforcement stitches, then stops.
4. Make a hole at the center using an eyelet
punch.
* Eyelet punch is not included with the
machine.
Please Note: If thin thread is used, the
stitching may be coarse. If this occurs,
sew the eyelet twice one on top of the
other.
A
5.0 6.0 7.0
A BC
1
2
3
4
27: Select for sewing eyelets on belts , etc
 Loading...