8e6b5250-532e-4fc8-bc8f-0be2f7ec7200 / DP1.0 / 2013-06-19 5 / 12 Eurolyser Diagnostica GmbH
Analysing a patient sample
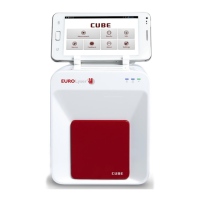
Take the provided RFID card out of
the test kit package and place it on
the RFID card pit on top of the
Instrument.
Tap in the main menu to
start a measurement.
The Eurolyser CUBE automatically
reads the RFID card and the Test
Screen appears.
The Eurolyser CUBE displays the
type of test and number of tests
remaining on the RFID card.
Tap to proceed.
Tap to exit to the main menu.
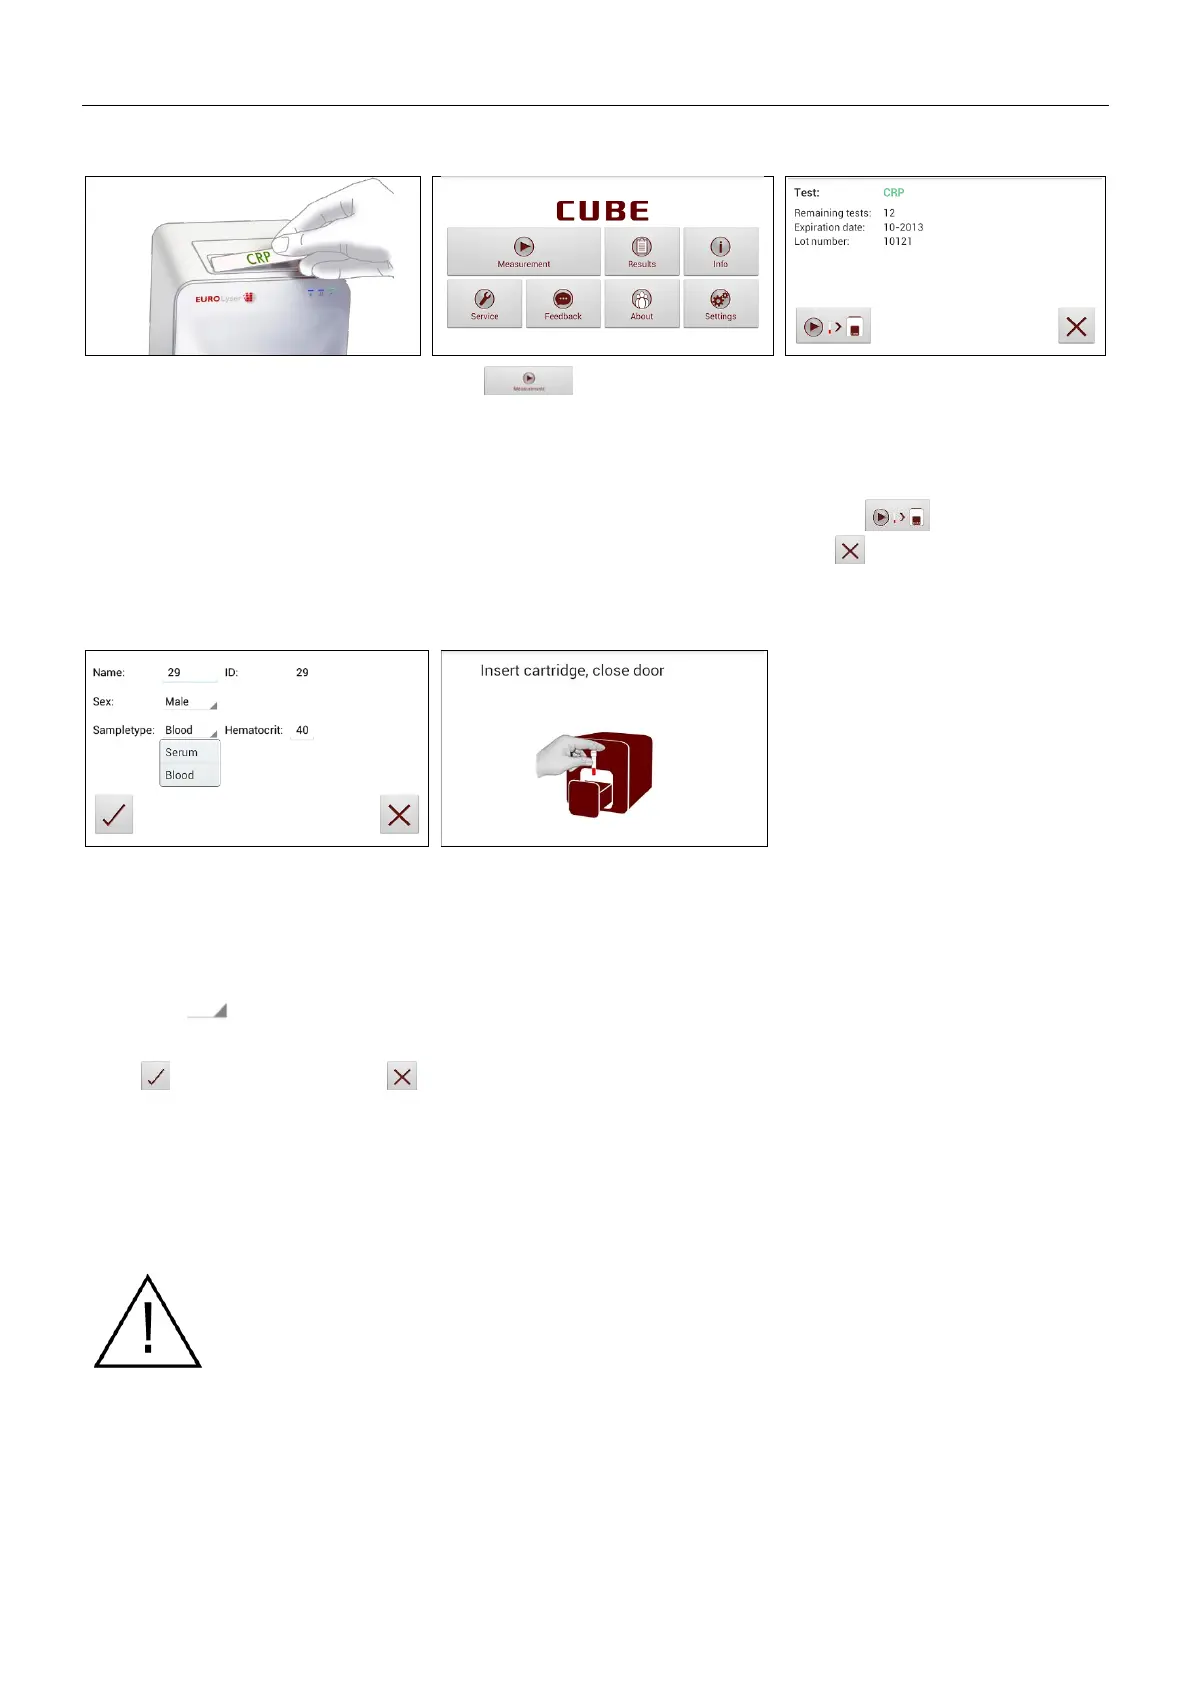
5. Insert cartridge and close door
Tap the desired input field (e.g.
“Name”), the Tablet PC keyboard
appears. Enter the information and
confirm with “Done”.
Next, tap and select an entry
from the drop down-menu.
Tap to confirm the input or
to exit to the main menu.
The door opens automatically.
Insert the cartridge and close the
door.
The test procedure starts
automatically.
Handle the test cartridge according the instructions on the package insert
and make sure the cartridge is firmly capped before inserting it completely
into the proper opening of the Eurolyser CUBE laboratory photometer!
Use only test cartridges approved by the manufacturer. Otherwise severe
damage to the Instrument and/or incorrect results can occur.
Do NOT attempt to open the door manually!
Do not use liquid cleaners on the Instrument or Tablet PC! Use a lint-free,
slightly damp cloth only!