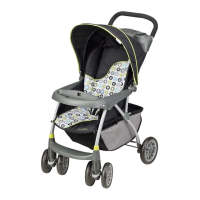
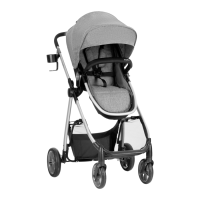
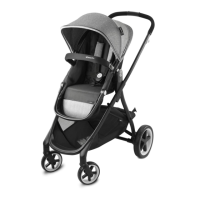
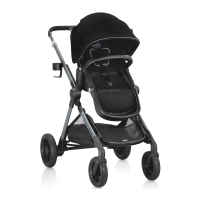
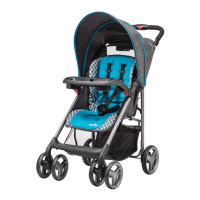
ASSEMBLING YOUR STROLLER
2
7
ASSEMBLING YOUR STROLLER
8
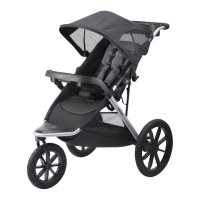
Slide the front wheel assembly M over the front frame leg N
until the locking tab O locks into place with an audible click.
Pull on each front wheel assembly to make sure it is locked
securely. Repeat for other side.
Note: To remove each swivel wheel, press locking tab O and
slide the wheel off the leg.
N
M
Bring the parent’s console R up to the parent’s handle B.
Gently pull out one end of the console and guide the hole S
over the post T. Repeat with the other end of the parent’s
console.
Step on the rear brake levers B to lock the rear wheels on
the stroller.
To release the brakes, lift up on the brake levers.
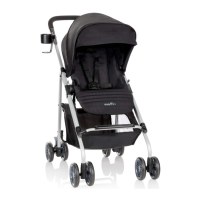
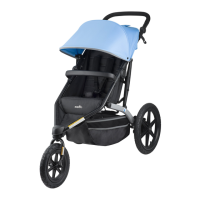
USING YOUR STROLLER
1
Pull canopy hoop A forward to extend canopy.
Push canopy toward handle to close.
5
4
O
5
6
A
L
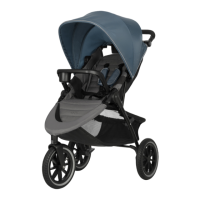
Turn the stroller upside down.
Hold the rear wheel/axle assembly so the brake levers L face
toward the handle and console.
Slide the brake housings onto the stroller A until they lock
into place with audible clicks.
Pull upward on the rear wheel/axle assembly to make sure it
is locked securely.
Turn stroller right-side up on its wheels. Insert the canopy
support tubes P into the canopy hinges Q on the stroller
until they lock into place with audible clicks.
Pull upward on the canopy tubes to make sure they are
locked securely.
P
Q
Bring child’s tray U up to front of stroller. Gently guide
child tray’s posts V into holes in stroller W until they lock
in place with audible clicks. Pull on the child’s tray to make
sure it is locked in place.
4
P
Q
W
U
V
A
B
R
T
B
S