III. Lens Available
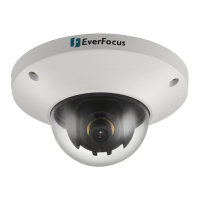
IV. Installation Instructions
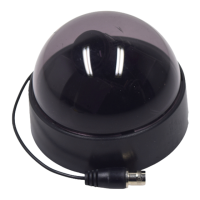
1. Remove the plastic dome cover.
2. Loosen the two screws of the supporting bracket to
remove the camera body.
3. Using four screws to fix the camera base on the ceiling.
4. Put the camera body back to the supporting bracket, the
connector of the back panel should always be placed to
camera’s left lower corner, in order to obtain the image of
best quality. Tighten the 2 screws to fix the camera. Please
refer to the back panel diagram shows as below:
* Standard board lens f=3.6 mm, F=2.0 mm.
* Other available lens : -2 Lens f=2.5 mm, F=2.0 mm
-4 Lens f=4.3 mm, F=2.0 mm
-6 Lens f=6.0 mm, F=2.0 mm
-8 Lens f=8.0 mm, F=2.0 mm
-3P Pinhole lens f=3.7 mm, F=3.0 mm
6