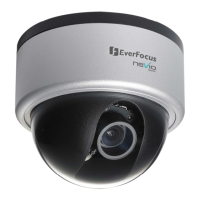
This installation guide provides instructions for installing the EDN850H IP Camera.
For all other aspects of using this product, please refer to EDN850H User’s Manual,
which is available on the CD included in this package.
Installation steps
1. Confirm that all of the accessories have been supplied with the network camera
from the list below.
2. Confirm that your PC answers to the minimum computer requirements listed
below.
3. Mount the camera to ceiling or wall. Please see “1. Installation” on page 5.
4. Connect the cables. Please see “2. Connecting the Cables” on page 10.
5. Network Connection. 3 typical types of network connection. Please see “3.
Network Connection” on page 12.
6. Set an IP address. Please see “4. Assign IP address” on page 14.
Package Contents
- Network camera (x1)
- Mounting kit includes:
-Long Screws x 3 (for mounting base)
-Expanding Screws x 3
-Washer x 3
- Circle Installation Sticker x 1
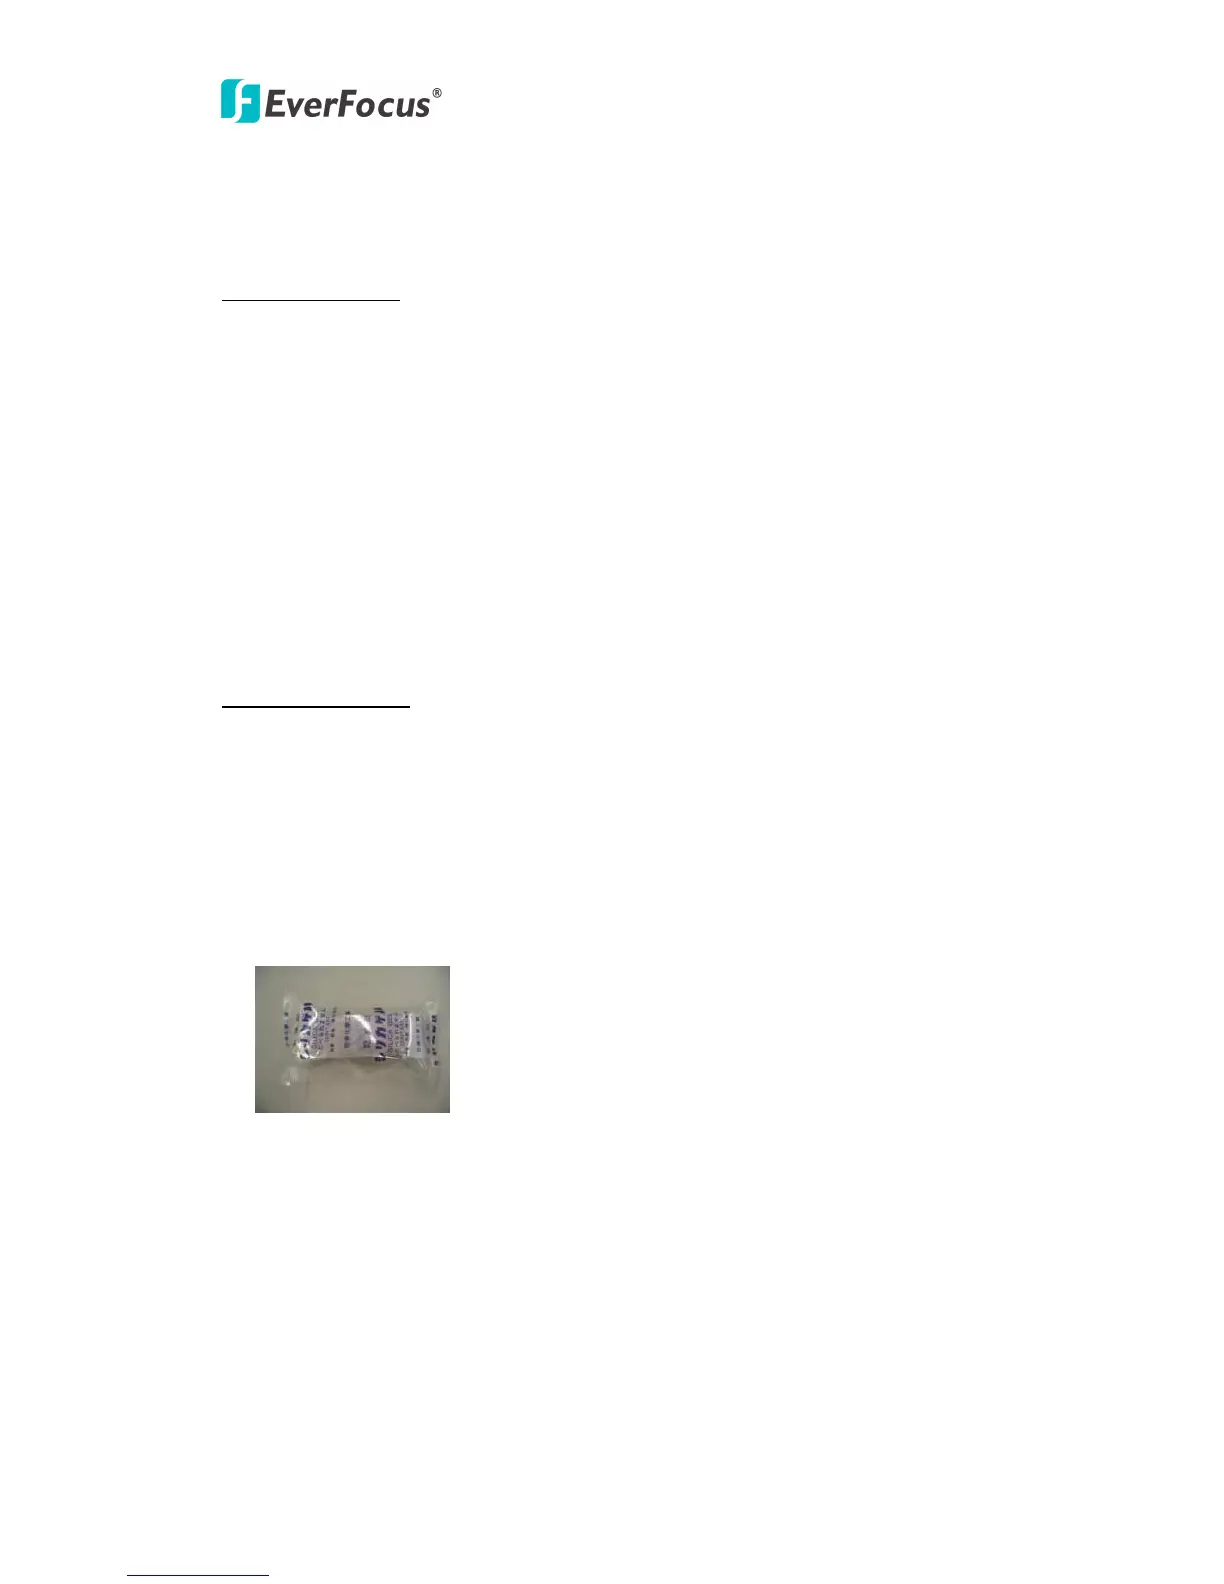
- Desiccant Pack x 1
- Power adaptor (x1)
- Printed Installation Guide (x1)
- Software APs including user’s manual CD (x1)