14
ENGLISH
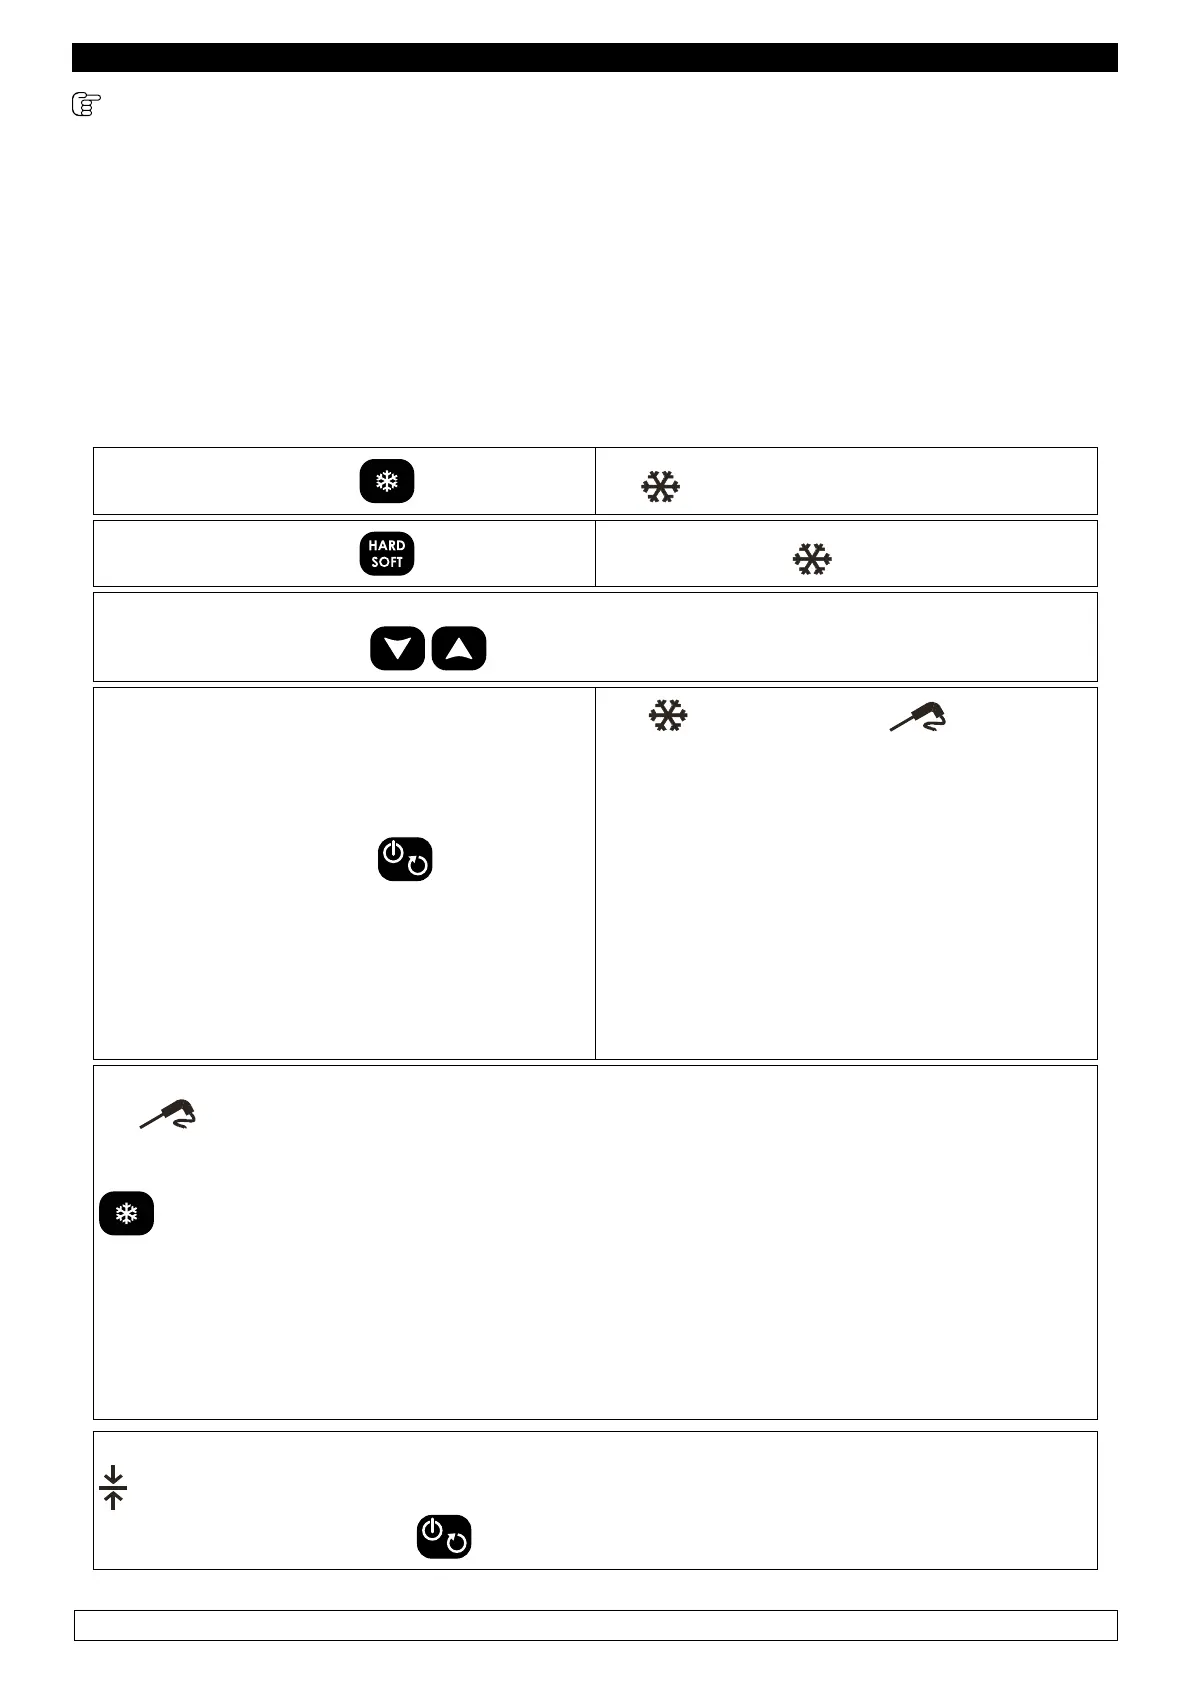
9.2.5 POSITIVE HARD CHILLING WITH CORE PROBE and subsequent storage
The chilling cycle with core probe and subsequent storage consists in three phases:
► 1st phase: Hard chilling cycle (Room temp. setpoint -20°C; Core probe temp. setpoint 15°C)
► 2nd phase: Soft chilling cycle (Room temp. setpoint 0°C; Core probe temp. setpoint 3°C)
► 3nd phase: Storage (Room temp. setpoint 2°C)
After completing a phase, the blast chiller automatically switches to the next one.
- Make sure the blast chiller is in “ON/STAND-BY” mode, that the keyboard is not locked (chapter
11) and that no procedures are being carried out.
► Press and release the key the icon starts ashing.
► Press and release the key the HARD and icon ash
The display shows the working setpoint during the chilling.
► It is possible to use the keys to modify this value.
► Press and release the key within 20
seconds
the
, HARD and icon remain
on, and a one-minute test is carried out, to
make sure the core probe has been correctly
inserted:
► If the test has a positive outcome, the chilling
cycle with core probe starts.
► If the test has a negative outcome (e.g. core
probe not inserted), the acoustic buzzer warns
us 3 times (each 10 seconds) that the core
probe has not been inserted. In this case there
is no need to press any keys, after 30 seconds
automatically begins a time-based cycle.
During the chilling cycle, the display shows the temperature detected by the core probe, and
the
icon is on.
► It is possible to display the room’s temperature in any moment, pressing and releasing the
key.
► To restore the standard display mode, press and release the same key or do not operate for
15 seconds.
► Once the chilling cycle has been carried out, the blast chiller automatically switches to a
storage cycle.
► During the storage, the display shows the temperature detected by the room probe and the
icon is on.
► To stop the cycle, press the key.
 Loading...