WATER FILTER MONITOR
www.everpure.com
6
5
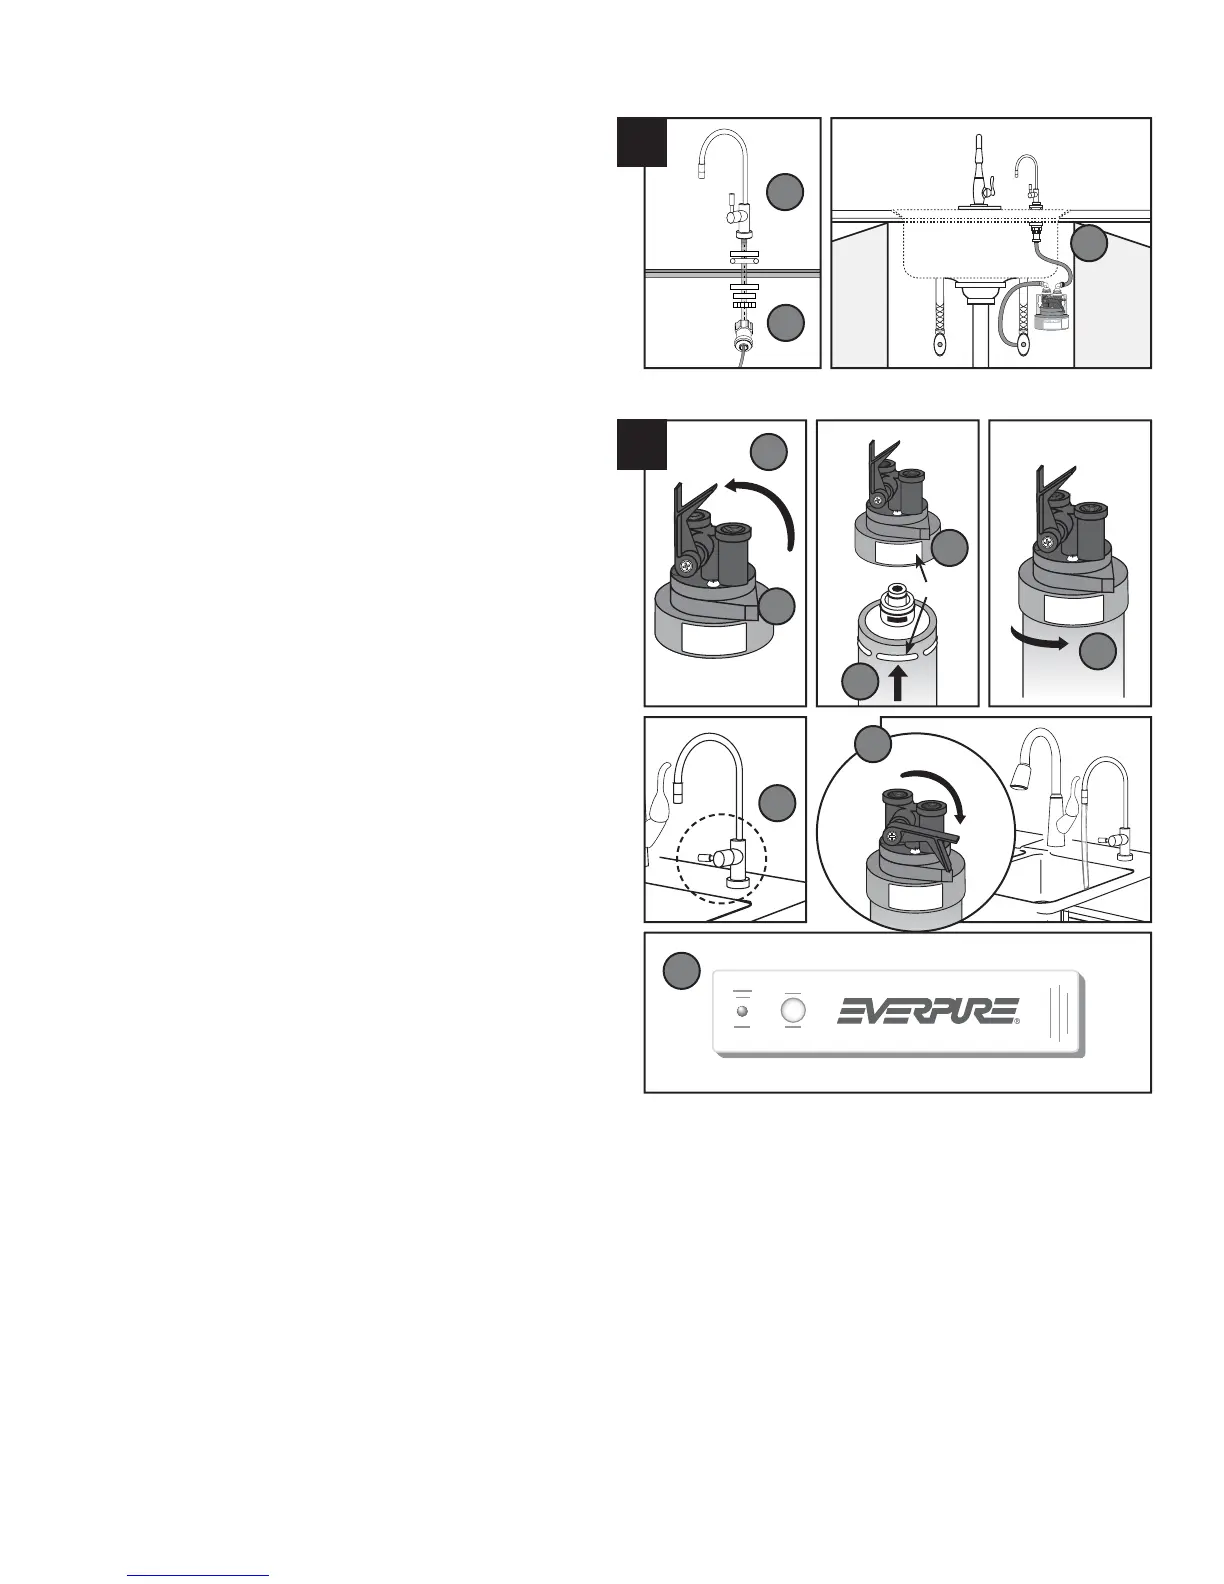
ATTACH FILTERED WATER TO SINK FAUCET
Install separate faucet for fi ltered drinking water. Follow
individual manufacturer’s instructions.
Attach Faucet Connector Fitting to bottom end of threads
on new faucet assembly. Tefl on
®
Tape should not be
required for this step.
Measure length of tubing needed to connect the Outlet
Elbow Fitting on Filter Head to the new Faucet Connector
Fitting. Allow adequate tubing to avoid sharp turns. Cut
and insert each end of the tubing into the fi ttings.
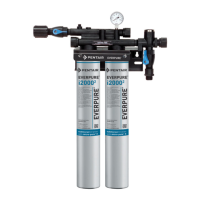
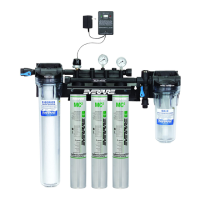
OPTIONAL FILTER MONITOR (H300+M Filter System)
A Filter Replacement Monitor (EV3112-01) is included with
the H300+M Filter System. It is a small water meter that
counts the number of gallons used. This Monitor includes
quick-connect fi ttings, and should be installed on the tubing
between the fi lter system and the faucet connector.
Monitor Instructions (Document EV3112-52) are included with
the H 300+M System.
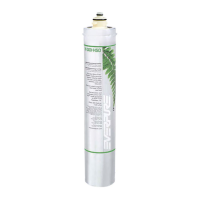
INSTALL AND FLUSH FILTER CARTRIDGE
Lift handle of the build-in shut off (QC Valve) on the Head.
Hold Head fi rmly with one hand.
Align cartridge lug with label on fi lter Head.
Insert fi lter Cartridge – Push upwards.
Turn it to the right – About 1⁄4 turn – Until rotation stops.
Open Side Valve of Angle Stop Adaptor and check for
leaks up to Inlet Elbow Fitting.
Open Filtered Water Faucet.
Lower the QC Valve Handle to fl ush water to the sink.
NOTE: Flush new fi lter cartridges for at least 10 minutes to
remove air and any loose carbon. At fi rst the water may
appear cloudy due to trapped air in the fi lter and tubing. If
water continues to be cloudy for more that one week, please
contact Everpure Technical Services for assistance.
Remove plastic wrapper and pull Tab from back of
Everpure Filter Timer. The LED and buzzer will cycle 3
times to confi rm the start, and fl ash / sound again in 11
months. Remove adhesive backing and mount Timer in a
convenient location under the sink.
5.
N.
O.
P.
6.
Q.
R.
S.
T.
U.
V.
W.
X.
Y.
N
O
P
Q
R
S
T
Label
Lug
U
W
X
Y
• 3 •
 Loading...