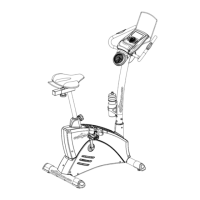
9. Attach the pedals
1. Attach the L pedal to the left crank arm
– this pedal will thread on anti-clockwise
2. Attach the R pedal to the right crank arm
– this pedal will thread on clockwise
Final Checks
Your cycle is now assembled. Please make the following nal checks before you use it for the rst time
•
Make sure all screws / bolts are tightened
•
Make sure you have positioned it on a at, level surface
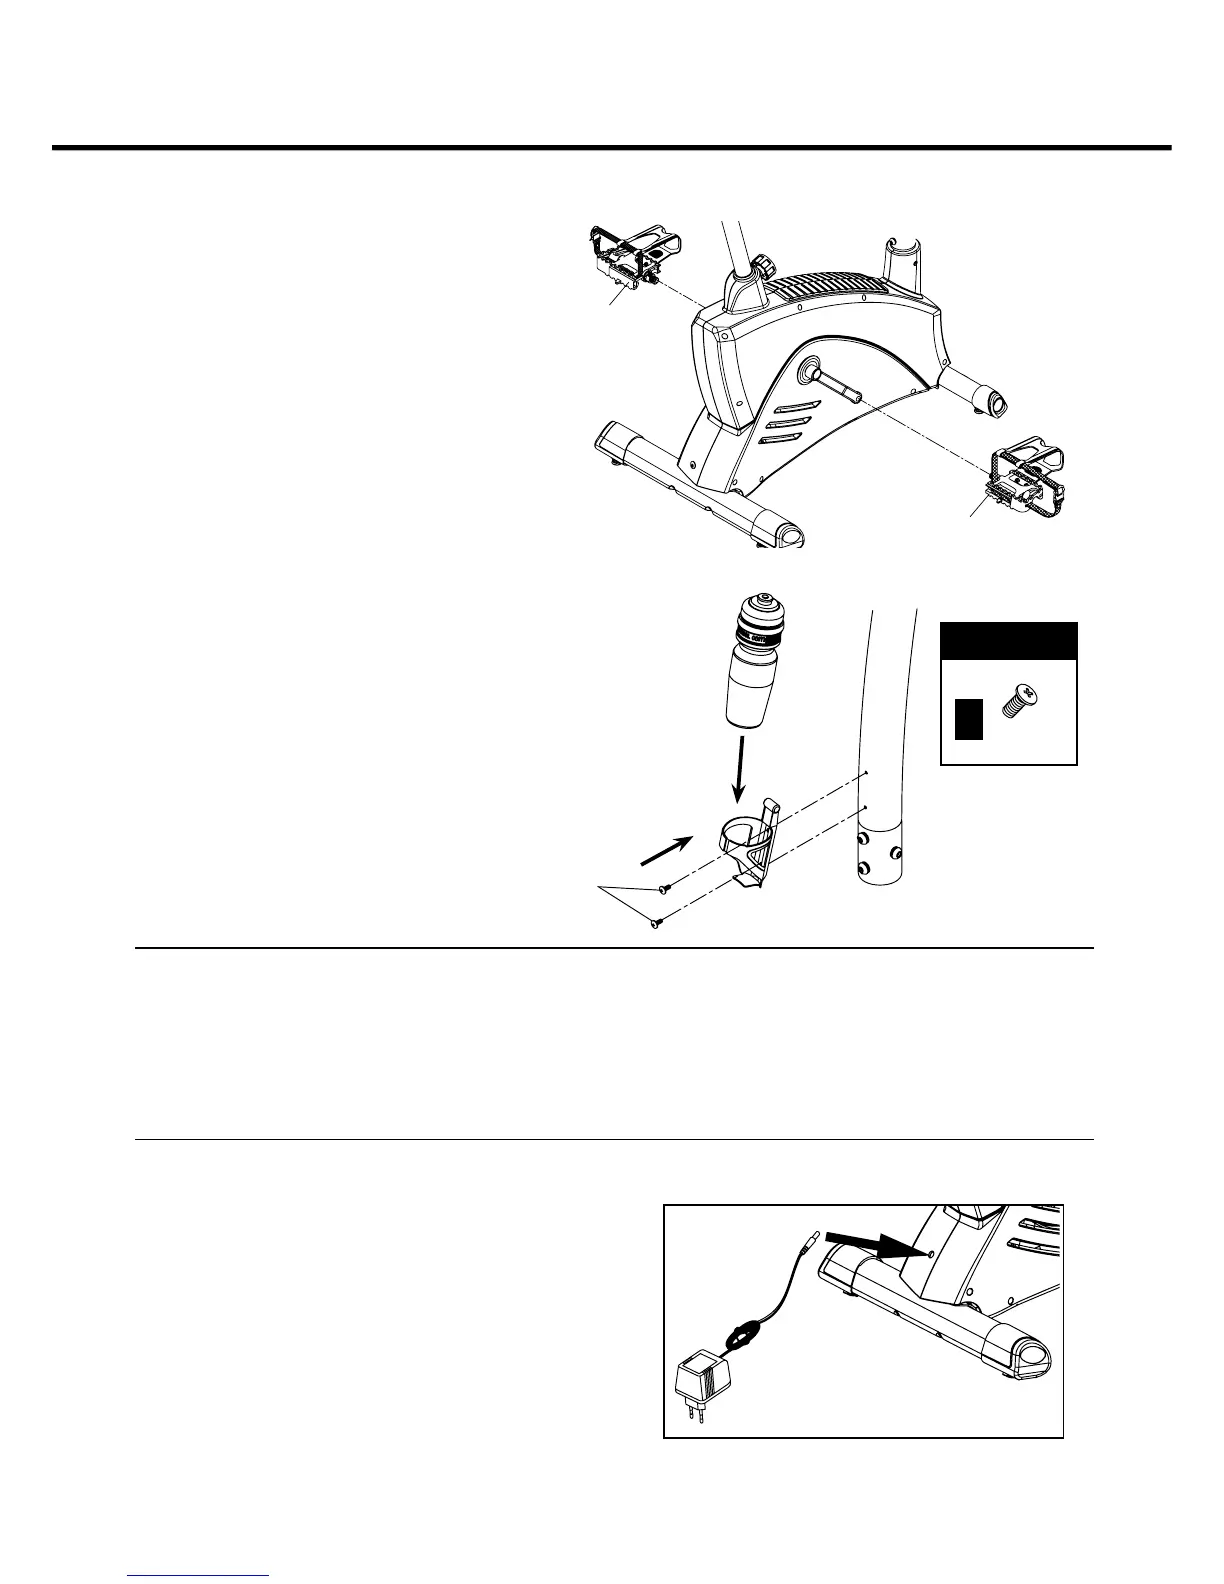
Power up
1. Plug one end of the adaptor into your cycle as shown
2. Plug the other end into a suitable AC outlet
(220 – 240v – 50Hz)
10. Attach water bottle and holder
1. Fix the water bottle holder to the front post
using the screws as shown - (screws are
located in the front post)
2. Slide the water bottle into the holder
10
FIXINGS:FIXINGS:
x 2
Part
No.
103
27
26
103
 Loading...