11
MSP-30103-V02
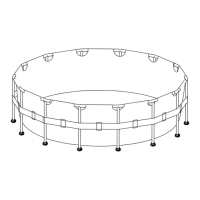
Step 3. Install the horizontal beams
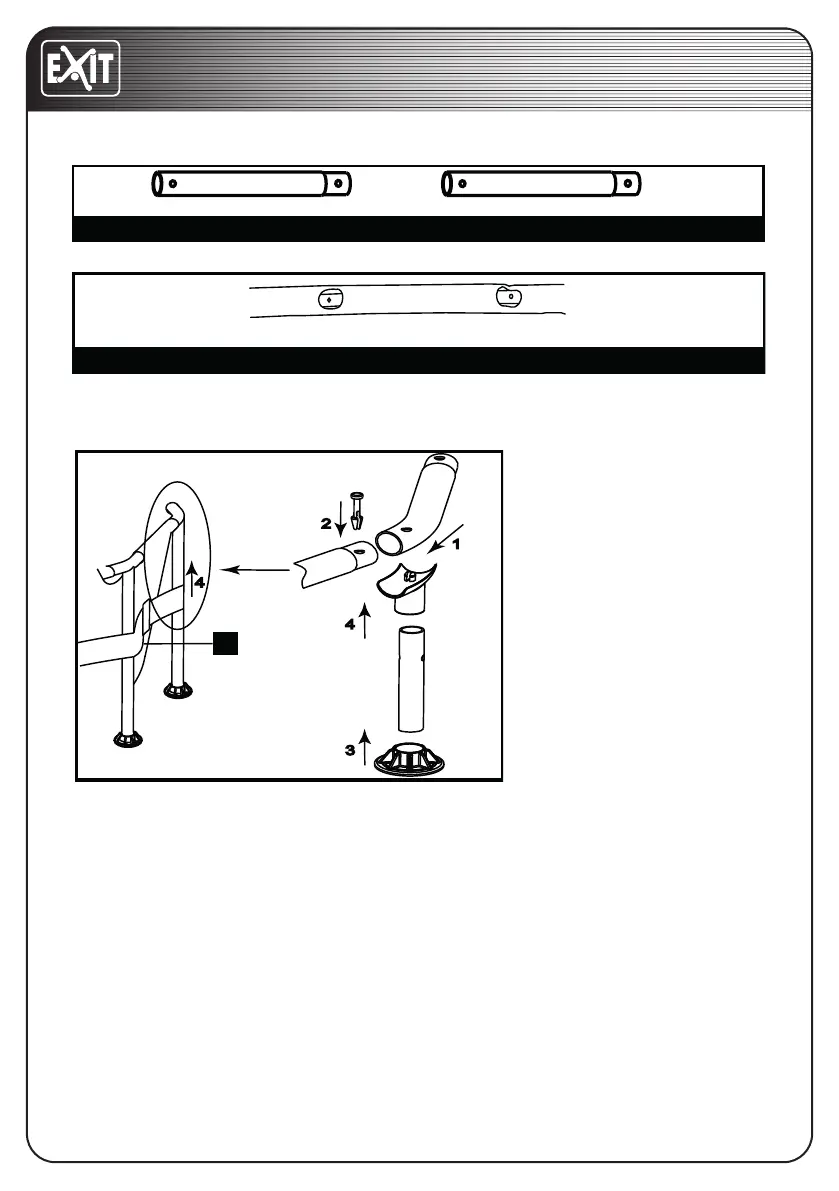
Step 4. Install T-joints and frame
4.1. Use the connection
end of the T-Joint to
connect the adjacent
horizontal tubes.
4.2. Insert the Pin into the
hole of connected tubes
4.3. Install the vertical leg
cap onto the vertical leg.
4.4. Insert the vertical leg
into the T-Joint through the
belt.
Step5. Fill the pool
WARNING: Do not leave pool unattended while lling with water.
WARNING: If more than 1~2 inches of water collects on any one side before you
start lling in the center.The pool is not level enough, and must be corrected! You
shall pull out the drain plug, release the water completely, disassemble the pool
completely,locate the pool on a plane surface, repeat set up instructiion.
WARNING: DO NOT OVERFILL as this could cause the pool to collapse.In times of
heavy rainfall you may need to empty some of the water to ensure the level is
correct.
A
A-A.
A
Slide combined beams into sleeve,the hole on the beams should face outwards.
4
3
4
1
2
!
 Loading...