Measuring Temperature
Note
To avoid possible damage to the meter or other equipment, remember that while the meter is rated for -20°C to
+1000°C and 0°F to 1800°F, the K type Thermocouple provided with the meter is rated to 250°C. For temperatures
out of that range, use a higher rated thermocouple.
The K Type Thermocouple provided with the meter is a present, it is not professional and can only be used for
non-critical measurements. For accurate measurements, usa a professionnal thermocouple.
1. Set the range switch to Temp range.
2. Press the "FUNC." button to select celsius or fahrenheit measurement.
3.lnserttheblack(or"-")plugoftheKtypethermocoupletothe"COM"jackandthered(or"+")plugofthethermocoupleto
the"INPUTʺjack.
4. Carefully touch the sensing end of the thermocouple to the object to be measured.
5. Wait a while, then read the reading on the display.
1. AC Voltage Detection
1. Set the range switch to the ʺTEST" range position, and turn off the meter.
2. Move the top of the meter to the object to be detected. When the meter detects AC voltage, the built-in buzzer will sound
and the AC Detection lndicator will light.
2. To Detect AC Live Line
1. Set the range switch to the "TEST" position, and turn off the meter.
2. Connect a test lead to the "INPUT" jack, touch the probe of this test lead to the conductor of the line to be tested. If the
line is an ac live line, the built-in buzzer will sound and the AC Detection lndicator will light.
Auto Power Off
If you don’t operate the meter for about 15 minutes, it will turn off automatically. To turn on it again, just rotate the range switch
orpressabutton.Ifyoupresstheʺ
" button to arouse the meter after it turns off automalically, the automatic power-off
feature will be disabled.
BATTERY REPLACEMENT
When the symbol " " appears on the display, the batteries are low and should be replaced. To replace the battery, use an
appropriatescrewdrivertogenllyrotatetherotarylockonthebatterycoverby90°intheindicateddirection(refertoFigure3).
Removethebatterycoverandreplacetheexhaustedbatterieswithnewbatteriesofthesametype(«AAA»type).
Reinstallthebatterycover,andgentlyrotatetherotarylockby90°clockwisetolockthebatterycover.
Note:
Excess force will cause damage to the rotary lock. Don’t use a screwdriver which is not big enough.
FUSE REPLACEMENT
Fuse rarely needs replacement and is blown almost always as a result of operator’s error.
To replace the F 250mA/250V fuse, open the batery cover, replace the blown fuse with a new one of the same rating.
Reinstallthebatterycoverandlockthiscover.
To replace the F 10A/250V fuse, remove the screws on the back cover and remove the back cover, replace the blown fuse
withanewoneofthesamerating.Reinstallthebackcoverandthescrews.
This meter uses two fuses:
F1: F 250mA/250V, Ø5x20mm
F2: F 10A/250V, Ø5x20mm
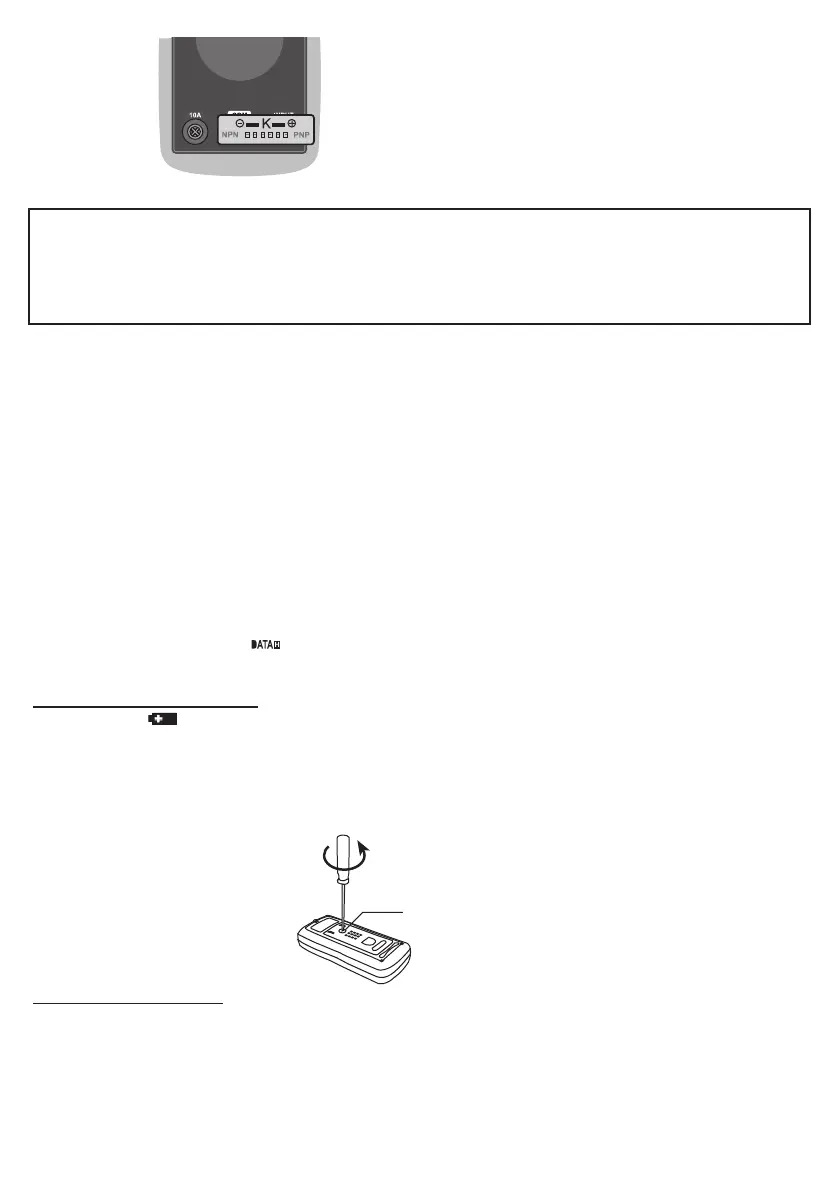
Transistor Test Socket
Fig. 2
Fig. 3
To open the battery cover
RotaryLock