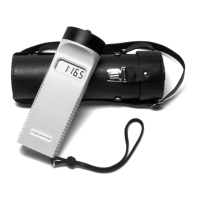
Storing and transporting the KT-9
45
Battery installation
1
Remove the screw from the bottom cover.
2
Remove the bottom cover lid.
3
Pull on the fabric tab to free the old battery from the case.
4
Detach the old battery from connector
5
Attach new battery to connector (the design of the con-
nector allows only the correct orientation).
6
Insert the new battery into the cavity, ensuring that the
fabric pull tab is behind the battery (for easy removal next
time).
7
Replace the cover.
8
Insert and tighten the screw.
Long-term storage
If you are going to store your KT-9 for a longer term (over
thirty days), please remove the battery from the unit to pre-
vent damage from electrolyte leakage. It is also recom-
mended that you visually inspect the battery after any long
storage interval.