Do you have a question about the Extang Solid Fold 2.0 and is the answer not in the manual?
Clean bed mounting areas and install hinge and tail clamp brackets into bed wall holes.
Tighten bracket nuts to 7 ft-lb (9 Nm) and insert cover bolts into forward hinge brackets.
Position cover assembly, align it squarely, and firmly tighten mounting knobs.
Install cover mounting hardware and loosely tighten knobs for initial setup.
Secure middle clamps and snap cab tie down straps into front cover clasps to stow.
Detach middle clamps, raise cover to vertical, and secure with roll bar straps.
Refer to parts diagram and contact customer service for replacement part orders.
Review warranty duration, conditions, exclusions, and contact information for service.
| Material | Aluminum |
|---|---|
| Frame Material | Aluminum |
| Installation | Clamp-on |
| Weather Resistance | Yes |
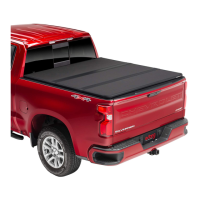
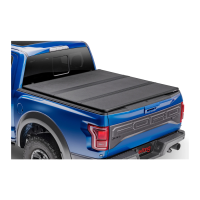
| Finish | Matte Black |
| Warranty | 3-Year Warranty |
| Type | Hard Folding Tonneau Cover |
| Compatibility | Specific to truck models |
| Bed Access | Full |
| Weight Capacity | 600 lbs (evenly distributed) |