Do you have a question about the Extang Trifecta 2.0 and is the answer not in the manual?
Lists the essential tools needed for tarp removal and installation procedures.
Remove the tonneau from the vehicle and place it on its side for tarp removal.
Use a rounded instrument to pry the retaining strip out of its track, avoiding sharp objects.
Continue the process of removing the plastic strip from one side of the cover.
Place tonneau on a flat surface and detach cover from side rails and corners. Repeat for the other side.
Remove one side of the frame by loosening fasteners with a 3/16" Hex wrench.
Slide the side rail out of the corners and bows. Repeat for the opposite side.
Slide cab and tail rails along the entire length of the tarp to detach them.
Begin with the tail rail, insert the retaining strip, and slide it until centered in the tarp.
Slide the retaining strip into the cab rail, centering the tarp, and insert front buckles.
Inspect and remove any slivers or burrs from the retaining strip after sliding.
Install side rail assemblies, starting at the rear corner with slide nuts and securing cap screws.
Insert bows (A, B, C, D) into the designated brackets in the specified order.
Insert retaining strips into side rails, working from corners to halfway, then completing the final corner.
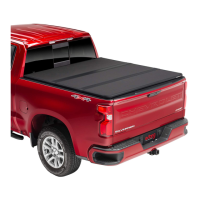
| Frame Material | Aluminum |
|---|---|
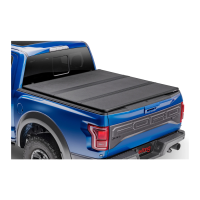
| Material | Vinyl |
| Design | Folding |
| Compatibility | Specific truck models |
| Security | Latch system |
| Weather Resistance | WeatherTuff seals |
| Warranty | Lifetime warranty |