IR250 V2.0 6/09 4
Operating Instructions
Power
1. The meter is powered by one (1) 9V battery.
IR Measurements
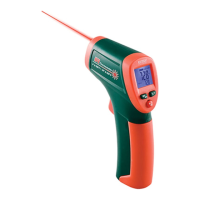
1. Hold the meter by its handle and point it toward the surface to be measured.
2. Pull and hold the trigger to turn the meter on and begin testing. The temperature
reading, the flashing ‘SCAN’ icon, the emissivity, the unit of measure and other icons
as shown in the Display Description will appear. Note: Replace the meter’s 9V battery if
the display does not switch on.
3. Release the Trigger and the reading will hold for approximately 8 seconds (HOLD will
appear on the LCD) after which the meter will automatically shut off.
Temperature units
With the trigger pressed, press the ºF/ºC button to select the temperature units.
Backlight/Laser Pointer
With the trigger pressed:
1. Press the button once to change the state of the backlight (On or Off). When the
laser is on the laser icon will appear in the display.
2. Press the button again to change the state of the backlight (On or Off).
IR Measurement Notes
1. The object under test should be larger than the spot (target) size calculated by the field
of view diagram (printed on the side of the meter and in this guide).
2. Before measuring, be sure to clean surfaces that are covered with frost, oil, grime, etc.
3. If an object's surface is highly reflective, apply masking tape or flat black paint to the
surface before measuring. Allow time for the paint or tape to adjust to the temperature
of the surface it is covering.
4. Measurements through transparent surfaces such as glass may not be accurate.
5. Steam, dust, smoke, etc. can obscure measurements.
6. The meter automatically compensates for deviations in ambient temperature. However,
it can take up to 30 minutes for the meter to adjust to extremely wide changes.
7. To find a hot spot, aim the meter outside the area of interest then scan across (in an up
and down motion) until the hot spot is located.
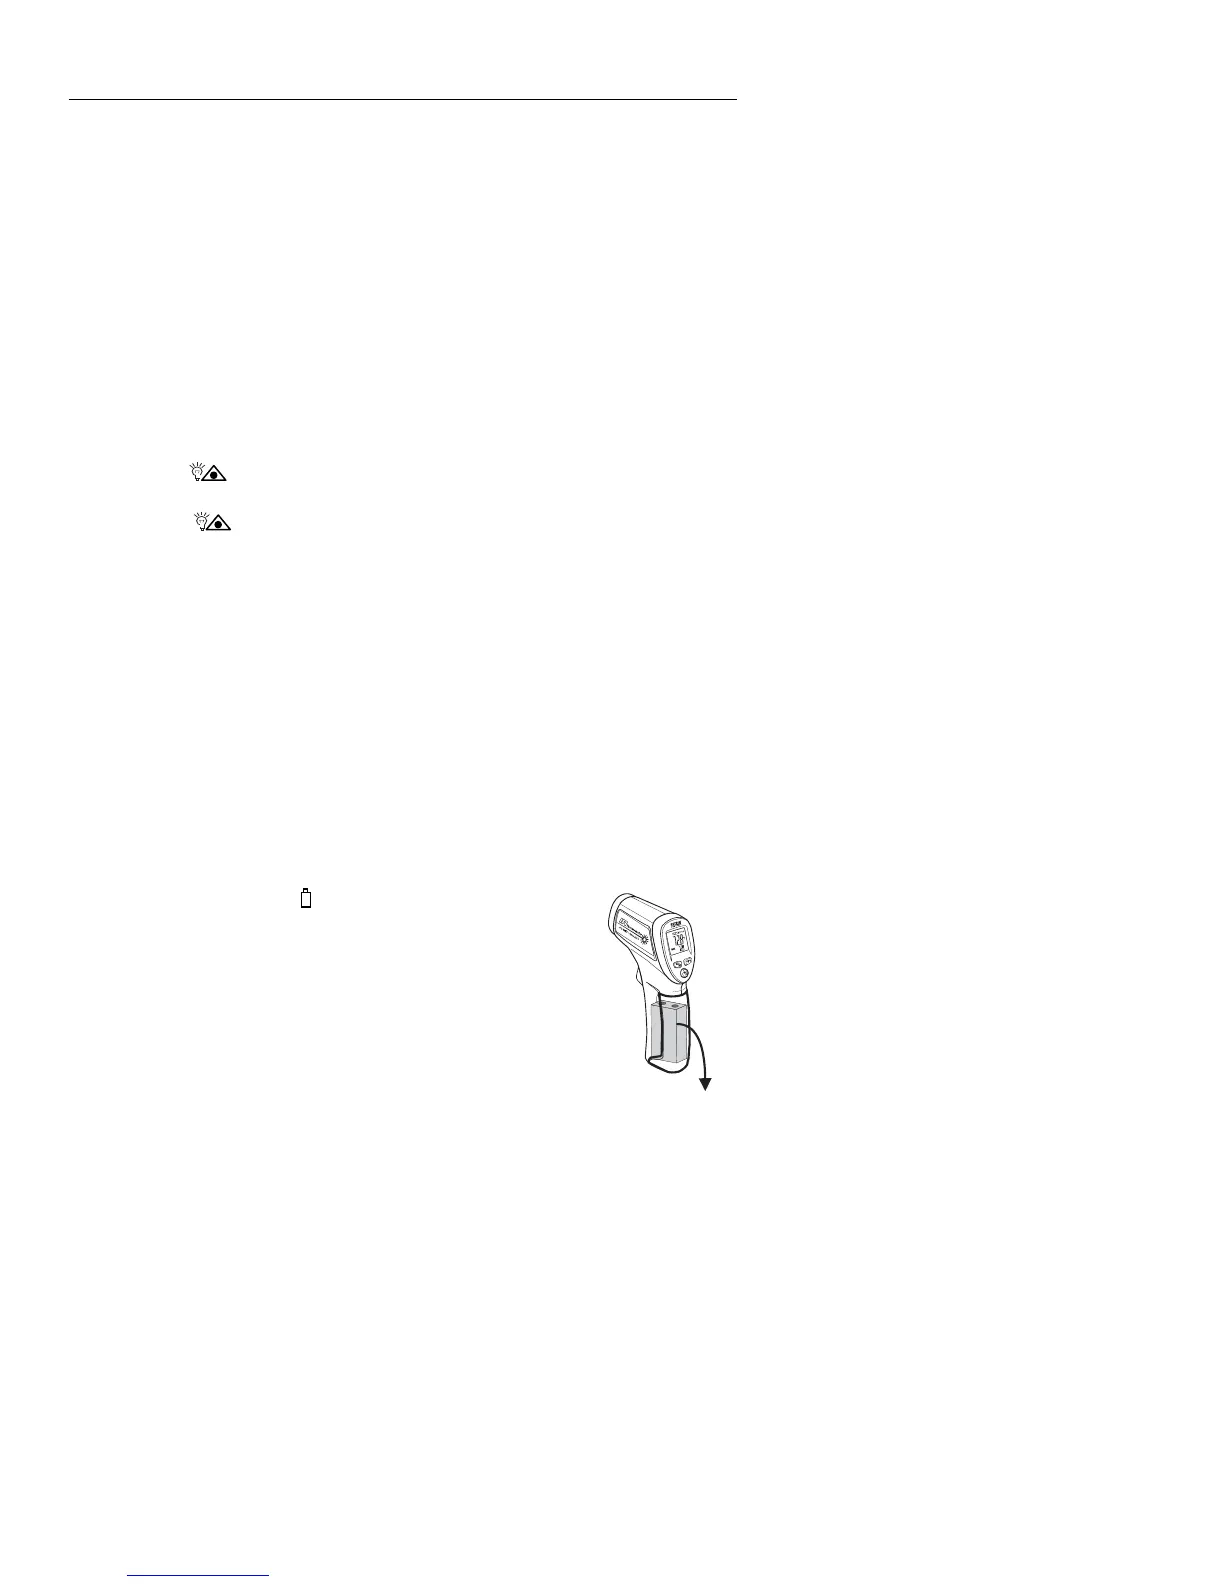
Battery Replacement
When the low battery symbol appears on the LCD, replace the
meter’s battery (9V). The battery compartment is located in the rear of
the handle.
Open the compartment by carefully pulling the panel down. The panel
is hinged at the bottom and does not completely disconnect from the
meter. Replace the 9V battery and close the battery compartment
cover.
.
 Loading...