2 Installation Process
Verifying the Box Contents
Mounting to a Dry/Wood Wall or Solid Flat Ceiling
Mounting to a Junction/Gang box
Mounting to a Suspended/Drop Ceiling
Connecting the Power Supply
Follow this procedure to install the AP3915i:
1 Verify the box contents.
2 Review the Safety Guidelines.
3 Mount the AP to a Flat Ceiling. Alternatively, you can also mount the AP to a junction/gang box, or a
suspended or drop ceiling.
Note
An optional bracket P/N 30516 (WS-MBI-WALL04 wall mounting bracket) is sold
separately. This bracket is used for mounting the AP on a flat ceiling, suspended or drop
ceiling, or junction/gang box.
4 Connect the power supply to the AP3915i access point.
Verifying the Box Contents
Before you install the AP3915i access point, make sure that you have all the necessary parts.
1 Verify that the box contains the following items:
Table 5: AP3915i Box Contents
Quantity Items
1 AP3915i Quick Reference Guide
1 ExtremeCloud
™
Quick Start Card
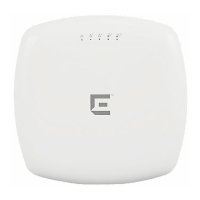
1 WS-AP3915i AP
2 Perform a visual inspection of the AP for any signs of physical damage. Contact Extreme Networks if
there are any signs of damage.
Note
Before mounting the AP3915i, read the Safety Guidelines.
ExtremeWireless™ AP3915i FCC/ROW Installation Guide 9

 Loading...