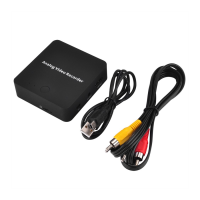
ezcap272 with two video output – HDMI OUT and AV OUT.
Use HDMI cable or 3.5MM to RCA cable (come with the device in box) to connect with HDMI OUT or AV OUT, and
another side connects to TV or monitor.
TV or monitor will show the video if both of POWER DC, VIDEO INPUT and VIDEO OUTPUT are ready.
Don’t connect HDMI and AV cable at same time.
If you connect HDMI and AV cable at same time, only AV OUT is effective. And HDMI OUT is useless even you pull AV
cable out. You should pull HDMI out then push in again, then HDMI OUT is effective.
POWER AND DATA
Use USB cable to connect with 5V DC for play ezcap272 device.
Use USB cable to connect with computer’s USB port for power or managing recorded files or updating firmware.
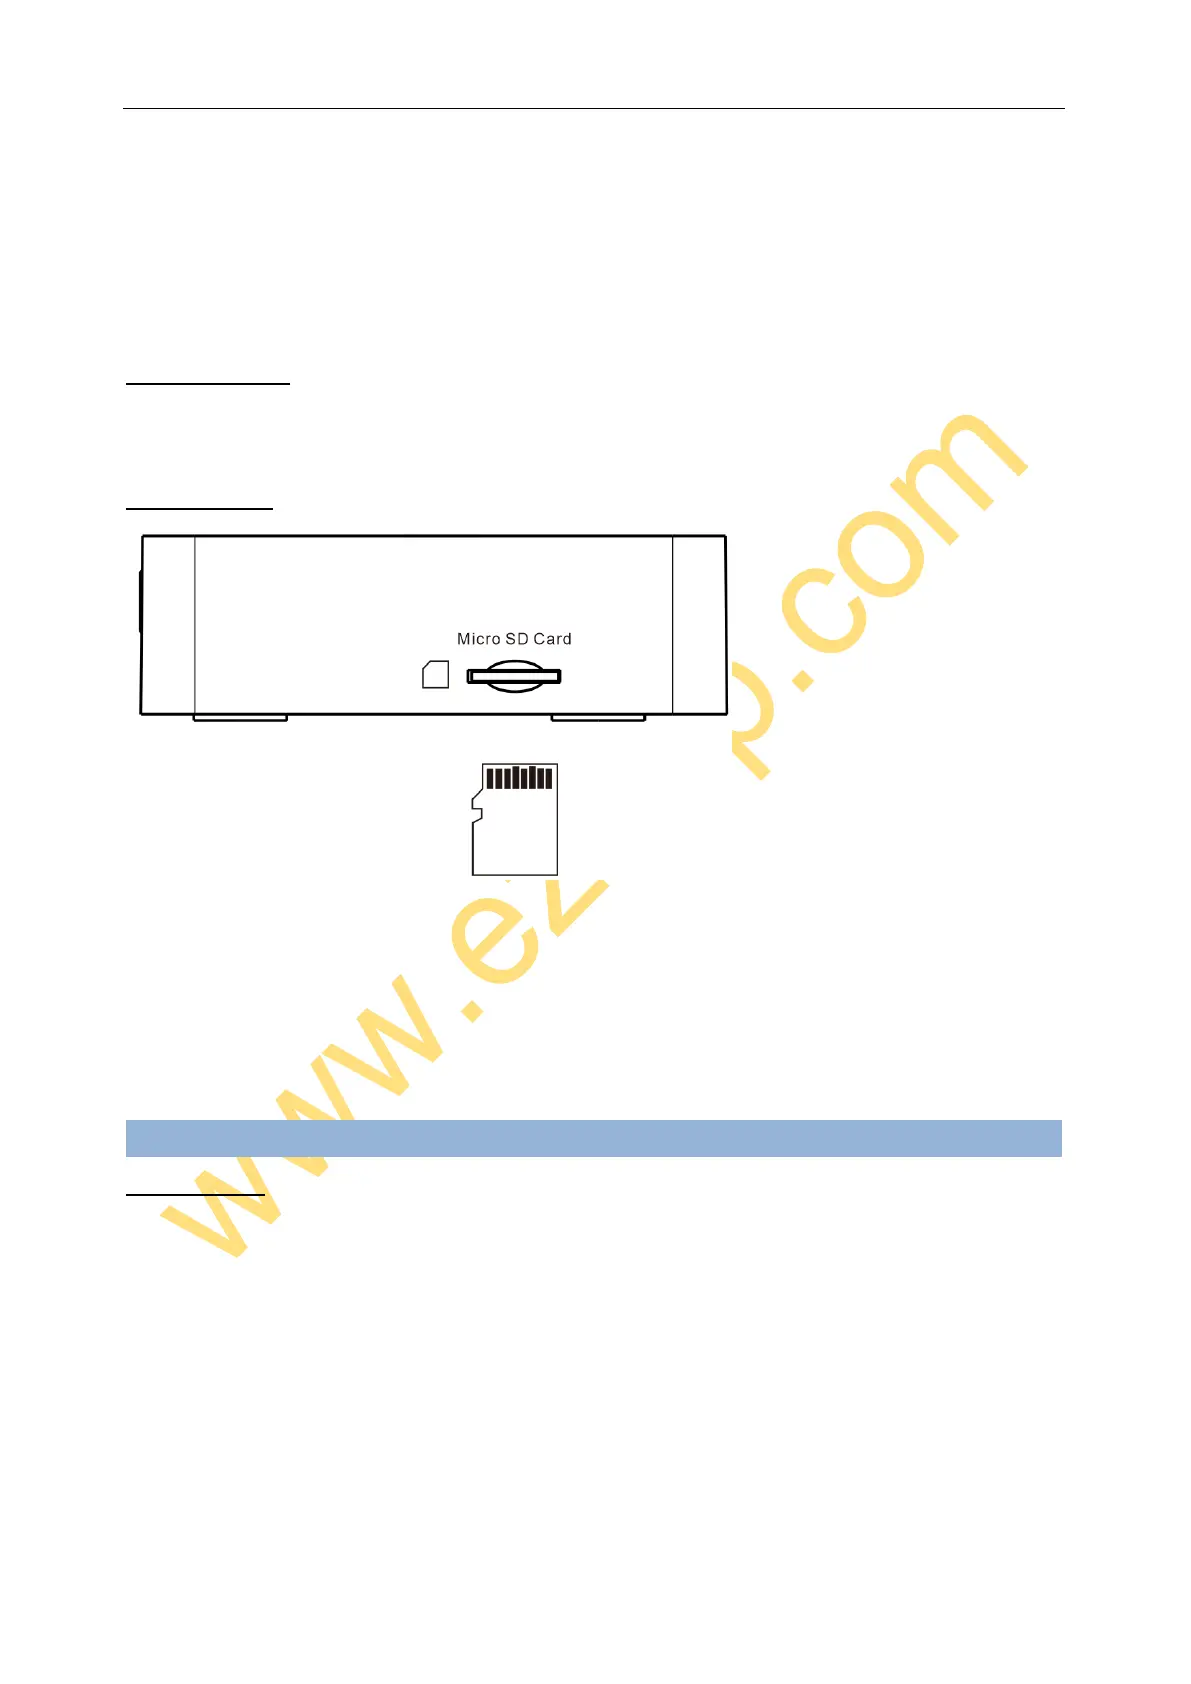
MICRO SD CARD
Plug Micro SD card into the slot with right direction, the TV or monitor screen will show “Card In” when plugged. And
will show “Card Out” when remove Micro SD Card from device.
For file safety, Micro SD card better be empty and format before using, support FAT32 and exFAT, does not support
NTFS, better 16GB.
To remove Micro SD card, just press it again, let it pop-up.
Operate:
RECORD VIDEO
You will preview the connecting video on TV or monitor when all connections are ready, press ‘RECORD” button to
record video, and REC red led will flash, it means it’s recording. Press again to stop recording, led turns off, and show
you “Saving File” on TV.
Image will show you “No Card Disk” if you don’t insert Micro SD Card or insert the error card and press RECORD
button. Please insert the Micro SD Card or check it.
Note: ezcap272 Analog Video Recorder will save a file and start to build another new file if you long time
record more than 2 hours and 42 minutes.
SAVE FILES
You have two ways to save your recorded video files.
Connect DC port to computer’s USB port with mini USB cable, then long press (about 3 seconds) RECORD button to
 Loading...