9
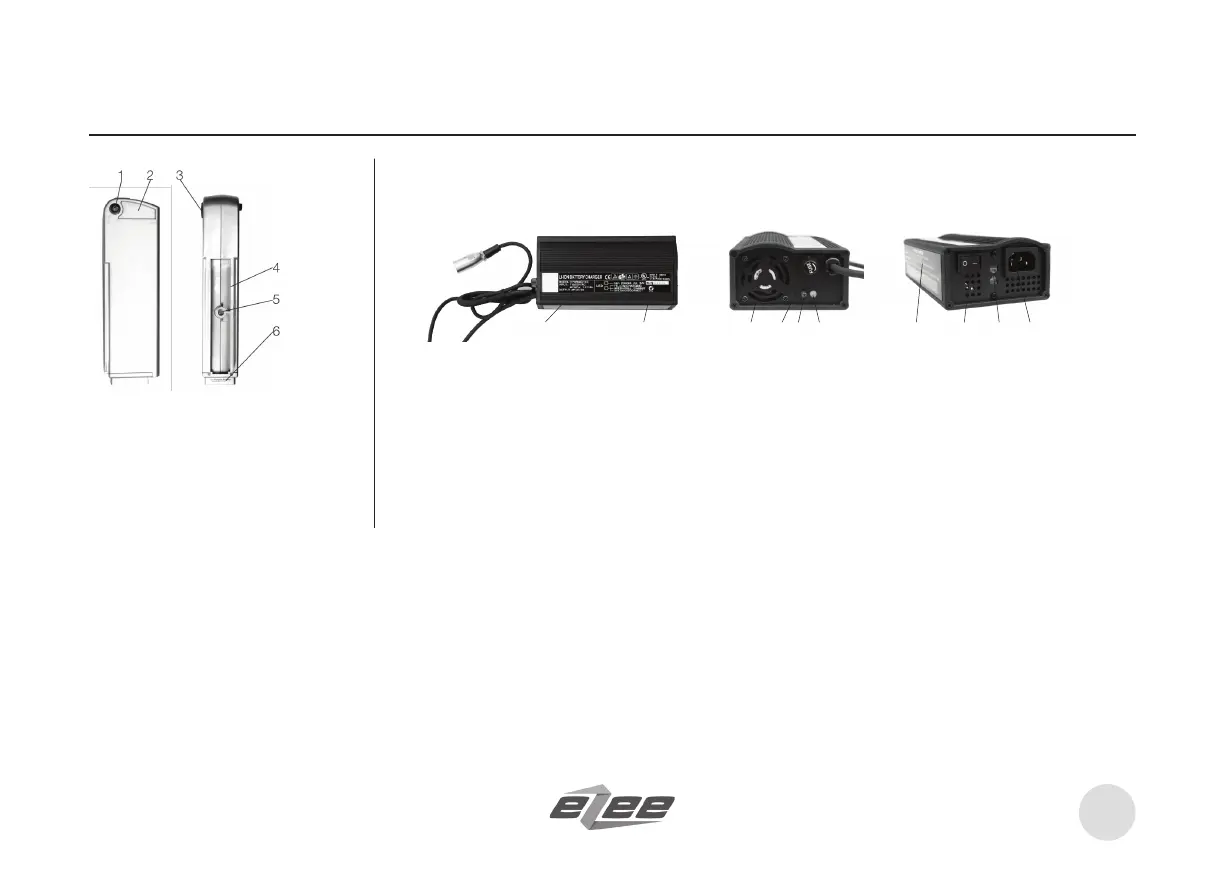
a. Male charging plug
b. Charging cord
c. Charger speciications
d. Charger serial no.
1. Fuse / Fuse holder (30 amps)
2. Battery grip
3. Charging socket
4. Battery slot guides
5. Battery lock slot
6. Serial number / information
Battery Charging
a.
b.
c. d. e. f. g.
h.
i.
j.
k. l.
e. Cooling fan
f. Fuse 10 Amps
g. Charger ‘ON’ LED
h. Charging status LED
i. Warning label
j. Power switch
k. A/C voltage switch
l. Power cord socket
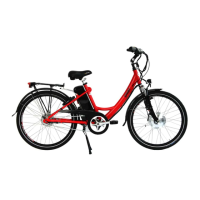
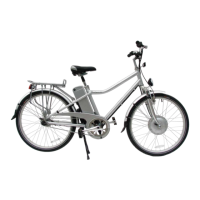
Before your irst ride, the battery needs charging. Bring it to a wall socket. (220V - 230V AC EU / 115V AC US)
Insert charging plug into socket on battery and connect charger power cord to A/C outlet. Turn on A/C outlet. Turn the ‘1’ switch on the charger.
Do not remove the plug by pulling the cord, always grip the charging port by its metal body.
Check the indicator lights on the front of the charger.
RED indicates that the charger is connected and running from an A/C outlet.
YELLOW indicates that the battery is charging
GREEN indicates that the battery is fully charged
It will take 4 hours to fully charge a 14Ah battery. You may interrupt the charging at any time.