5
Step 9
Conrm the security light camera has power
1. After restoring power, the security light camera will be ready for setup when the lights are on and the LED indicator on the front of the
camera fast ashes blue.
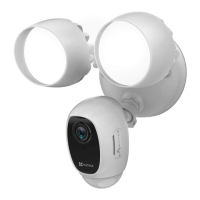
LED Indicator
Add a security light camera to EZVIZ
1. Log in the EZVIZ app.
2. From the EZVIZ app Home screen, tap “+” on the upper-right hand corner to go to the scan QR code interface.
3. Scan the QR Code on the security light camera.
4. Follow the EZVIZ app wizard to nish Wi-Fi conguration.
• If you want to change your security light camera's Wi-Fi, press and hold the reset button for 5s and repeat this part.
• The security light camera works with 2.4GHz Wi-Fi signals. If you have a dual-band router with separate 2.4GHz and 5GHz networks,
make sure your phone is connected to the 2.4GHz one.
• If your Wi-Fi network signal is less than 50% where you want to install the security light camera, a Wi-Fi signal extender is recommended
to boost the signal at the installation point.
Initialize Micro SD Card
1. In the EZVIZ app, check the memory card status by tapping on the Storage Status in the Device Settings interface.
2. If the memory card status displays as Uninitialized, tap to initialize it. The status will then change to Normal.
LED Indicator Status
Red
• Solid Red: Camera is starting up.
• Slow-ashing Red: Wi-Fi connection has failed.
• Fast-ashing Red: Camera exception (e.g. Micro
SD card error).
Blue
• Solid Blue: Video is being viewed or played back
in EZVIZ App.
• Slow-ashing Blue: Camera is running properly.
• Fast-ashing Blue: Camera is ready for Wi-Fi
connection.
For detailed information, please visit www.ezvizlife.com.
 Loading...