45
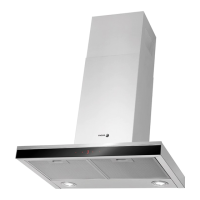
INSTALLATION
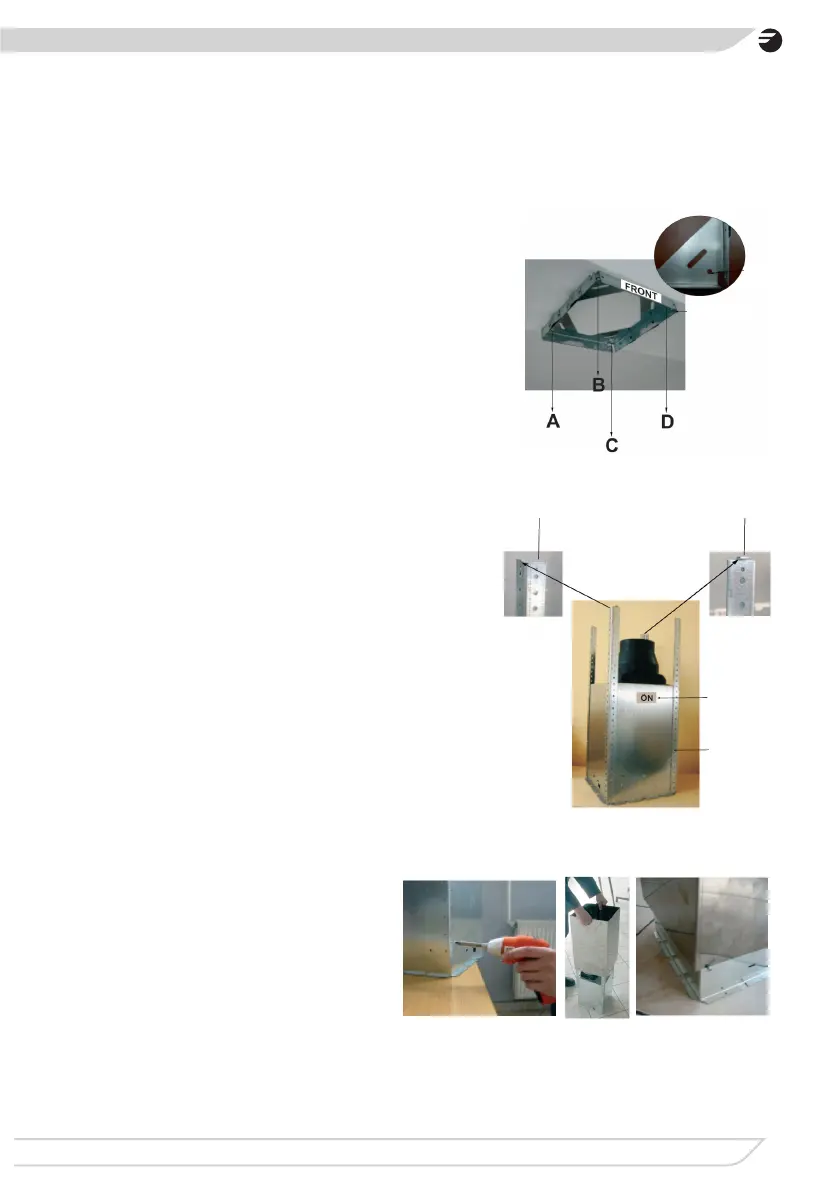
A) Installation of ceiling connection plate
Front sticker (gure 3) on ceiling connection plate
and control panel of chimney hood should have
the same direction.
• Drill 10mm holes from A,B,C,D points.
• Drive 10mm wall plugs in to A,B,C,D holes.
• Fix ceiling connection plate to ceiling by using
• screws (5,5 x 45).Wall plugs,screws and ce-
ling connection plate are given with chimney
hood - picture 3
B) Installation of corner-pieces: Front sticker(pic-
ture 4) shows where front side of chimney hood
should be installed. Front corner-pieces should
be left and right directions. Back corner-pieces
should be extroverted. Screw 4 corner-pieces
to motor block. Hanging bar should have same
directions with ceiling connection plate. Regulat-
ing the length of chimney hood with these cor-
ner-pieces.
Front bracket connection,
left and right up front
Back bracket con
-
nection, up-front
Assembling
front surface
of body
Assembly
bracket
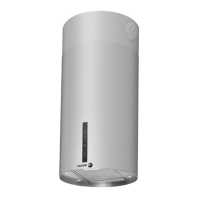
C) Installation of chimneys to motor
cabinet:
Please put internal chimney in exter-
nal chimney. For temporary connec-
tion between chimneys please use a
screw on motor cabinet.(So chimneys
won’t drop while you install motor cab-
inet to ceiling connection plate.)Mount
the chimneys on this screw.(Screw
holes of internal chimney should bet
the side of motor cabinet.) Picture 5
 Loading...