24
Speed 2 button
With LED on (speed 2 already running):
•Nothing will happen when this key is pressed. To switch the hood o rstly select speed 1, then press the "speed 1 button" again.
With the LED o and a speed on:
•Press the key (long or not) to set the hood on speed 2. When speed 2 is running the relative LED will light up.
With the LED o and NO speed on:
•Nothing will happen when this key is pressed.
Speed 3 button
With LED on (speed 3 already running):
•Nothing will happen when this key is pressed. To switch the hood o rstly select speed 1, then press the "speed 1 button" again.
With the LED o and a speed on:
•Press the key (long or not) to set the hood on speed 3. When speed 3 is running the relative LED will light up.
With the LED o and NO speed on:
•Nothing will happen when this key is pressed.
Speed 4 button
With LED on (speed 4 already running):
•Nothing will happen when this key is pressed. To switch the hood o rstly select speed 1, then press the "speed 1 button" again.
With the LED o and a speed on:
•Press the key (long or not) to set the hood on speed 4. When speed 4 is running the relative LED will start ashing; the 4th, or inten-
sive, speed is timed and after approximately 7 minutes the motor will automatically switch to 3rd speed.
With the LED o and NO speed on:
•Nothing will happen when this key is pressed.
Light Button
Light:
•By briey pressing the key (the back-lit button), you turn the light on and o.
LIGHTING
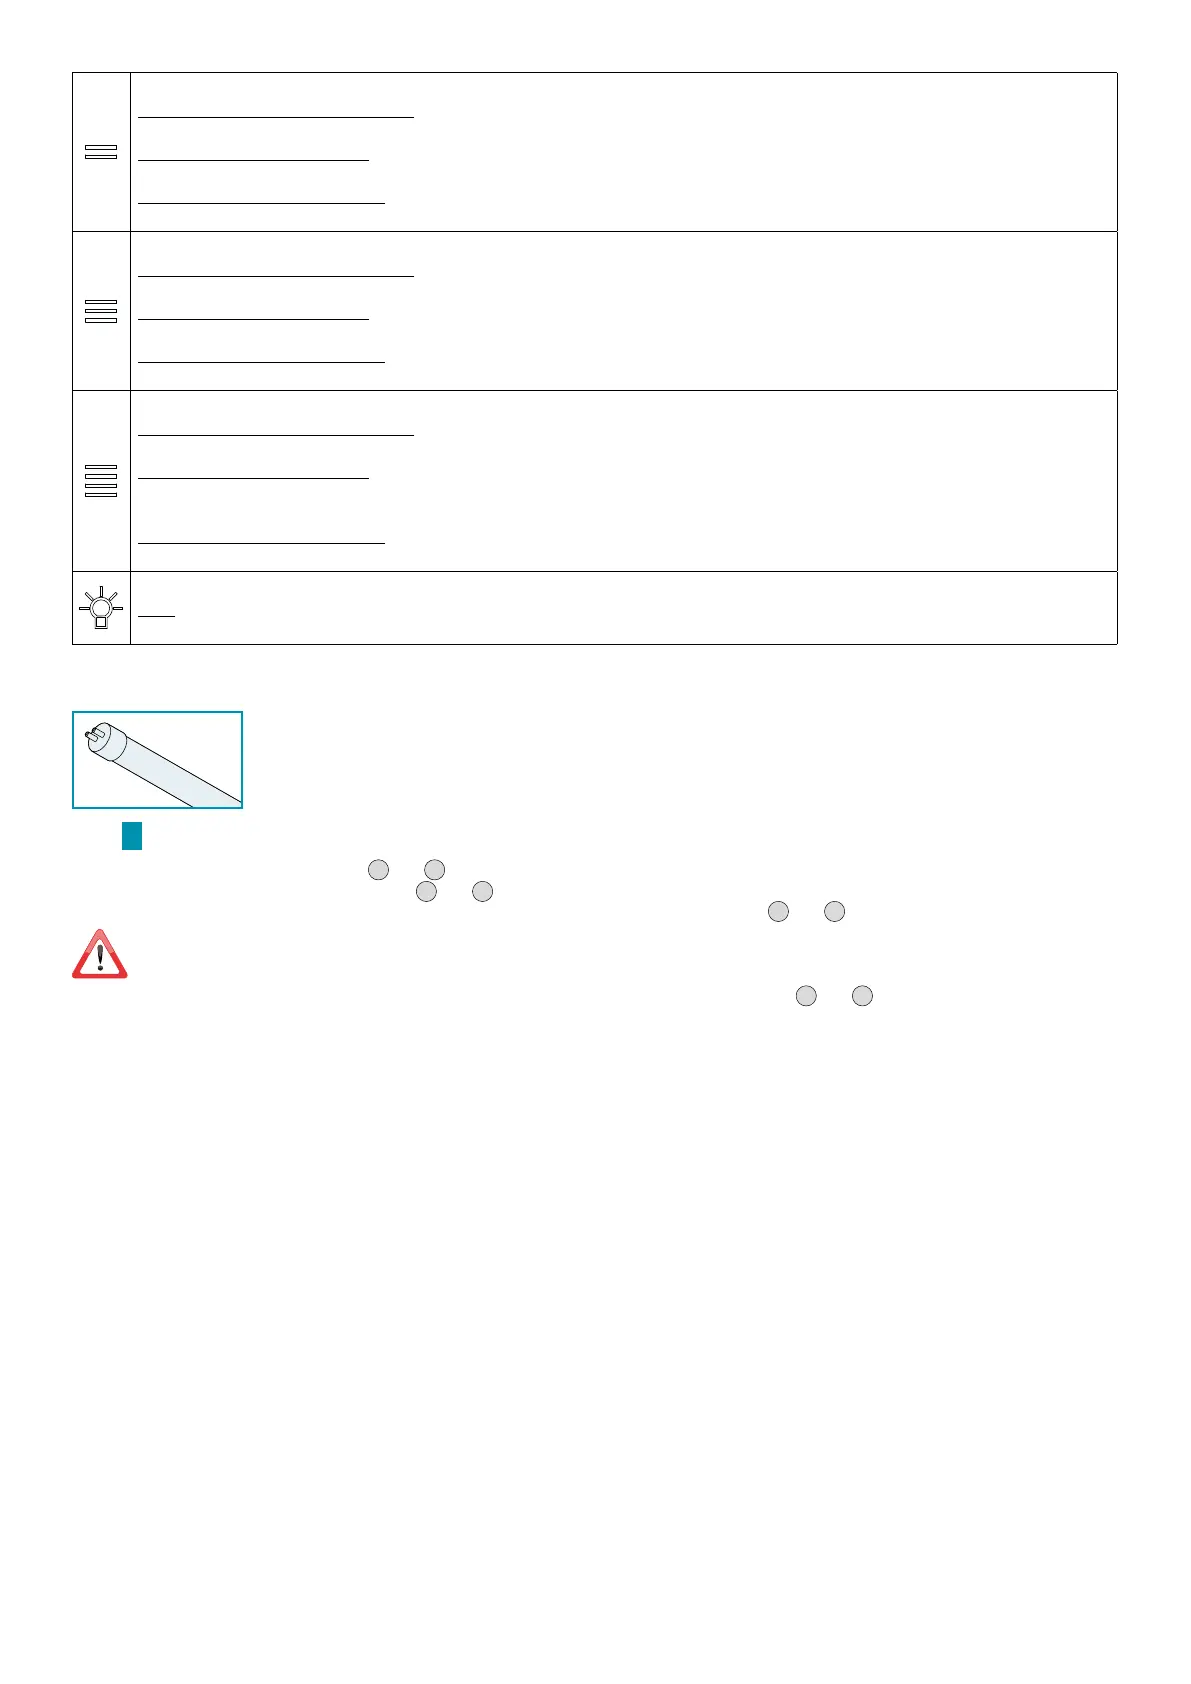
The hood has uorescent lamp lighting.
If the lamp ever needs to be replaced:
•disconnect the appliance from the electrical mains power supply by unplugging it or turning o the main switch;
Phase
Q page 9
•remove the covering element (N) (Fig.
1
and
2
);
•take out the blown uorescent tube (M) (Fig.
3
and
4
);
•put in a new uorescent lamp by performing, in reverse order, the operations described in Fig.
3
and
4
;
The new uorescent lamp must be identical to the old one!
•put the covering element back in (N) performing, in reverse order, the operations described in Fig.
1
and
2
;
•connect the appliance back up to the electrical power mains.