Do you have a question about the Fan-Tastic Vent 7350 Upgrade Kit and is the answer not in the manual?
Install or remove control board jumper based on motor type for proper fan operation.
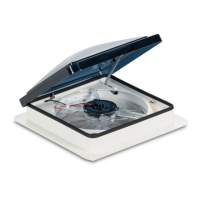
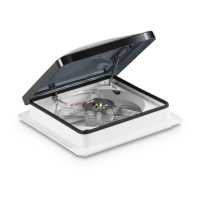
Open fan dome to 2/3rds and remove the fuse from the existing assembly.
Remove lift knob or motor and disconnect screws from the screen assembly.
Unplug or cut the power supply wires (black/white or red/white) from the fan base.
Remove the old lift-arm assembly and hook the new one to the dome slide.
Cut clip off fan motor lead, feed through base, strip, crimp, and connect.
Apply butt connectors to power supply leads and crimp wires securely.
Secure the new screen assembly with screws and replace the fuse.
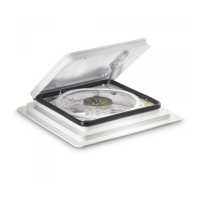
Close the dome lid to complete the fan upgrade installation.
Locate and clean the 'T' shaped knockout inside the fan base for sensor mounting.
Feed the rain sensor wire through the knockout and secure the sensor on top.
| Power Source | 12V DC |
|---|---|
| Fits Vent Size | 14" x 14" |
| Thermostat | Yes |
| Model | 7350 |
| Blade Material | Plastic |
| Product Type | Upgrade Kit |
| Compatibility | Fan-Tastic Vent models |
| Features | Rain Sensor, Remote Control |
| Fan Speed | Variable |
| Type | Upgrade Kit |
| Airflow | 920 CFM |
| Dimensions | 14" x 14" x 6" |
| Warranty | 2 years limited warranty |