Do you have a question about the fantastic furniture HAVANA and is the answer not in the manual?
| Brand | fantastic furniture |
|---|---|
| Model | HAVANA |
| Category | Indoor Furnishing |
| Language | English |
Provides general assembly advice, including tool usage, surface protection, and troubleshooting tips.
Lists all necessary components and hardware required for assembling the product.
Insert cam bolts into the designated holes of the table legs.
Connect the rail and side panel to the first leg using dowels and cam nuts.
Connect the second leg assembly to the existing frame using dowels and cam nuts.
Connect the third leg assembly to the frame using dowels and cam nuts.
Connect the fourth leg assembly to the frame using dowels and cam nuts.
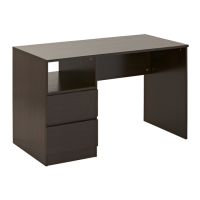
Attach drawer runner tracks to the side rails using screws.
Insert cam bolts into the leg holes for attaching rails.
Secure a runner track to the divider using screws.
Attach the second runner track to the other side of the divider.
Connect the divider assembly to the back panel using wooden screws.
Connect a rail to the divider assembly using wooden screws.
Connect the back panel and rail assembly to the front legs.
Connect the right side frame assembly to the legs.
Hammer plastic glides onto the bottom of each leg.
Insert dowels into legs and side panels for final assembly.
Insert cam bolts into the holes of the top panel.
Connect the top panel to the main frame using cam nuts.
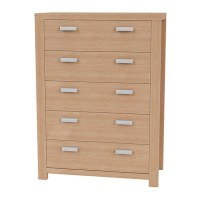
Screw cam bolts into the drawer front panels.
Connect drawer sides to the front panel using cam nuts.
Slide the drawer base panel into the side panel grooves.
Secure the drawer back panel to the drawer sides using screws.
Attach drawer runners to the bottom of the drawer sides.
Attach handles to the drawer fronts using round head bolts.
Place the assembled drawers into the table unit.
Secure the safety strap to the top panel of the table.
Attach the safety strap to the wall to prevent unit toppling.