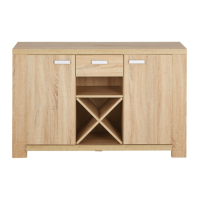
Do you have a question about the fantastic furniture HAYMAN and is the answer not in the manual?
| Brand | fantastic furniture |
|---|---|
| Model | HAYMAN |
| Category | Indoor Furnishing |
| Language | English |
General guidelines for preparing assembly and ensuring readiness.
Important tips and precautions for a successful assembly process.
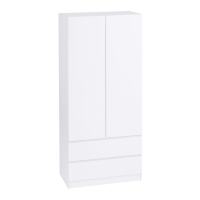
Lists all required parts and tools for assembling the product.
Insert dowels and cam bolts into side panels (P2, P3).
Attach rail (P4) to bottom panel (P6) using cam bolts and nuts.
Connect bottom panel (P6) and rail (P9) to left side panel (P2).
Insert back panel (P13) and attach right side panel (P3).
Attach divider (P7) and support leg (P12) to the bottom panel.
Place the back panel (P8) into the grooves of side panels and rail.
Attach cam bolts (H3) and magnetics (H9) to the top panel (P1).
Connect top panel (P1) to side panels (P2, P3) and divider (P7).
Attach hinges (H6) and magnetic bars (H7) to the doors (P10, P11).
Mount doors (P10, P11) and attach handles (H11).
Insert shelf pins (H10) and place shelf panels (P5, P14).
Connect the wall safety strap (H14) to the top panel (P1).
Attach the safety strap to the wall for stability.
Review final assembly and handle tempered glass with care.