07
Ed. 1 - 03/2019Ed. 1 - 03/2019
ENGLISH
EN_37
Cleaning and Maintenance
between the brake piston (g. “80“).
- Insert the axle pin from the brake side and
push it until it protrudes from the other end of
the wheel hub (g. “81“).
- Using a 6 mm wrench, tighten the axle pin
from the brake side (g. “82“).
- Apply the correct tightening torque to
the axle pin (see the chart at the end
of section “3”).
- Push the gear change unit forward to release it
(g. “83“).
- Make sure that the wheel turns freely.
6. FLAT TYRE
- In the event of a at tyre, rst of all, attempt to
re-inate it, if the tyre deates again it may be
punctured or damaged.
- If you need replace a tyre we recommend you
contact your vendor or a bicycle tyre tter.
- If you wish to repair a tyre yourself, make sure
you have the following items:
- 2 tyre levers
- A (new) inner tube having the same type of
valve and dimensions as the one to be re-
placed
- A new tyre (if necessary)
- A compatible bicycle pump
If repairs are not carried out cor-
rectly it may result in dangerous
riding conditions. Do not attempt
to carry out this repair if you do
not have the necessary tools.
- Remove the wheel unit (see the preceding par-
agraphs in the section).
- Remove the valve safety cap (2) (g. “17“).
- Deate the tyre completely by pressing the in-
ner valve “3” (g. “18“).
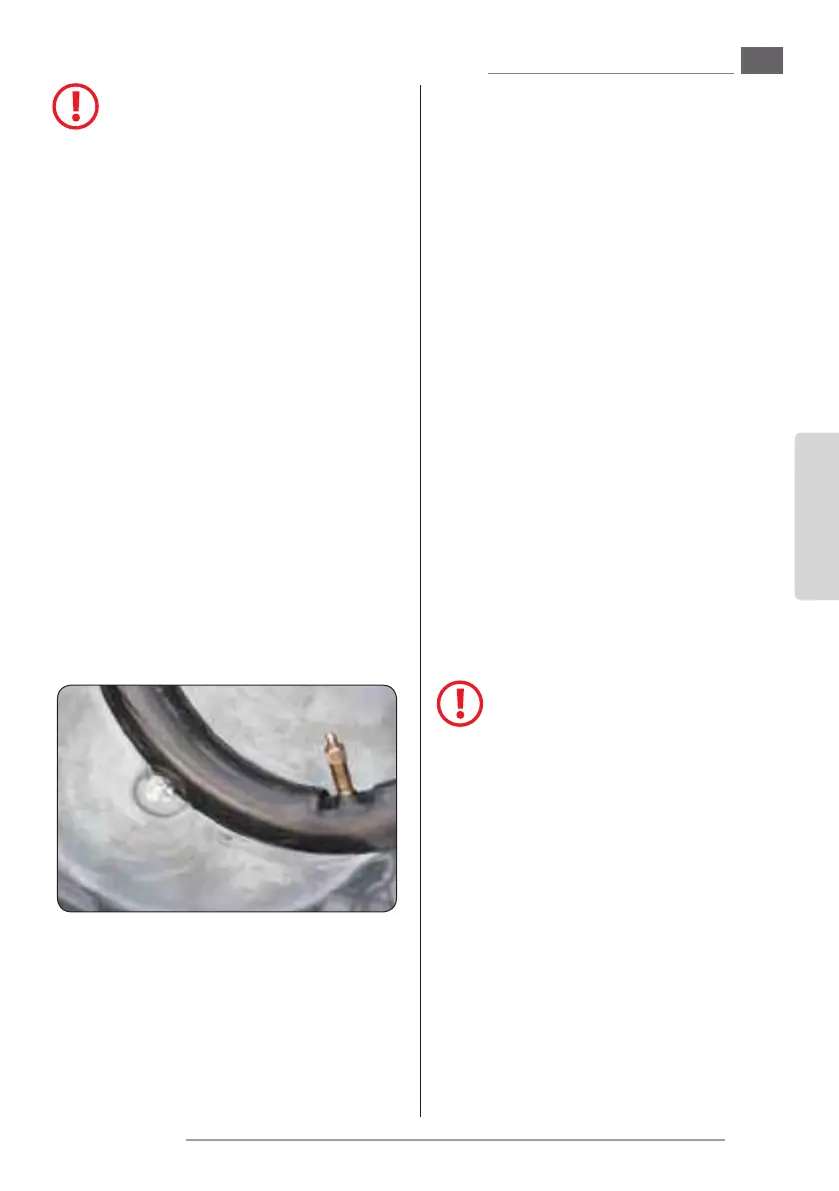
- Lift the tyre away from the wheel rim using the
tyre levers and starting from the point oppo-
site the valve.
- Remove the inner tube from inside the tyre.
Make a note of how the inner tube was aligned
inside the tyre.
- Identify the cause of the puncture:
· Inate the defective inner tube using the bi-
cycle pump.
· Attempt to nd the point where the air es-
capes.
· If it is possible to identify the air leak, twist
the inner tube around so that the valve is
pointing inwards.
- If the leak is located on the inner surface:
· Check that the rim protection band is posi-
tioned correctly in its housing.
· Check that all the spoke holes are covered. If
not, contact your vendor.
· Check the rim for signs of damage (sharp
edges, chips, splinters, etc.). If you notice any
damage of this type, contact your vendor.
· Check whether there are multiple puncture
holes located close to each other.
If so, it may indicate a “snake bite”, which is
caused by riding over sharp objects when
the tyre pressure is too low.
· If the rim is not damaged, t a new inner
tube.
- If the leak is located on the outer surface:
· Position the inner tube next to the wheel
rim, complete with the tyre, in the alignment
in which they were tted.
· Attempt to identify the area on the tyre that
corresponds to the point where the hole
is located in the inner tube. Items such as
thorns, small stones or fragments of glass
will often be found lodged in the tyre sur-
face.
· Remove any objects that may have caused
the damage carefully, using a ngernail, a
penknife or a similar object.
· In the event of extensive damage or tears,
replace the tyre.
Avoid touching the inner surface
of the tyre with your ngers since
there may still be sharp objects
lodged in the tyre that could
cause cuts or lacerations. Do not
slide your ngers rapidly along
the inner surface of the tyre.
Take care when touching the side
walls of the tyre.
 Loading...