10
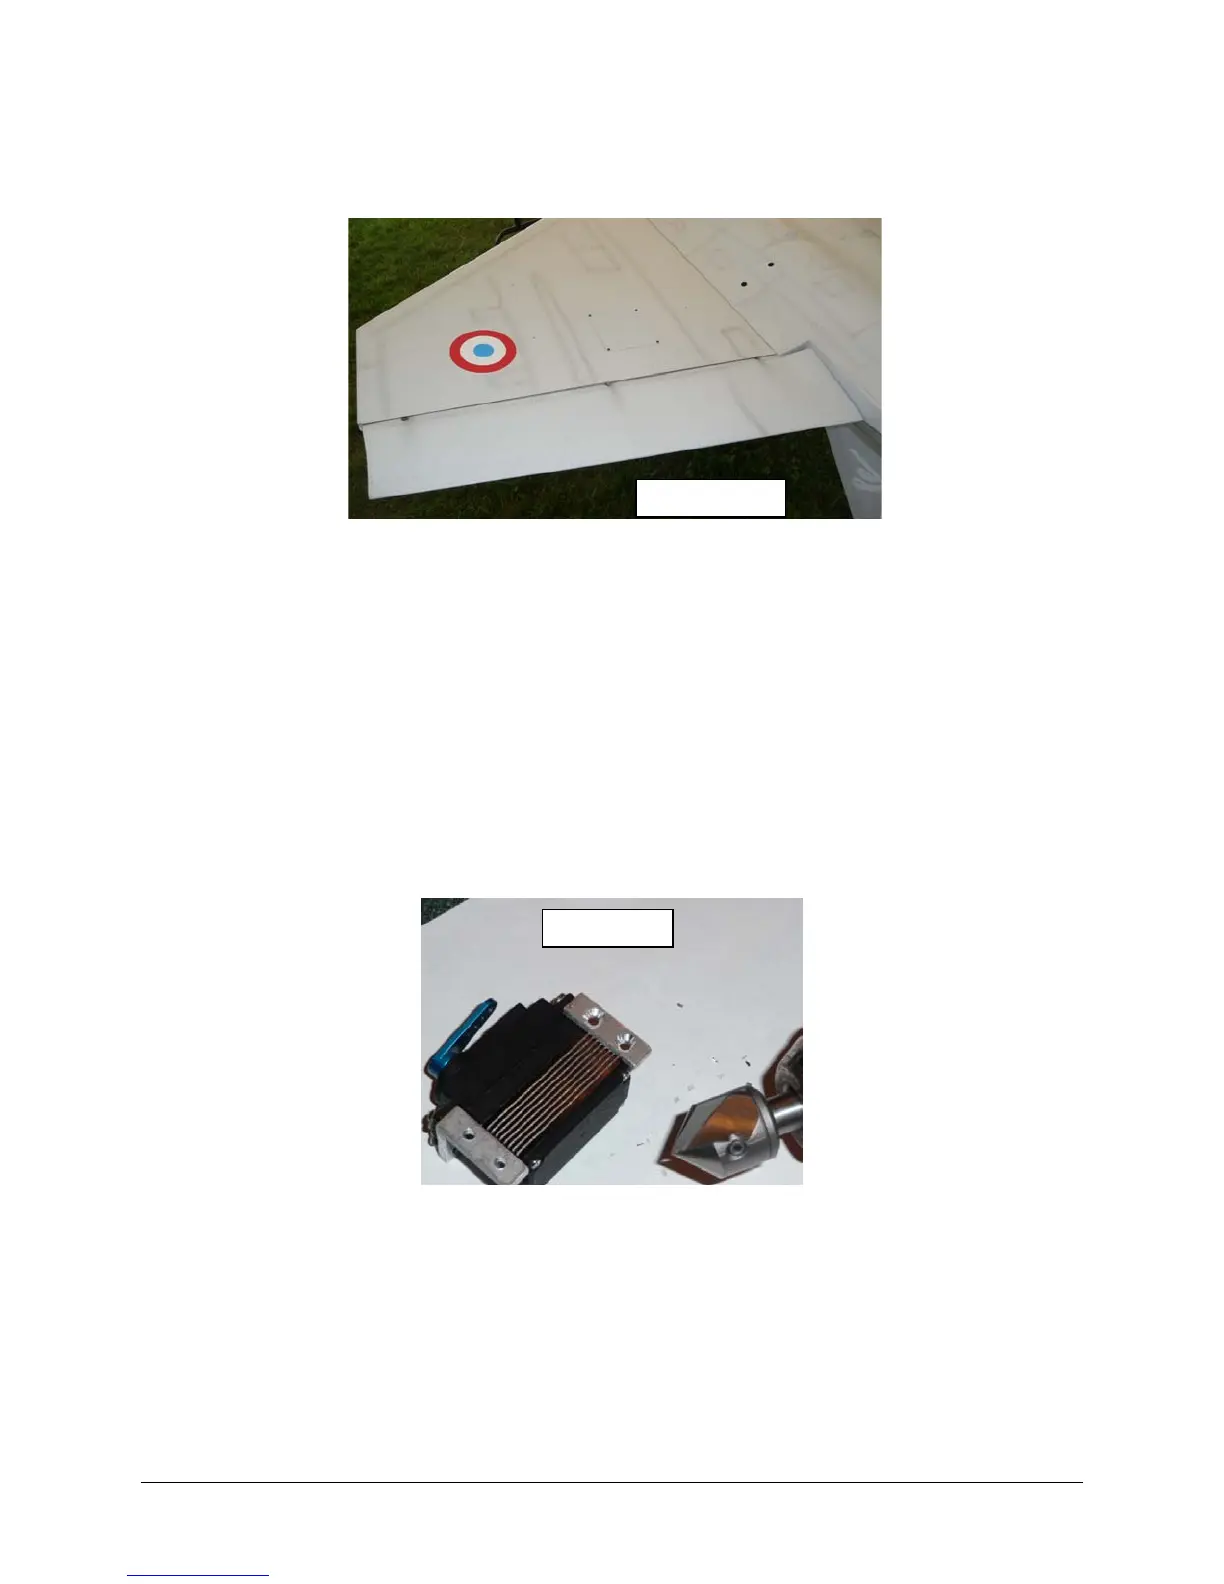
Note: If you kit is supplied with the factory positioned servo bays located back towards the TE
of the wing (see Photo 11) then the plywood mounts may require some modifications in order to
mount the servo of your choice. Due to the large surface of the Elevon it is recommended to
use a standard size digital servo with metal gears which will supply plenty of reserve torque.
Remove the factory supplied flat servo cover and put aside, locate raised covers and trial fit
into openings, if required trim to fit.
Attach the L brackets to the servos. The servos will face in opposite directions when
installed with the spline end towards the TE of the wing.
Note: It is the authors practice not to use the rubber grommets supplied with the servo for
mounting of servos in jet airframes as vibrations are not an issue.
Using your receiver or servo driver, find servo neutral and attach the heavy-duty servo arm, I
use the aluminum arms supplied with the Hi-Tec HS 5955TG servos that were used.
Pull the servos through the wing to the roots, the stock leads should be of sufficient length;
label the servo wires for Elevons.
Position the servos onto the mounting tabs. You may also need to trim the lip of the servo
well slightly to provide clearance for the aileron servo arm.
Using a countersinking tool create a countersink area large enough to fit the flat head screw
in the L brackets, see Photo 12
Using great care not to pierce through the top surface of the wing, drill and screw the servos
in place using appropriate flat head type wood screws.
Locate/mark & cut slot position in hatch for the servo arms and then install hatch, see photo
13.
Assemble the Elevon linkage; you may need to enlarge the hole in the control horn with a
7/64 inch drill for the connecting bolt. Do not over tighten this bolt as the rod will bind as the
Elevon is actuated.
Photo 11
Photo 12
 Loading...