6
There is no structure for the hinge points to mount to in the Elevon section therefore hardwood
balsa sections must be glued into place and then drilled for the hinge points as show in photos
2 and 3.
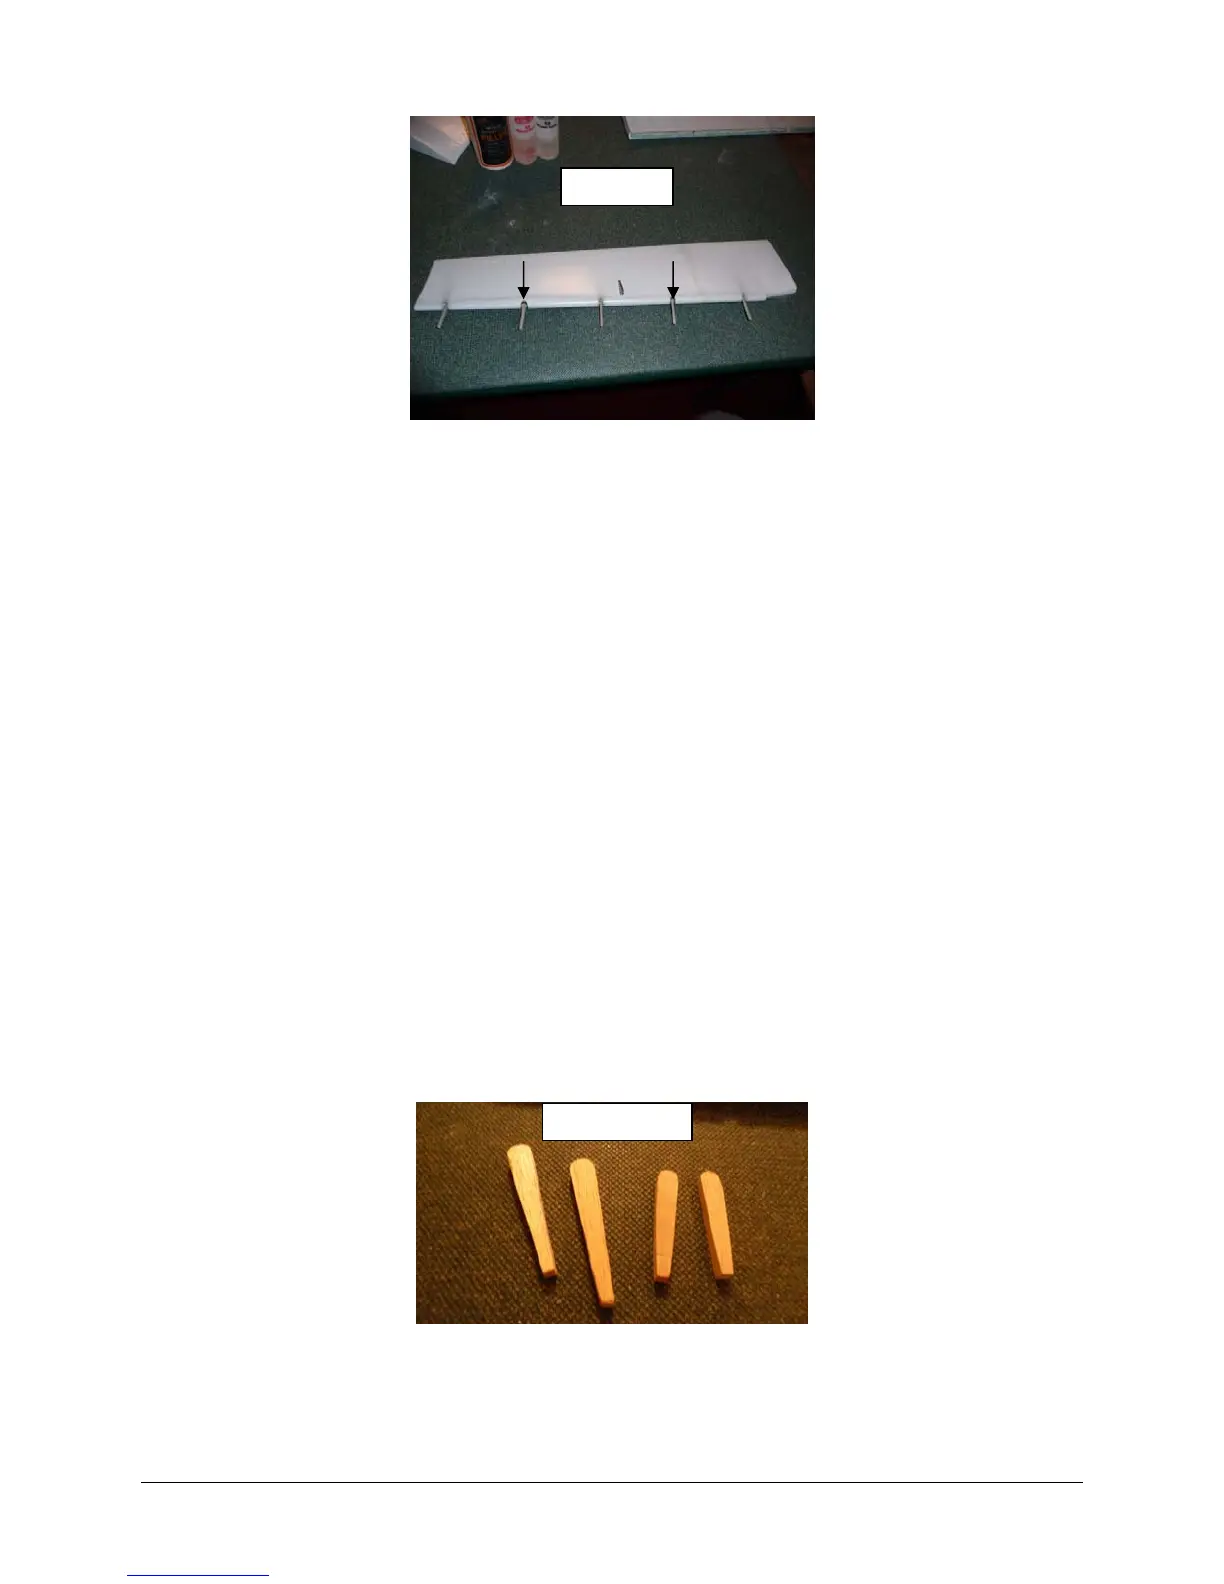
Start by making the two extra holes in the leading edge of the surface; the holes are
positioned centered between the existing holes. See Photos 1
Fabricate two filler blocks for each hole, photo 2, the filler blocks are coated with adhesive
and then inserted into the hole that was created in the surface, photo 3, use an x-acto knife
to maneuver the parts around once inserted into the hole. The two blocks should be
positioned so that the joint that forms between then is centered in the cutout hole in the
leading edge.
After the adhesive is fully cured, drill the hole required for the hinge point photo 4, I used
Robart large hinge points for the extra hinges required.
Now all hinge points can be glued into the surface, it is recommended to used some oil on
the hinge pin to make sure that adhesive does not work its way in and cause a bind, see
photo 5. Make absolutely sure that oil does not get on the part of the hinge that will be
glued; any stray oil can be removed with solvent.
After all hinge point are inserted, go back and check the depth of insertion and alignment of
the hinges before the adhesive cures. Make sure adhesive did nit get into the hinge pin
locations. Any extra adhesive should be removed; a toothpick works well for getting into
tight spots.
Note: Nail polish remover works well as a solvent to remove pre-cured adhesive and it did not
attack the paint on this particular model, see photo 6; however, before any solvent is used it
should be tested on an inconspicuous area of the paint.
Photo 1
Photo 2
 Loading...