6
EN
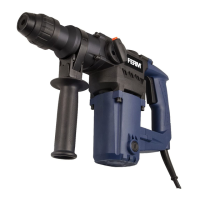
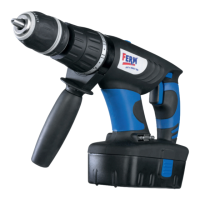
4. Chuck
5. Locking sleeve
6. Main grip
7. Auxiliary grip
9. Lubrication point
10. Adjusting wheel for electronic speed control
3. ASSEMBLY
Before assembly, always switch off the
machine and remove the mains plug
from the mains.
Mounting and removing the accessory
Fig. B
Do not use blunt drill bits or chisels.
Immediately sharpen or replace blunt
drill bits or chisels.
Mounting
accessory.
counterclockwise until it locks into place.
Removing
Mounting and removing the auxiliary grip
Fig. C
Mounting
counterclockwise.
chuck (4).
position.
clockwise.
Removing
counterclockwise.
clockwise.
Mounting and removing the dust collector
Fig. D
The dust collector prevents dust from entering the
machine when drilling into ceilings.
Immediately replace a damaged dust
collector.
Mounting
chuck (4).
the accessory.
(15) into the chuck (4).
Removing
(15) from the chuck (4).
accessory.
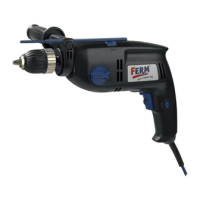
4. USE
Switching on and off
Fig. A
switch (1).
switch (1).
Speed Preselection (10)
The required speed can be preselected with the
thumbwheel. Also during running the rotational
speed can be adjusted.
1 - 2 = low speed
3 - 4 = medium speed
5 - 6 = high speed
Max = maximum speed
The required speeds depends on the material and
can be determined by practical testing.