Page 5
DFT8 Reverse Osmosis Filter
Preparation and Installation
Connecting to the Main Water Supply
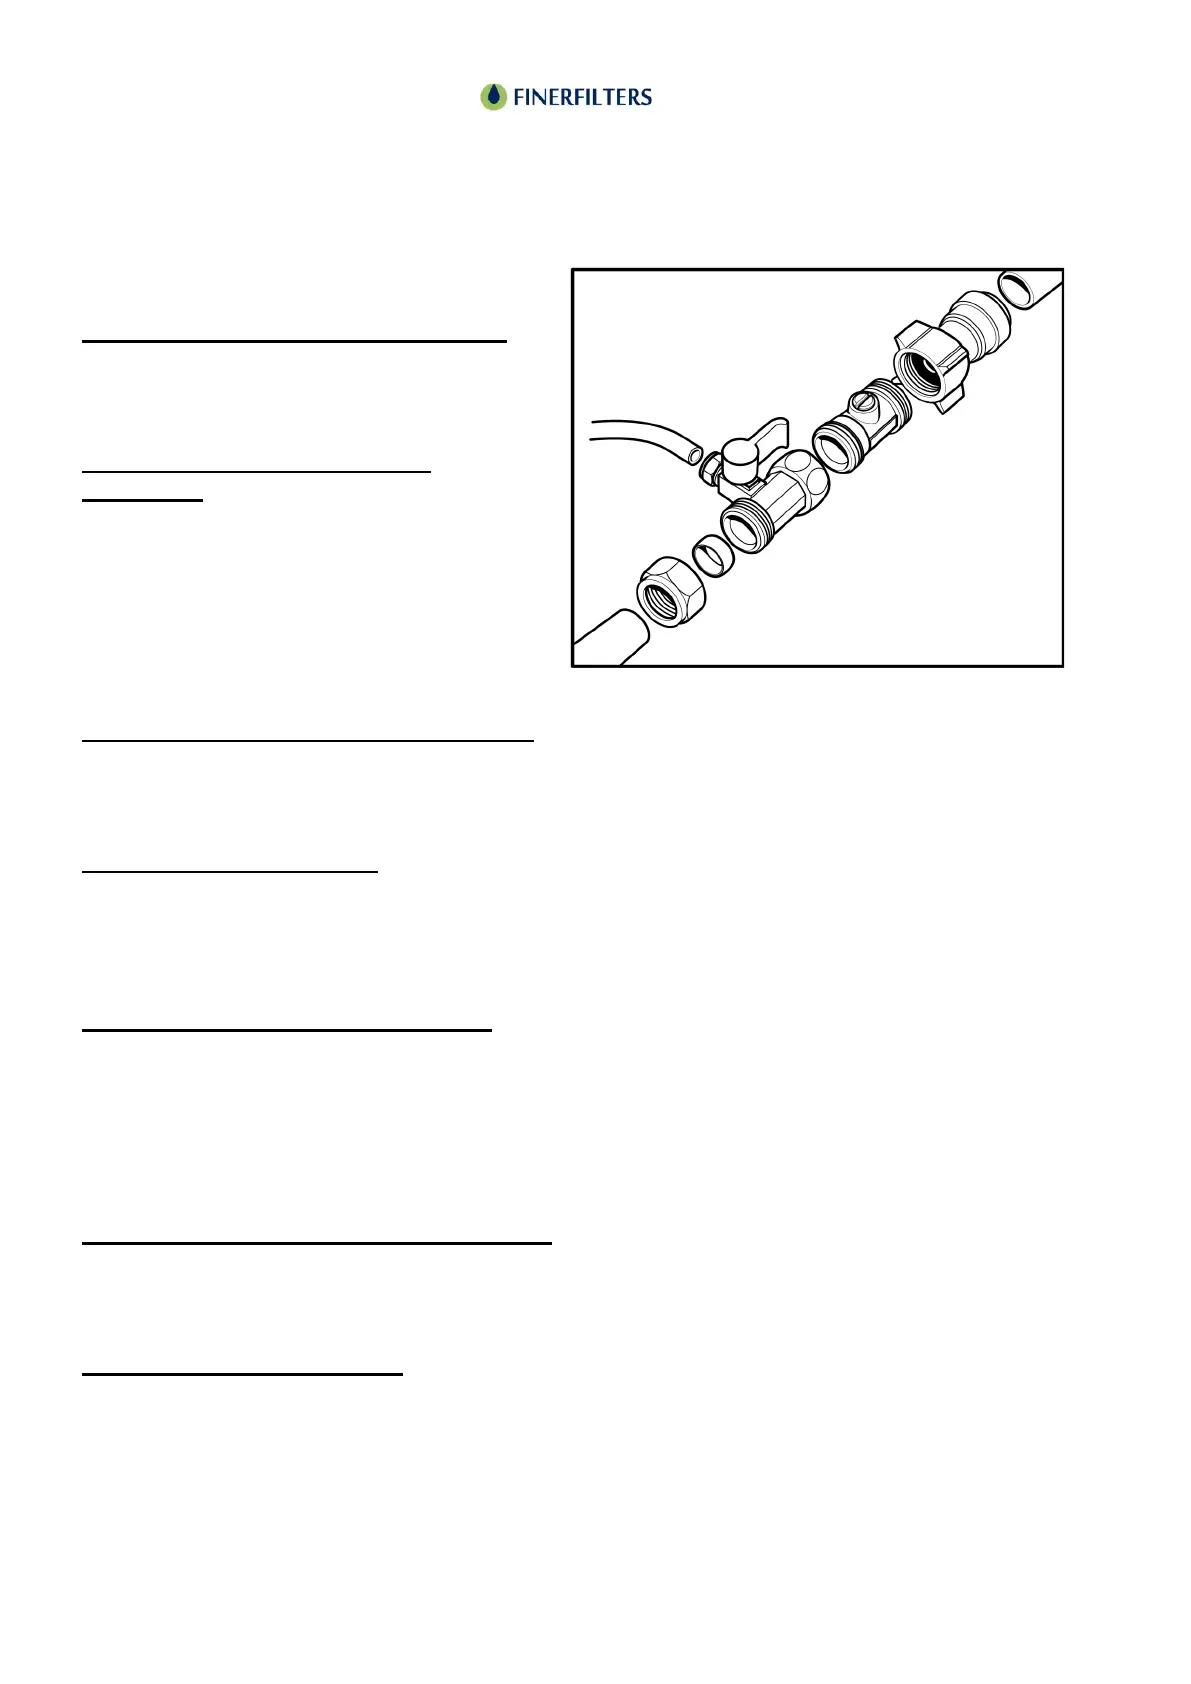
Please refer to the accompanying diagram
labelled "Fig 3" for visual guidance.
1. Preparing the Shut-off Valve
Assembly:
Attach the ball valve to the female nut
connection of the shut-off valve and secure
it by tightening the nut.
Connect the push-fit fitting to the male end
of the shut-off valve, ensuring the rubber
seat is properly positioned, and tighten it.
2. Measuring and Preparing the Tubing:
Measure the required length of 3/8" plastic tubing needed to link the shut-off valve to the inlet
connection on the RO unit's back.
3. Connecting the Tubing:
Remove the nut from the shut-off valve nipple and loosely fit it onto the 3/8" tubing.
Insert the tubing onto the valve nipple, then screw the nut back onto the valve and tighten it
securely.
4. Preparing the Main Water Supply:
Prior to making any cuts, ensure to turn off the water supply via the stopcock valve.
To prevent water spillage, drain the system:
Open all taps and showers in the property to allow air in as the water drains out.
There's usually a drain cock attached to the stopcock—connect a hose to it and let the water
drain into a large bowl or basin.
5. Installing the Shut-off Valve Assembly:
Cut away a 95mm section of the main water supply pipe after the stopcock valve.
Install the shut-off valve assembly to the main water pipe as demonstrated in Fig 3.
6. Finalizing the Installation:
Ensure the shut-off valve is in the OFF position.
Turn the stopcock valve back on to restore the water supply.
 Loading...