This document provides an installation guide for Fisher & Paykel dishwashers, covering Classic, Designer, and Contemporary models. The guide emphasizes safety instructions, technical data, parts supplied, and detailed installation procedures, including cavity preparation, toe kick installation, securing the product, plumbing, drainage, and electrical connections. It also includes a troubleshooting section and a final checklist for installers.
Function Description:
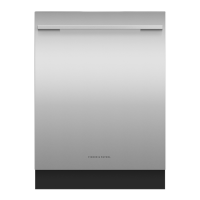
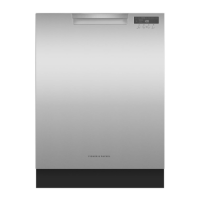
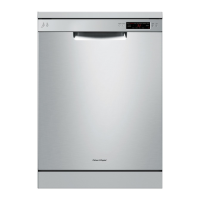
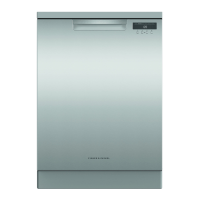
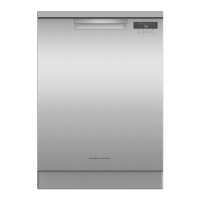
The Fisher & Paykel dishwasher is designed to efficiently clean dishes and kitchenware. It features various wash programs and is equipped with anti-flood protection, which automatically shuts down the incoming water supply in the event of a leak. The appliance is intended for indoor use and requires connection to a properly rated, protected, and sized power supply circuit to avoid electrical overload.
Usage Features:
The dishwasher is designed for ease of use and integration into various kitchen designs. It offers flexibility in toe kick installation, supporting both separate custom panels and continuous custom panels, as well as pre-finished toe kicks. The toe kick can be adjusted in height and depth to align with surrounding cabinetry. The product can be secured to the cabinetry on the sides or optionally to the cabinetry above, ensuring stability.
The dishwasher's feet are adjustable, allowing for precise leveling and secure placement under the benchtop. The back foot can be adjusted with a hex key, while the front feet are manually adjustable. This ensures the dishwasher sits securely and does not tip.
For optimal performance, the dishwasher should be installed level and not inclined more than 1 degree. The door is designed to open and close freely without resistance from adjacent cabinetry.
Maintenance Features:
The installation guide highlights several points related to maintaining the dishwasher's performance and preventing issues. Proper installation of the drain hose is crucial to prevent waste re-entering the hose and blockages. The drain hose should be installed as close to the underside of the benchtop as possible and should not extend into water retained in the trap. An air gap is required to prevent waste water from siphoning back into the tub. The drain hose should not be longer than 4 meters to avoid reduced performance.
The inlet hose should be connected to the water main using the supplied new water inlet hose, and old hoses should not be reused. It's important to ensure the inlet hose is not kinked, as this can restrict water flow. If the water pipes have not been used for a long period, it's recommended to let the water run until clear to prevent impurities from blocking the inlet hose or damaging the appliance. A filter insert can be used to filter out deposits from the piping if needed.
The guide also provides troubleshooting tips for common issues such as excessive water remaining after a rinse cycle, no water supply, continuous beeping, water around connections, and product tipping. These tips include checking for kinked hoses, blocked waste connections, proper highloop installation, water supply connection, and ensuring the product is level and secure. For more complex issues, users are advised to consult the 'Troubleshooting' section of the User Guide or contact an Authorised Service Centre.
The electrical connection must be properly earthed as a safety requirement. The power cord should not be modified or cut, and extension cords or multi-outlet power boards should not be used. The power outlet must remain easily accessible for safe cleaning and maintenance.
The guide emphasizes the importance of sealing any bare wood surrounding the dishwasher with an oil-based paint or moisture-proof polyurethane to prevent steam damage to the cabinetry. Plastic spacers can be used to improve overall stability by taping them to the sides of the dishwasher near the hinges.
Overall, the document provides comprehensive instructions to ensure a safe, stable, and efficient installation of the Fisher & Paykel dishwasher, contributing to its long-term performance and user satisfaction.