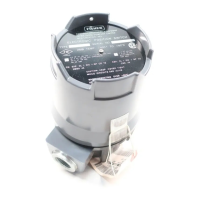
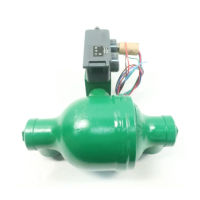
Instruction Manual
D200119X012
2100 and 2100E Liquid Level Switches
June 2017
11
Table 3. 2100 Troubleshooting Guide
Fault Possible Cause Correction
1. Nozzle‐flapper throttles (flapper moves in
response to change in liquid level but does
not completely cap or uncap nozzle).
1.1 Nozzle adjusted too high. 1.1 If nozzle prevents flapper from coming in
full contact with magnet, repeat the Calibration
procedure.
Perform the Calibration Check procedure to
ensure that the unit operates properly.
1.2 Verify that the top surface of the magnet is
parallel with the flapper and that the magnet is
in full contact with the flapper when the flapper
is against the magnet. If the above conditions
do not exist, repeat the Calibration procedure.
Perform the Calibration Check procedure to
ensure that the unit operates properly.
2. Nozzle‐flapper fails to snap open. 2.1 Liquid level not changing in the expected
direction.
2.1 Be certain liquid level in the displacer cage is
changing in the expected direction.
3. Nozzle‐flapper leaks when shut off. 3.1 Surface of nozzle seat or nozzle worn or
damaged.
3.2 Nozzle adjusted too low.
3.3 Incorrect alignment of nozzle and flapper.
3.1 Inspect surface of flapper seat (key 11,
figure 5), and nozzle (key 6, figure 5); replace
parts if necessary.
3.2 Inspect nozzle‐flapper when flapper is being
held by magnet. If nozzle is not seated on
flapper seat, loosen locknut (key 33, figure 5)
and rotate nozzle counterclockwise until it is
seated.
3.3 Inspect surface of nozzle seat (key 11,
figure 5). This surface should be parallel with
the opening in the end of the nozzle (key 6,
figure 5). Correct as necessary.
4. Switch fails to activate upon high or low
level depending on action selected.
4.1 Foreign material in cage.
4.2 Clamp and shaft assembly loose on torque tube
assembly.
4.3 Torque tube assembly failure.
4.1 Flush cage to remove foreign material.
4.2 Perform step 4 of reassembly procedure in
maintenance section. Tighten clamp nut on
clamp and shaft assembly to between 20 and
27 NSm (15 and 20 lbSft).
4.3 Perform operational test procedure Replace
torque tube assembly if it fails operational test.
This test should be conducted with no process fluid in the cage using the following procedures:
1. Make sure the 2100 switch flapper and clamp assembly (key 12, figure 5) or the 2100E switch arm (key 40, figure 6)
is tight on the shaft of the torque tube assembly (key 7).
2. Grasp and lift, then immediately release, the following:
D The 2100 switch flapper and clamp assembly (key 12, figure 5), 10 to 13 mm (0.375 to 0.5 inch) from the nozzle
(key 6, figure 5), or
D The 2100E switch arm (key 40, figure 6), 10 to 13 mm (0.375 to 0.5 inch) from the contact of the electric switch
assembly (key 49, figure 6).
3. The torque tube spring system is functional if the 2100 switch flapper and clamp assembly, or the 2100E switch
arm, bounces at least two cycles in a reversing rotary motion.
 Loading...