14
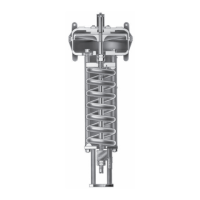
In the version with integrated slam shut
connect the safety manometric box (BMS)
to the outlet pipe keeping a minimum
distance of 4 x D to a straight run of
the pipe.
In the case of functioning class B
for the slam shut it is necessary to
regularly check the safety manometric
box (BMS) diaphragm.
Connect the reject tab to the outlet pipe.
It is recommended to separate the slam-
shut impulse from that of the actuator.
Do not connect impulses on the lower
generator line.
It is recommended to install and isolation
tap and a vent tap. These can be useful for
Check that the pilot impulse is connected
and in the case of an isolating tap (not
recommended) that it is open.
structure of the equipment (drilling,
grinding, soldering...).
It is recommended to install a servicing
valve on the outlet pipeline to facilitate
adjustments and bleeding off to
the atmosphere.
In the version with integral slam shut,
verify that the safety manometric
box (BMS) and spring correspond to the
appropriate operating conditions on the
outlet side of the regulator.
The equipment should not receive any
type of shock, especially the release relay.
The user should verify or carry out a
protection adapted to the environment.
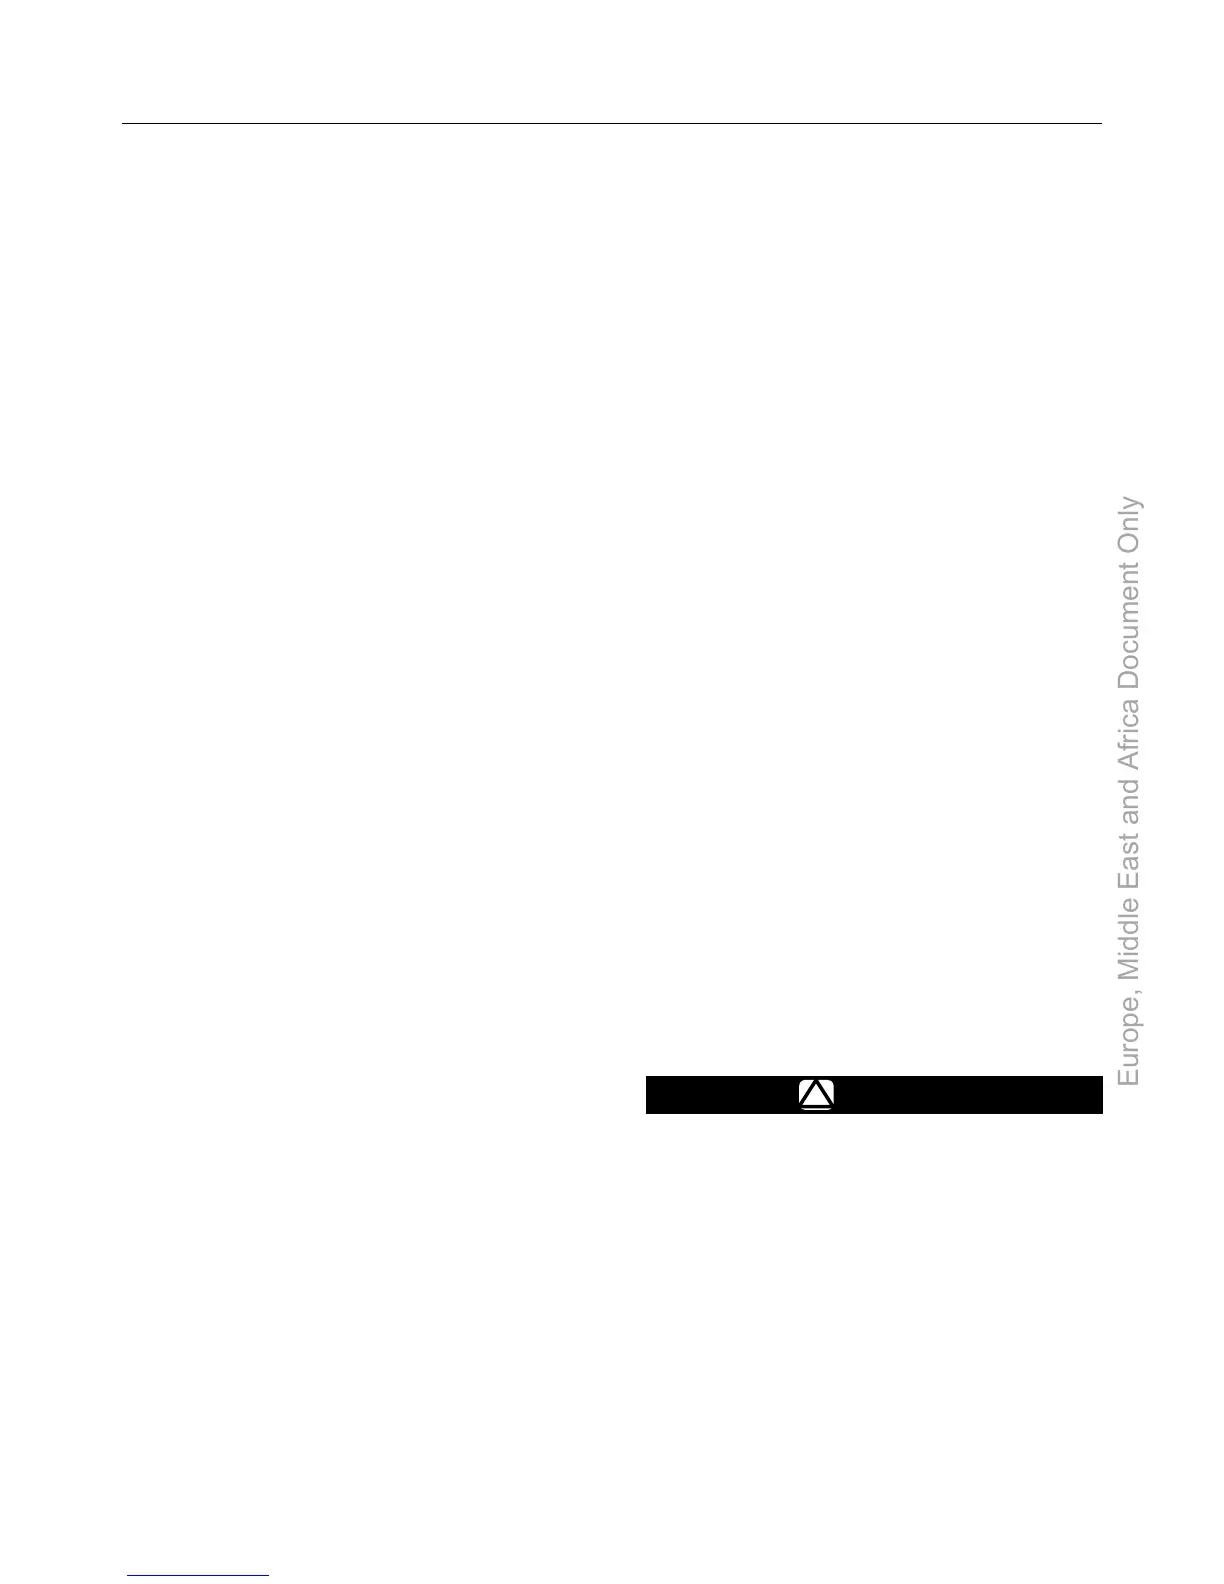
For DN 25 to 80, use long screws or
threaded stems when opening the actuator
(warning compressed spring).
are not taken into consideration in
standard regulators. If required, a
calculations may be supplied according to
A regulator may vent some gas to the
gas service, vented gas may accumulate,
causing personal injury, death or property
damage due to bursting of pressure-
retaining parts.
Vent a regulator in hazardous gas service
to a remote, safe location away from
air intakes or any hazardous location.
The vent line or stack opening must
be protected against condensation
or clogging.
All Installations (Single Regulator or
Monitor Systems)
A Type EZH or EZHSO regulator bleeds no gas to
atmosphere during normal operation, thus making
the regulator suitable for installation in pits and other
enclosed locations without elaborate venting systems.
This regulator can also be installed in pits subject to
ooding by venting the pilot spring case above the
expected ood level so that the pilot setting can be
referenced to atmospheric pressure.
1. Install the regulator so that the ow arrow on the
main valve matches the ow direction of process uid
through the regulator.
2. Apply pipe compound to the male pipeline threads
before installing a regulator with threaded NPT end
connections. Use gaskets between pipeline and
regulator anges when installing a regulator with
anged end connections. When installing buttweld
end connections, remove trim before welding and
make sure to use approved welding practices.
Use approved piping procedures when installing
the regulator.
3. Type PRX pilots have a 1/4 in. NPT vent connection
in the spring case. To remotely vent gas from the
spring case, remove the screened vent and connect
1/4 in. piping or tubing to the spring case connection.
The piping or tubing should vent to a safe location,
have as few elbows as possible and have a screened
vent on its exhaust. Install the regulator and any
remote vent piping or tubing so that the vent is
protected from condensation, freezing or substances
that may clog it.
CAUTION
To avoid freeze up due to pressure drop
and moisture in the gas, use anti-freeze
practices, such as heating the supply
gas or adding a de-icing agent to the
supply gas.
4. Connect the actuator to the downstream sense
line on a straight run of outlet pipe 8/10 (inside
diameter). Connect the other end of that impulse to
the Type PRX port.
5. Connect the PRX pilot port to the outlet pipeline at
a minimum distance of 4 x D from the regulator’s
outlet ange.