Do you have a question about the Flair Smart Vent and is the answer not in the manual?
Insert the bottom battery holder into the vent and secure with screws.
Note battery orientation and insert; skip if wiring.
Align and screw the top battery holder over the batteries.
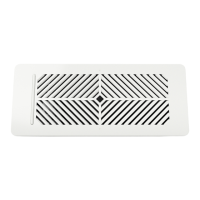
Place the vent into the duct opening for floor, wall, or ceiling.
Secure the faceplate with screws to complete the physical setup.
Follow Puck guide for system association and enabling setup mode.
Drill a hole for 20AWG wire and route it through the boot or duct.
Seal the hole and connect the wire conductors to the vent's 24VAC port.
Connect the wire to a 24VAC transformer/power supply.
| Product Type | Smart Vent |
|---|---|
| Color | White |
| Connectivity | Wi-Fi |
| Power Source | Battery |
| Control | App, Voice (Alexa, Google Assistant) |
| Material | Plastic |
| Dimensions | Varies by model |
| Weight | Varies by model |
| Warranty | 1 year limited |
| Compatibility | Flair Puck, Flair app (iOS and Android), Google Assistant, Amazon Alexa |