5
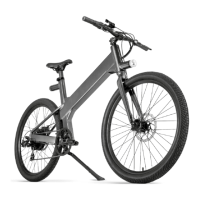
4. Assemble and center the stem so the handlebar is per
pendicularly aligned with the front wheel. Tighten the
(2x) 5mm hex screws on the stem to 8Nm - 9Nm of
torque.
5. Use a 15mm wrench to assemble the pedals. NOTE:
the right pedal must be attached to the right crank arm
(chainring side) and tighten the pedal in a clockwise
rotation. The left pedal must be attached to the opposite
side and tighten by counter clockwise. Do not reverse
the pedals or you will damage the bike. Apply 35Nm of
torque.
6. Assemble the clear front reflector on the front of the
handlebar and the red reflector on the seatpost facing
the rear.
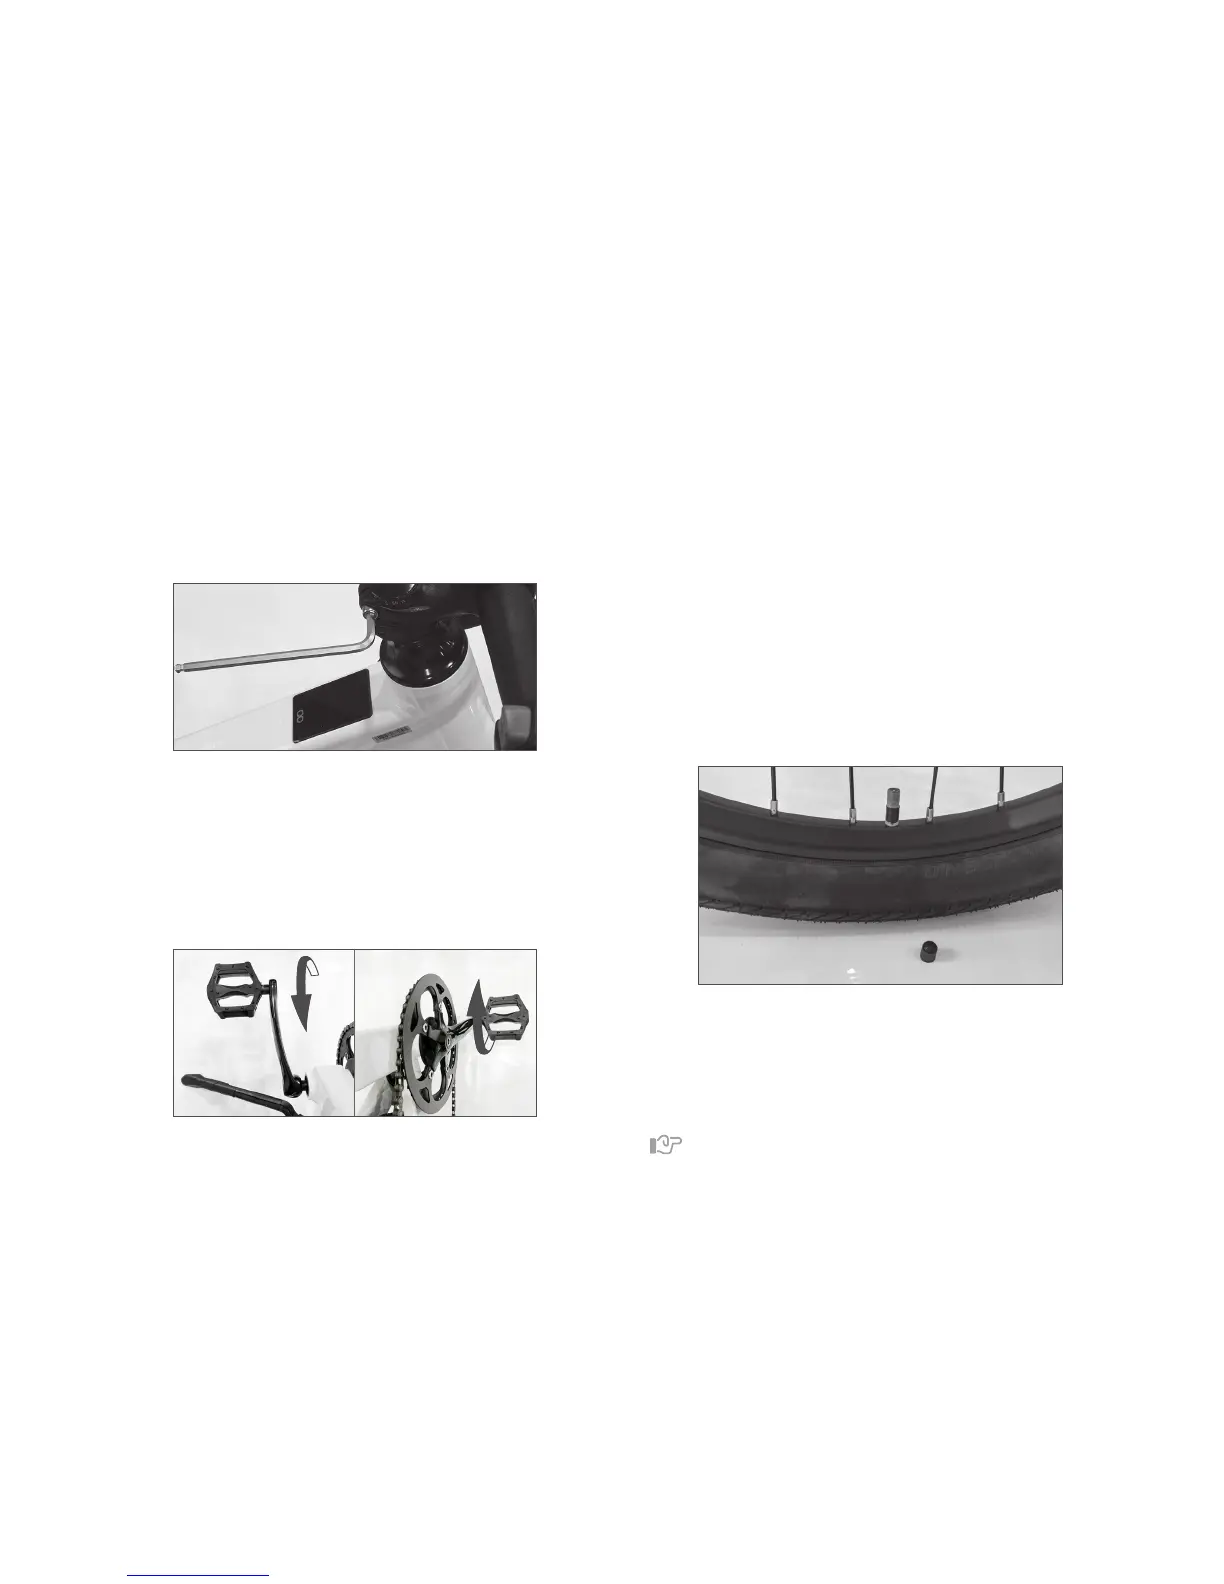
7. Add 40 P.S.I. (min) to 65 P.S.I. (max.) to both the front and
rear tire if your tire is a Kenda 26” x 2.10” tire. We recom-
mend to use a hand pump or foot pump with a schrader
valve that is similar to an auto tire valve. Note: Always
check the tire pressure indicated on the outside wall of
your tire before each ride.
It's easy: how to videos at http://support.flashbike.io