03 04
Step 3: Install Axle Supports to the Ceiling JoistsStep 1: Plan the Installation Location
Step 2: Assemble the Gearbox
G
x4
A
x1
E
5x5
E
A
G
3
4
48"
Connecting
Rod
Connecting
Rod
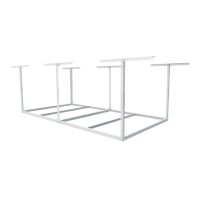
Check the spacing of your ceiling joists to ensure that the spacing of two ceiling joists attaching
the two ends of the connecting rod is 48".
Connect the axle support (4) to the gearbox (3) with flange bearing (A) using screws (E) and
tighten with 5 x 5 mm cross hex key (G).
Pay attention to the gearbox direction.
48"
48"
2.8'' (70mm)
0.19'' (5mm)
¢
Power Drill
2. Drill a 2.8'' (70mm) deep 0.2'' (5mm) diameter pilot hole at the center of each marked point.
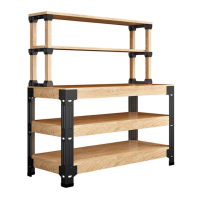
1. Use a stud finder to locate the wooden ceiling joists. Then use the installation template to mark the
mounting points.
Wooden Ceiling Joists
Note: The installation template
is reusable for marking mounting
points on each side.
Wooden Ceiling Joists
Installation Steps