From October 2009 QST © ARRL
row displays a legend indicating which band
and subband (for US licensees) you are in.
The TX button selects that VFO frequency
to be used for transmit, and selecting TX on
VFO B places the rig into SPLIT mode.
Between the two VFOs is another text
box that displays the tuning controls. These
buttons allow you to synchronize both VFOs,
lock both VFOs to prevent inadvertent fre-
quency changes and set the VFO tuning step
(1 Hz to 10 MHz in 13 steps). This box also
contains a frequency scratchpad to save the
current frequency, mode and filter settings.
You can then change frequencies or bands,
and a click on the RESTORE button will
bring you directly back to the scratchpad
frequency and that pileup you want to have
another shot at. Another box directly below
VFO A has buttons to operate split using
VFO B, swap frequencies between A and
B or to synchronize A and B. An additional
control, IF>V, is used when you shift the filter
from its base frequency in order to trim some
adjacent noise from a desired signal. This
button resets the VFO to the new filter center
frequency. Finally, both receive and transmit
incremental tuning are located here.
Band Control
On the right side of the FC just below the
multifunction meter is the BAND control box
with buttons for 160 to 6 meters. It also has
band buttons for 2 meters and VHF+, for use
with transverters. The WWV button cycles
through all the WWV frequencies. The GEN
button is for general coverage receive. Each
button represents a set of stacking memories
for that band (the default is three but that can
be changed). Each memory retains frequency,
mode and filter settings.
Tuning
The ’3000 has seven — yes seven — ways
to tune the transceiver. Say you are using the
panadapter and are looking for a special event
station on 20 meters. Across the panadapter
are a number of SSB signals, any of which
could be your target. Four of the tuning
methods use the mouse.
1) Drag tune. Place the pointer on a signal
then left button drag it to the green rectangle
that represents the receive passband. This will
“tune” that signal in. Once in the passband,
you can fine tune the signal using the mouse
wheel. I found that I could drag the signal to
the filter a lot faster than the software could
follow, but once everything settled down the
signal was in the filter passband and ready
for fine tuning. Go slow.
2) Mouse wheel. Roll the wheel forward or
backward and for each detent you will move
the target signal. Setting the tuning step to
10 kHz allows you to move across any band
rapidly. Steps of 250 Hz and 25 Hz permit fine
tuning of SSB and CW signals, respectively.
3) Click tuning. Place the pointer on the
target signal and press the right mouse button.
A set of yellow crosshairs appears represent-
ing VFO A. Set the yellow crosshairs on
the signal and left click. The signal will be
shifted into the receive passband. Once there,
fine tune with the wheel.
4) Mouse wheel hover. Set the frequency
directly into the active VFO by placing the
pointer on a digit of the VFO and use the
mouse wheel to change that digit. Just “dial”
in the target frequency.
There are three methods for tuning using
the keyboard.
1) Direct entry. When you enter a value
into the numeric keypad the value is trans-
ferred to VFO A.
2) Digit mapping. The ’3000 lets you map
keys to specific VFO digits. Once configured
the keys will change their respective digits
of the VFO frequency. This is essentially the
same as the Mouse Wheel Hover method.
3) Arrow keys. The arrow keys can be
used to change frequency by holding down
CTRL and pressing the key to increase the
frequency and the to lower the frequency.
Pressing the CTRL together with the and
keys increases or decreases, respectively,
the tuning step.
This arrow key arrangement is opposite
to what most of us are used to. When chang-
ing frequency we tend to think of right or
clockwise to mean increasing frequency
and left or counterclockwise to be decreas-
ing frequency. In fact, that is how the dis-
play behaves. I often found myself hitting
the and keys automatically to change
frequency and ended up changing the tuning
step instead. The first few times I did this
I automatically changed to pressing the
“correct” key but, having changed the tuning
step I ended up in the twilight zone. You do
pick it up, but swapping these around would
have been more intuitive for me.
Memory
PSDR includes a database feature that can
store records containing mode, frequency,
filter, tuning step, call sign, squelch, AGC,
group and some comments. The number of
these records is limited only by the amount
of hard disc space available on your com-
puter, meaning that the FLEX-3000 has
virtually an unlimited number of memories.
This database memory is over and above the
scratchpad memory and the band memories,
which are meant to be quick and easy oper-
ating aids rather than long-term storage of
important frequency information.
Scanning
The FLEX-3000 doesn’t have a scan
function. The keyboard arrow tune feature
can take its place in a limited way. When
using the arrow keys to scan, there is a
noticeable lag between the position of the
frequency scale and the location of signals
on the Panadapter trace. In use, the trace will
freeze after covering a short frequency range
and when you release the keys the frequency
jumps about 60 kHz.
AGC
The AGC employs seven separate settings
to control six AGC operating modes. The
AGC drop down menu allows selection of
FIXED, LONG, MEDIUM, SLOW and CUSTOM
AGC modes. The AGC-T control is effectively
an RF gain control. The LONG AGC function
tends to smooth out the noise while the FAST
AGC tends to sharpen the noise and also the
signal. I found the LONG setting distinctly
better for listening to weak phone signals.
When you are using headphones, care should
be taken when switching to FIXED as the audio
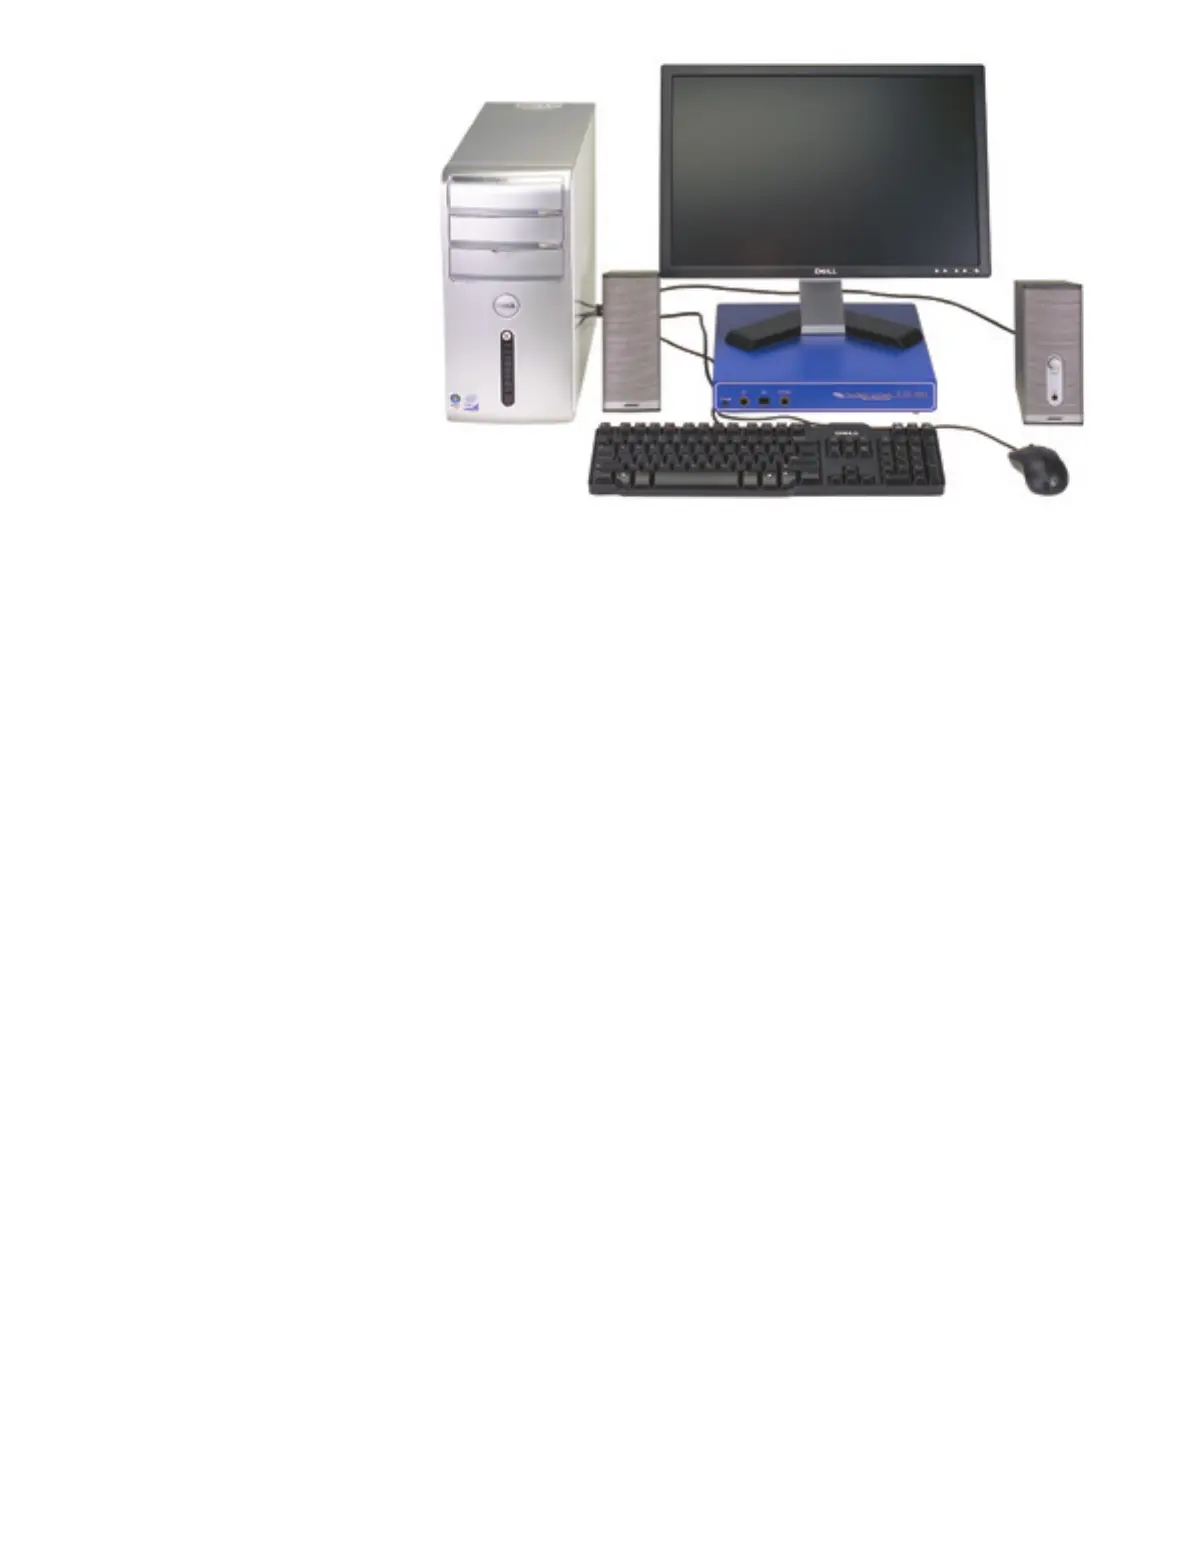
Figure 6 — The FLEX-3000 is tiny compared to a desktop PC. It’s a natural for
portable operation with a notebook computer.
 Loading...