Revision D – August 20th, 2021 Page 6
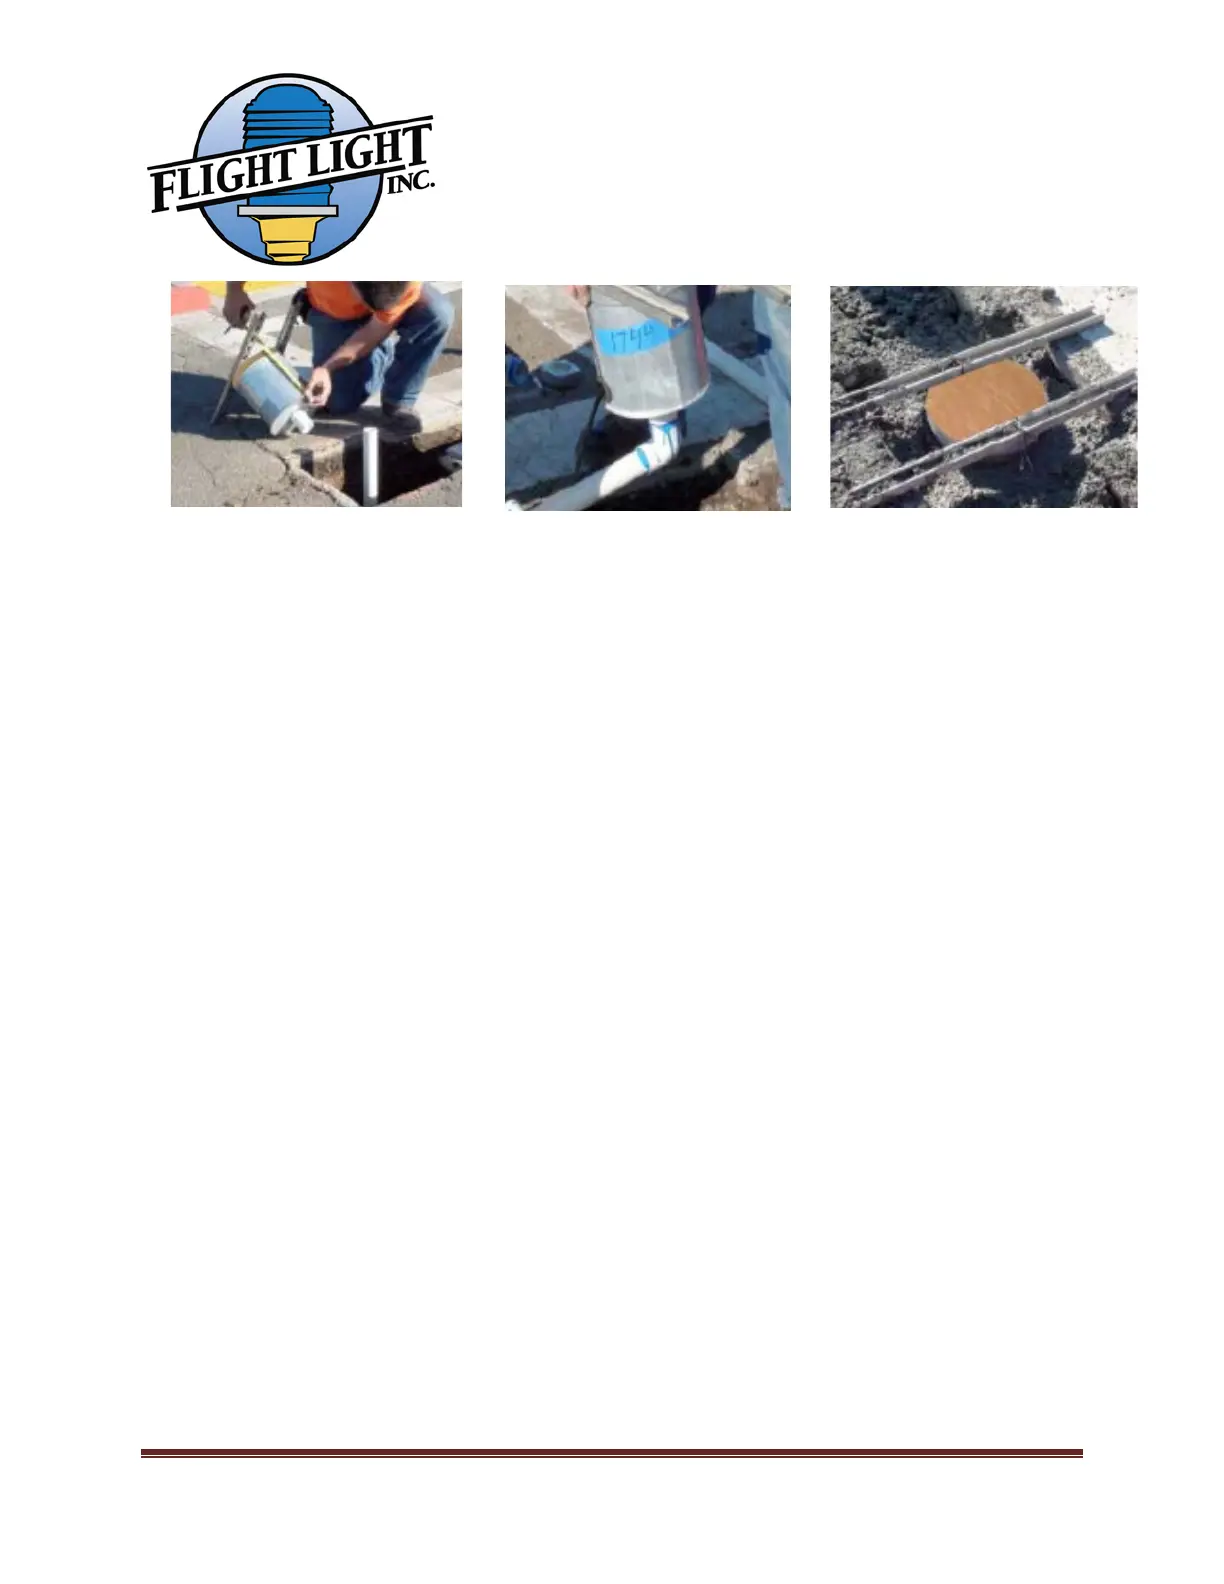
7. After the mounting jig is attached, suspend the base can so the top of the plywood
cover is flush with the surface of the pavement.
8. The gasket provided with the base plate needs to be installed in between the plate and
the can. An allotment between .125” and .250” beneath the grade for the gasket and
the light fixture base will provide flush or slightly above grade mounting, which will
promote water flow away from the fixture.
9. After the base cans are installed, test the drainage system by pouring water into the
installed base can at each fixture location. Pour enough water to verify that the
underlying ground is absorbing the water. If the base can is not draining properly,
modifications to the drainage system will be necessary. In this case, consult with your
project engineer before proceeding.
10. FAILING TO HAVE PROPER DRAINAGE WILL DAMAGE THE LIGHT. FLIGHT LIGHT INC WILL
NOT COVER SUCH WATER DAMAGES UNDER WARRANTY.
11. Once satisfied with drainage system, move on to the installation of the fixture power
cables.
12. Run fixture power cables to each base can, one black wire, one white wire, and one
green wire (grounding). Thread the light into the base plate and wire the cables coming
from the light to the incoming power cable.
13. Mount the base plate over the base can. Secure it with the 6 bolts received.