3 EN-US English
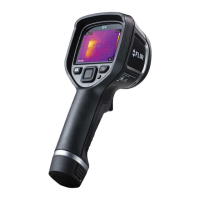
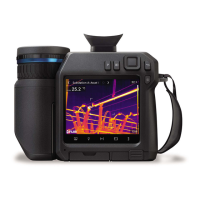
3.7 Camera parts
See Figure 2.1 Camera parts, page 2.
1. Digital camera lens.
2. Infrared lens.
3. Lever to open and close the lens cap.
4. Trigger to save images.
5. Battery.
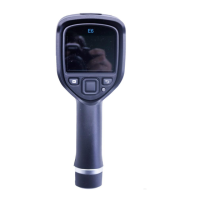
3.8 Keypad
See Figure 2.2 Keypad, page 2.
1. Camera screen.
2. Archive button
.
Function:
• Push to open the image archive.
3. Navigation pad.
Function:
• Push left/right or up/down to navigate in menus, submenus, and dialog
boxes.
• Push the center to confirm.
4. Cancel button
.
Function:
• Push to cancel a choice.
• Push to go back into the menu system.
5. On/off button
Function:
• Push the
button to turn on the camera.
• Push and hold the
button for less than 5 seconds to put the camera
in standby mode. The camera then automatically turns off after 48 hours.
• Push and hold the
button for more than 10 seconds to turn off the
camera.
#T810136; r. AA/33068/33068; mul 6
 Loading...