3 EN-US English
3.7 Camera parts
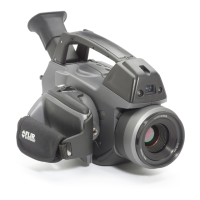
3.7.1 View from the left
See Figure 2.1 View from the left, page 2.
1. Programmable button for one of the following functions:
• Change the zoom factor.
• Hide/show graphics.
• Change the polarity.
• Change the palette.
You program the button in setup mode
in the Preferences tab.
2. Temperature range button.
3. Mode wheel
with the following modes:
• Camera mode: Save images.
• Video mode: Record video clips and video sequences.
• Archive mode: View saved images, video clips, and video sequences.
• Program mode: Set up periodical saving of images.
Quantification mode: Record video sequences, including parameters re-
quired for gas leak quantification.
Note The availability of this feature is dependent on the camera model.
• Setup mode: Change the general settings.
4. Laser button.
5. Button to go between infrared mode and digital camera mode.
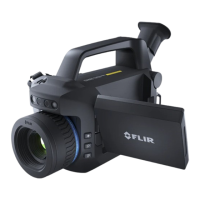
3.7.2 View from the right
See Figure 2.2 View from the right, page 2.
1. Camera handle.
2. Laser pointer.
3. Digital video camera.
4. Digital camera lamps. When you are in digital camera mode, you turn on the
lamps by pushing the joystick.
#T810142; r. AB/55671/55671; mul 8
 Loading...