EN-8EN-7
PUMPING POWER
Flow Rates
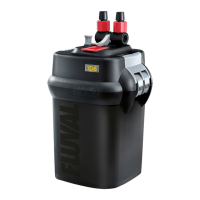
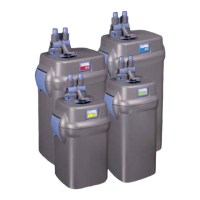
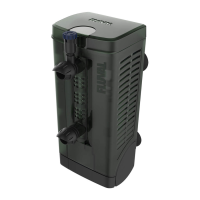
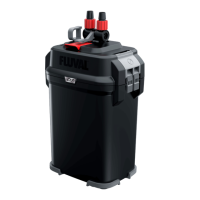
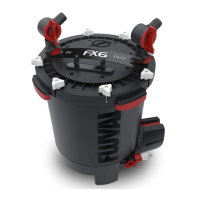
Fluval 06 series filters are available in four different models to accommodate aquariums of various sizes, from the smallest
home tank to the largest commercial setup. They offer an outstanding array of filter choices for the hobbyist and
professional aquarist alike.
The key to effective filtration is water circulation. The more water filtered per hour, the cleaner the aquarium will remain. In
addition, water circulation is necessary to continually replenish the supply of oxygen in your aquarium. The faster a filter
can “turn over” an aquarium’s contents
(completely filtering the entire volume of water in the tank),
the cleaner and more
highly oxygenated the water will be. Turnover rates are determined by a filter’s volume and its flow rates.
Filter Area
The greater the filter media volume, the greater the mechanical efficiency and biological activity that will occur in the
filtration process. Fluval 06 Series filters have been designed to maximize canister volume in all four models and to
accommodate multiple filter media options, while at the same time increasing the pathways through the canister to give
water more contact time with the media.
Pumping Power
Themore powerful the motor, the faster it canwork and the more water it can pump. Each model in theFluval 06 Series filters is
powered bya motor engineered for top performance, completereliability, and maximumefficiency with minimum noise.
Capacity Engineered: Flow Rates, Filter Areas & Power
Model recommendations to provide ideal filtration for aquarium tanks of various sizes:
FLUVAL AQUARIUM PUMP MECHANICAL BIOLOGICAL FILTRATION FILTER MAX. WATER
FILTER CAPACITY OUTPUT AREA VOLUME VOLUME CIRCULATION* COLUMN
MODEL HEIGHT
U.S.
L U.S. L/Hr Sq. mm
2
U.S. L U.S. L U.S. L/Hr Ft. m
Gal. Gal. Yds. Qt. Qt. Gal.
106 25 100 145 550 30,666 36,800 1.44 1.37 3.36 3.2 95 360 4.75 1.45
206 40 200 206 780 46,666 56,000 2.10 2.0 4.84 4.6 121 460 4.75 1.45
306 70 300 303 1150 46,666 56,000 3.26 3.1 6.94 6.6 206 780 5.75 1.75
406 100 400 383 1450 63,583 76,300 4.42 4.2 8.94 8.5 245 930 7.38 2.25
*Flow rates were measured with intake and output hoses that were the same length
Filter pump electrical wattages
FLUVAL 120 V/60 HZ 230-240 V/50 HZ
FILTER ELECTRICAL ELECTRICAL
MODEL SUPPLY SUPPLY
106 10 W 10 W
206 10 W 10 W
306 16 W 15 W
406 23 W 20 W
INSTALLATION AND USE
IMPORTANT: Read all instructions before beginning.
• For best results, top off water in aquarium before beginning setup.
• Allow 30-45 minutes for setup and installation.
• Tools required: Utility knife.
(
N
Noottee::
For an u
nusually shallow aquarium, the intake tube may need to be cut;
this requires a hacksaw.)
DO NOT PLUG IN FILTER UNTIL SETUP IS COMPLETE AND UNIT IS FILLED WITH WATER.
1. Unpack and identify all parts
Use the diagram on the inside front cover as a guide.
2. Prepare the aquarium
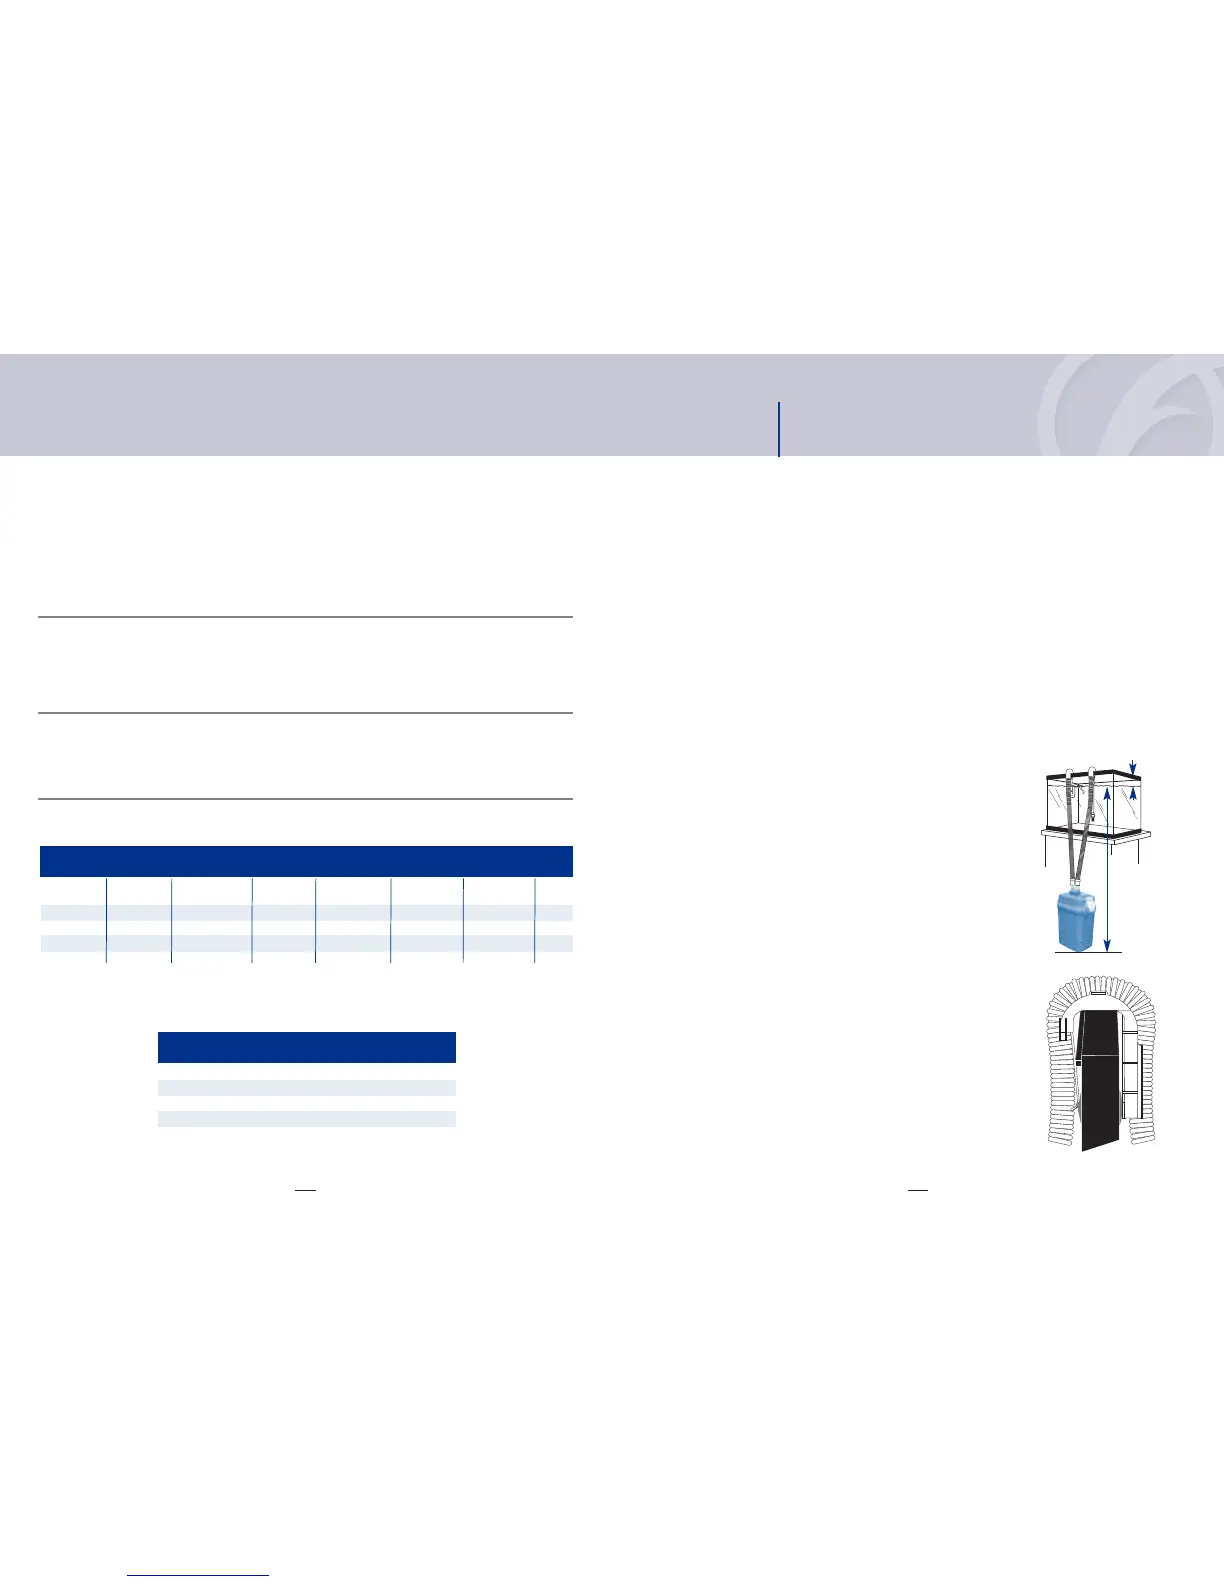
1. Decide on filter placement. Remember, this is a gravity-fed system. For it to work properly, all the Installation
Requirements below must be adhered to.
Installation Requirements
• The canister base must never be more than 4.5 ft. (1.4 m) below the water level.
• Hosing must follow a straight path from the filter to the aquarium rim, with
no loops and very little slack.
• The water level should never be more than 7 in. (17.5 cm) below your
aquarium rim.
• The filter must ALWAYS be positioned below the aquarium.
• Intake tube should not be positioned in close proximity to an air source.
2. Place the two rim connector assemblies over the back top edge of the aquarium.
Place one just above the spot where you want to position the intake tube;
place the other just above the spot where you want to position the output nozzle.
Be sure the longer section of each connector is on the outside of the aquarium.
Attach suction cups to the outside and inside section of each connector.
IMPORTANT: Be sure to position the intake tube away from any air source—
an air stone, an aeration device, or the output valve. Air entering the intake
strainer will diminish filter efficiency.
MAX 7 in.
(17.5 cm)
MAX 4.5 ft.
(1.4 m)