8
USE
H
K
J
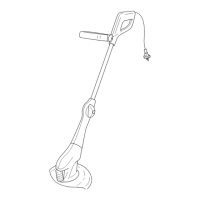
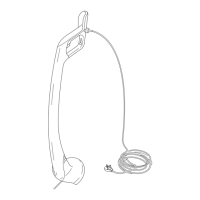
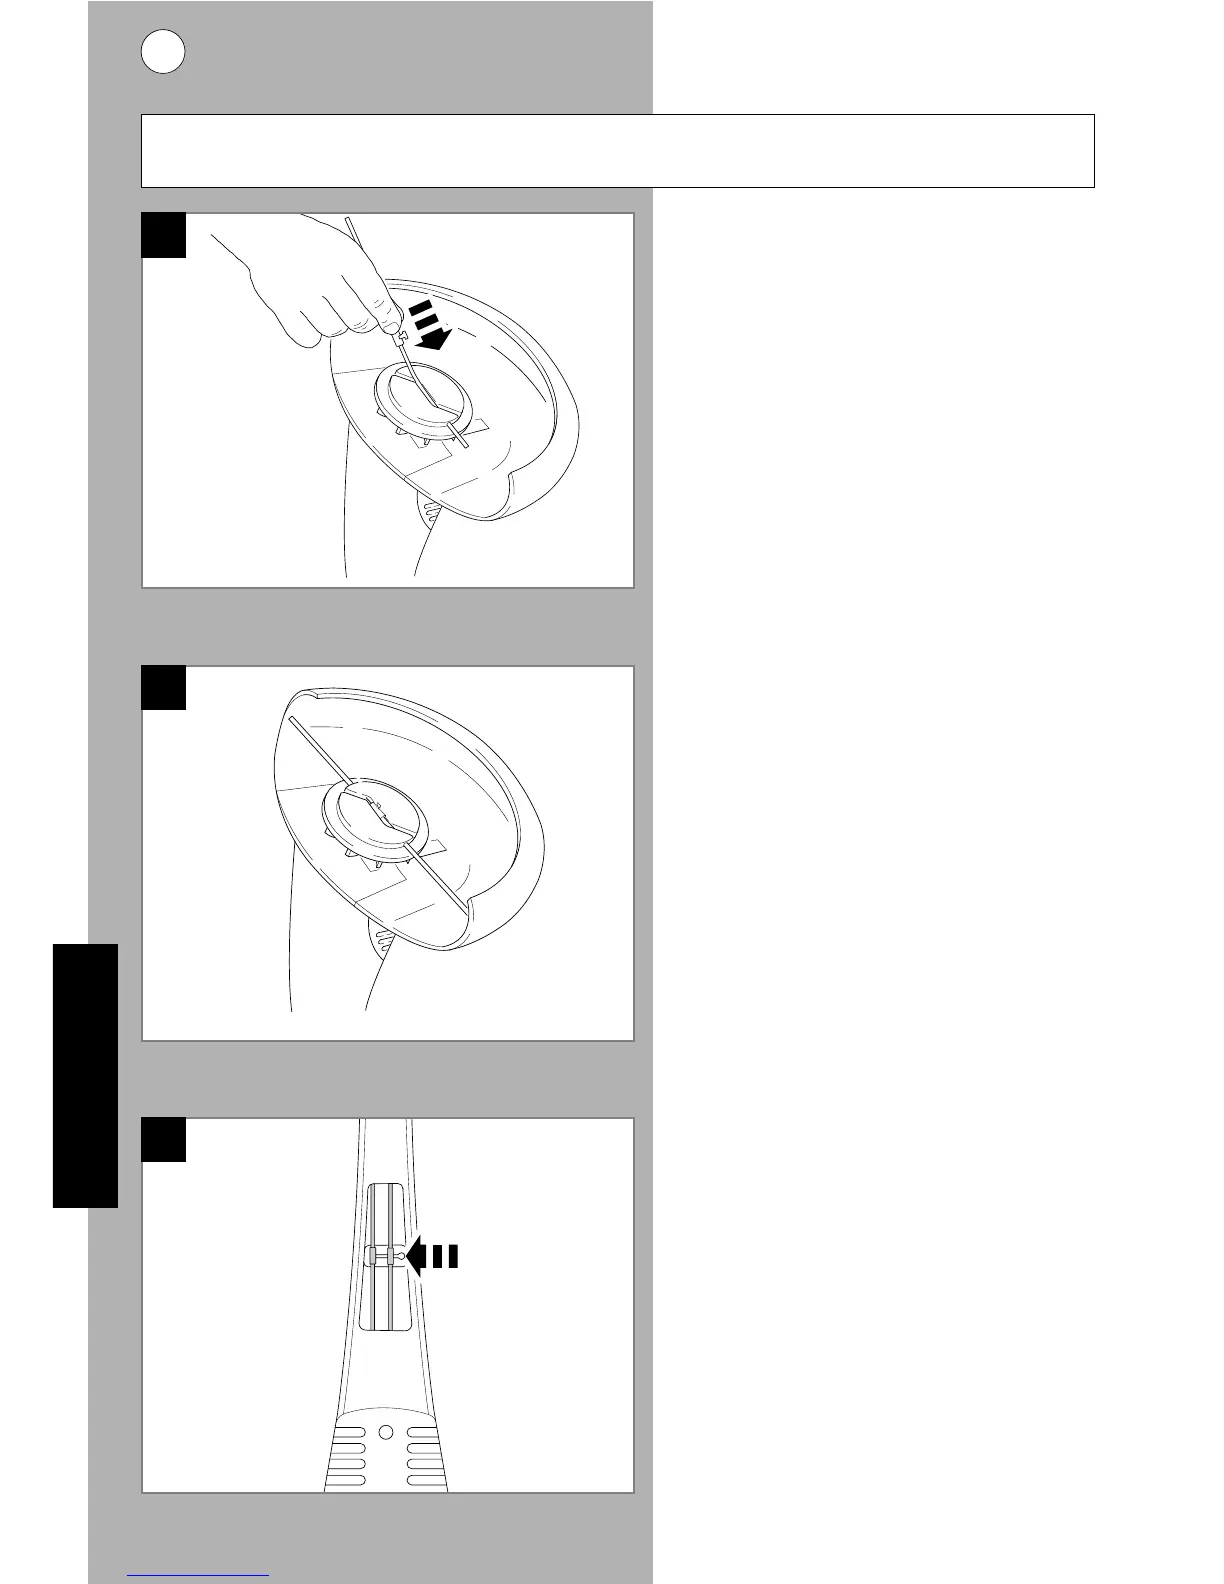
Replacing the Cutting Line
Insert one end of the cutting line
into the centre of the cutting head
and push until the end of the line
comes out at one end of the slot.
(Fig. H)
Secure the centre piece of the
cutting line into the centre of the
cutting head and guide the other
side of the cutting line along the slot
until it is securely located as
illustrated in Fig. J.
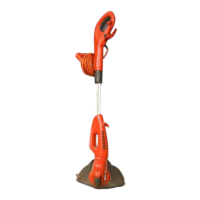
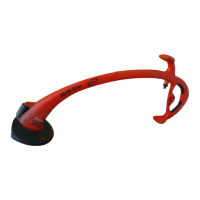
Storing the spare cutting lines.
Cutting lines can be stored in the
storage facility provided in the back
of the trimmer stem. To store your
line, insert one end of the line into
the top slot and one end of the line
into the bottom slot. Then take the
centre pip and insert it into the hole
in the middle slot and slide over to
the left as illustrated in Fig. K.