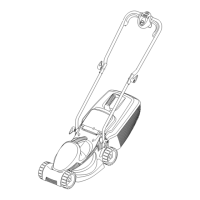
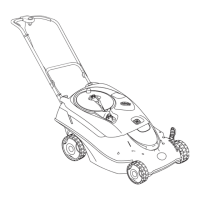
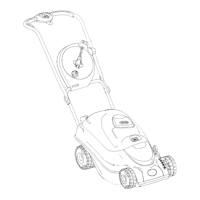
A
•The Loose Parts Pack is packaged underneath the deck.
Assembly of Lower Handles to Deck
1. Place the bolt (A2) through the hole in the lower handle
(A1) until the lower handle fits into the recess (A3)
2. Place the washer (B1) and the wing knob (B2) on to
the bolt and tighten the wing knob. It may take 20 - 25
turns to fully tighten on initial assembly.
3. Repeat on the other side.
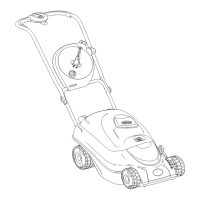
Assembly of Upper Handles to Lower Handles.
1. Ensure the upper handle is located correctly with the
lock-off button on the switchbox uppermost.
2. Ensure the upper handle (C1) and the lower handle
(C2) are aligned correctly.
4. Fit the bolts (C3), washers (C4) and wing knobs (C5).
Tighten the wing knob.
5. Fit the cable to the handles with the clips provided.
Make sure the cable is not trapped between the upper
and lower handles.
Grassbox Assembly
1. Slide the grassbox tongue into the slots in the grassbox
lower until it clicks securely into position (D)
2. Push the grassbox handle into the slots in the grassbox
upper until it clicks securely into position. (E)
3. Starting at the rear of the grassbox, locate the grass-
box upper into the grassbox lower by aligning the clips
(F1). Ensure all clips are correctly located.(F2) before
clicking into position.
4. Clip the two halves together, ensuring all clips are se-
curely connected.
Assembly Instructions
B
C
D
1
E
F1
F2
2
3
1
2
1
2
3
4
5