8
6. Before using the unit, tighten the knob se-
curely by turning clockwise.
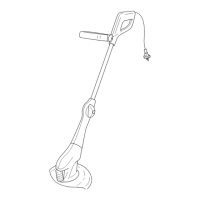
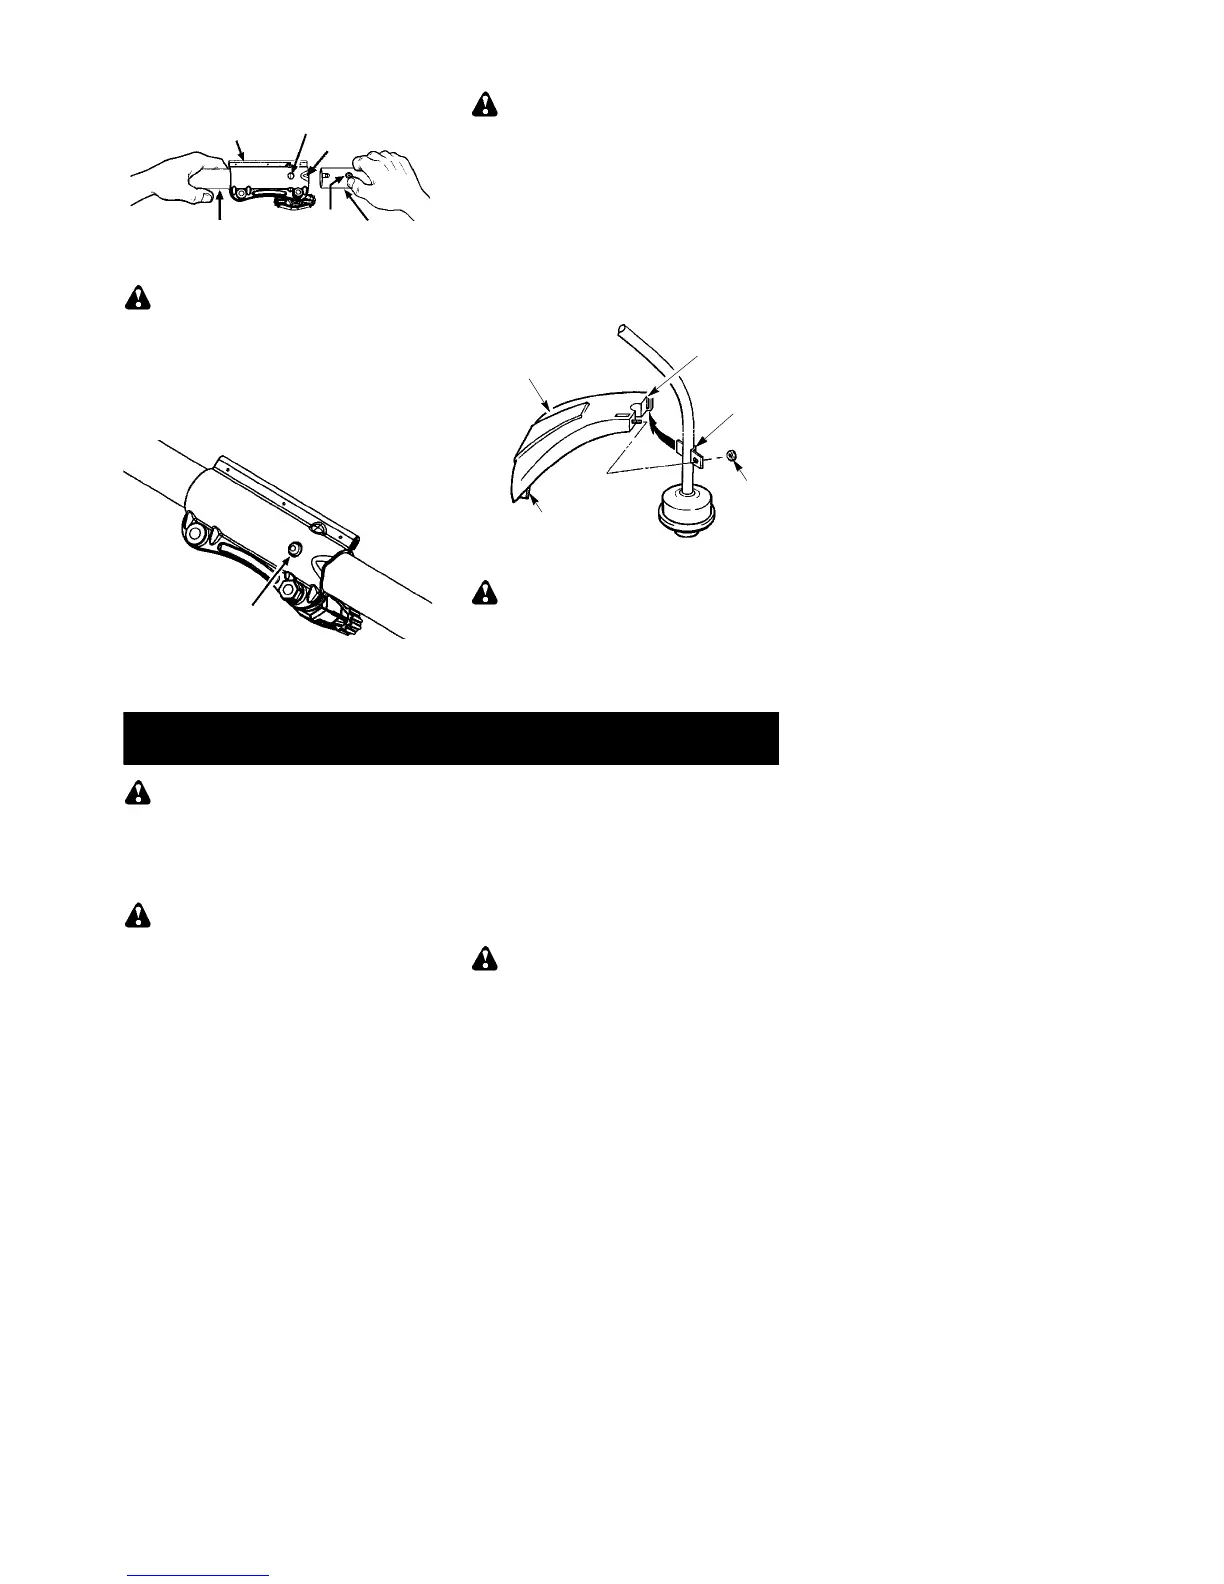
Coupler
Primary Hole
Upper
Shaft
Locking/
Release
Button
Attachment
Guide Recess
WARNING: Make sure the locking/
release button is locked in the primary hole
and the knob is securely tightened before op-
erating the unit. Al l atta c hmen ts are designed
to be used in the primary hole unless otherwise
stated in the applicable attachment instruction
manual. Using the wrong hole could lead to seri-
ous injury or damage to the unit.
Locking/Release
Button in Primary Hole
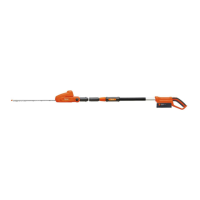
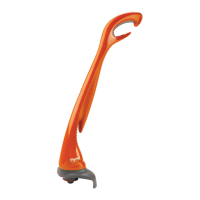
For optional attachments, see the AS-
SEMBL Y section of the applicable attach-
ment instruction manual.
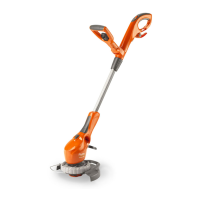
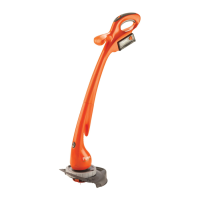
ATTACHING THE SHIELD
WARNING: The shield must be prop-
erly installed. The shield provides partial
protection from the risk of thrown objects to
the operator and others and is equipped with
a line limiter which cuts excess line. The line
limiter (on underside of shield) is sharp and
can cut you.
1. Remove nut from shield.
2. Insert bracket into slot on shield.
3. Pivot shield until bolt passes through hole
in bracket.
4. Reinstall nut and tighten securely with
wrench (provided).
Slot
Shield
Nut
Bracket
Line Limiter Blade
ADJUSTING THE HANDLE
WARNING: When adjusting the han-
dle, be sure it remains between the trigger
and the safety label. Assist handle must be
positioned only below the arrow.
1. Loosen wing nut on handle.
2. Rotate the handle on the shaft to an up-
right position; retighten wing nut.
OPERATION
WARNING: Be sure to read the fuel
information in the safety rules before you be-
gin. If you do not understand the safety rules,
do not attempt to fuel your unit. Contact an
authorized service dealer.
FUELING ENGINE
WARNING: Remove fuel cap slowly
when refueling.
This engine is certified to operate on unleaded
petrol. Before operation, petrol must be mixed
with a good quality 2--cycle air--cooled engine oil
designed to be mixed at a ratio of 40:1. A 40:1
ratio is obtained by mixing 5 liters of unleaded
petrol with 0,125 liter of oil . DO NOT USE auto-
motive oil or marine oil. These oils will cause en-
gine damage. When mixing fuel, follow instruc-
tions printed on oil container . Once oil is added
to petrol, shake container momentarily to assure
that the fuel is thoroughly mixed. Always read
and follow the safety rules relating to fuel before
fueling your unit.
CAUTION: Never use strai g h t pe tr o l i n your
unit. This will cause permanent engine damage.
FUEL REQUIREMENTS
Use good quality unleaded petrol. The lowest
recommended octane grade is 90 (RON).
IMPORTANT
Use of alcohol blended fuels (more than 10% al-
cohol) can cause major engine performance
and durability problems.
WARNING: Incorrect use of fuel and/
or lubric ants will caus e problems suc h as:
improper clutc h engagements, overheat-
ing, vapor lock , power loss , lubric ation defi-
cienc y, deterioration of fuel lines , gask ets
and internal carburetor c omponents, etc .
Alc ohol blended fuels w ill c aus e a high ab-
sor ption of moisture in the f uel/oil mixt ure,
caus ing the separ ation of oil and fuel.
HOW TO STOP YOUR UNIT
S To stop the engine, move the ON/STOP
switch to the STOP position.