Storage Tips
1. Park your RV on a level surface.
2. Winterize the chassis and the generator (optional)
as outlined in the chassis’s and the generator’s
owner’s manuals.
3. Clean your recreational vehicle thoroughly, inside
and out, as previously outlined in the section.
4. Turn off all electrical switches and appliances.
5. Close all shades and curtains. Consider protecting
the curtains from sun fade by placing foil or paper
between the windows and the screens.
6. Be sure all windows, doors and vents are securely
closed. Cover exterior appliance vents to prevent
moisture and insects from entering during storage.
7. Check the interior of the RV periodically to be sure
leaks have not developed or that condensation has
not formed, causing damage to interior compo-
nents. Condensation can most readily be observed
as moisture accumulation on windows and mirrors.
To reduce the possibility of condensation, air out the
RV occasionally during storage.
8. Be sure that both the chassis and auxiliary batteries
have the proper electrolyte level and that they are
fully charged. A discharged battery will freeze and
crack the case. In storage, a battery will gradually
lose charge after 30–45 days, even when discon-
nected by the battery disconnect switch. We recom-
mend that you check the battery for charge once a
month. If the charge is 80% or less, it must be
recharged. You may wish to remove the battery and
store it in a heated area. However, even when
warm, the battery level must be maintained.
9. Be sure the tires are inflated to correct pressure
and check periodically.
10. Keep the roof free from snow and ice. Check it peri-
odically and after a heavy snowfall.
Winterize the water systems and protect exterior hoses
and lines from freezing. Follow the winterizing procedure
outlined in the Plumbing section. Also follow all compo-
nent manufacturers’ instructions regarding their particular
products. (If their procedure differs from this manual, fol-
low the component manufacturer’s instructions.)
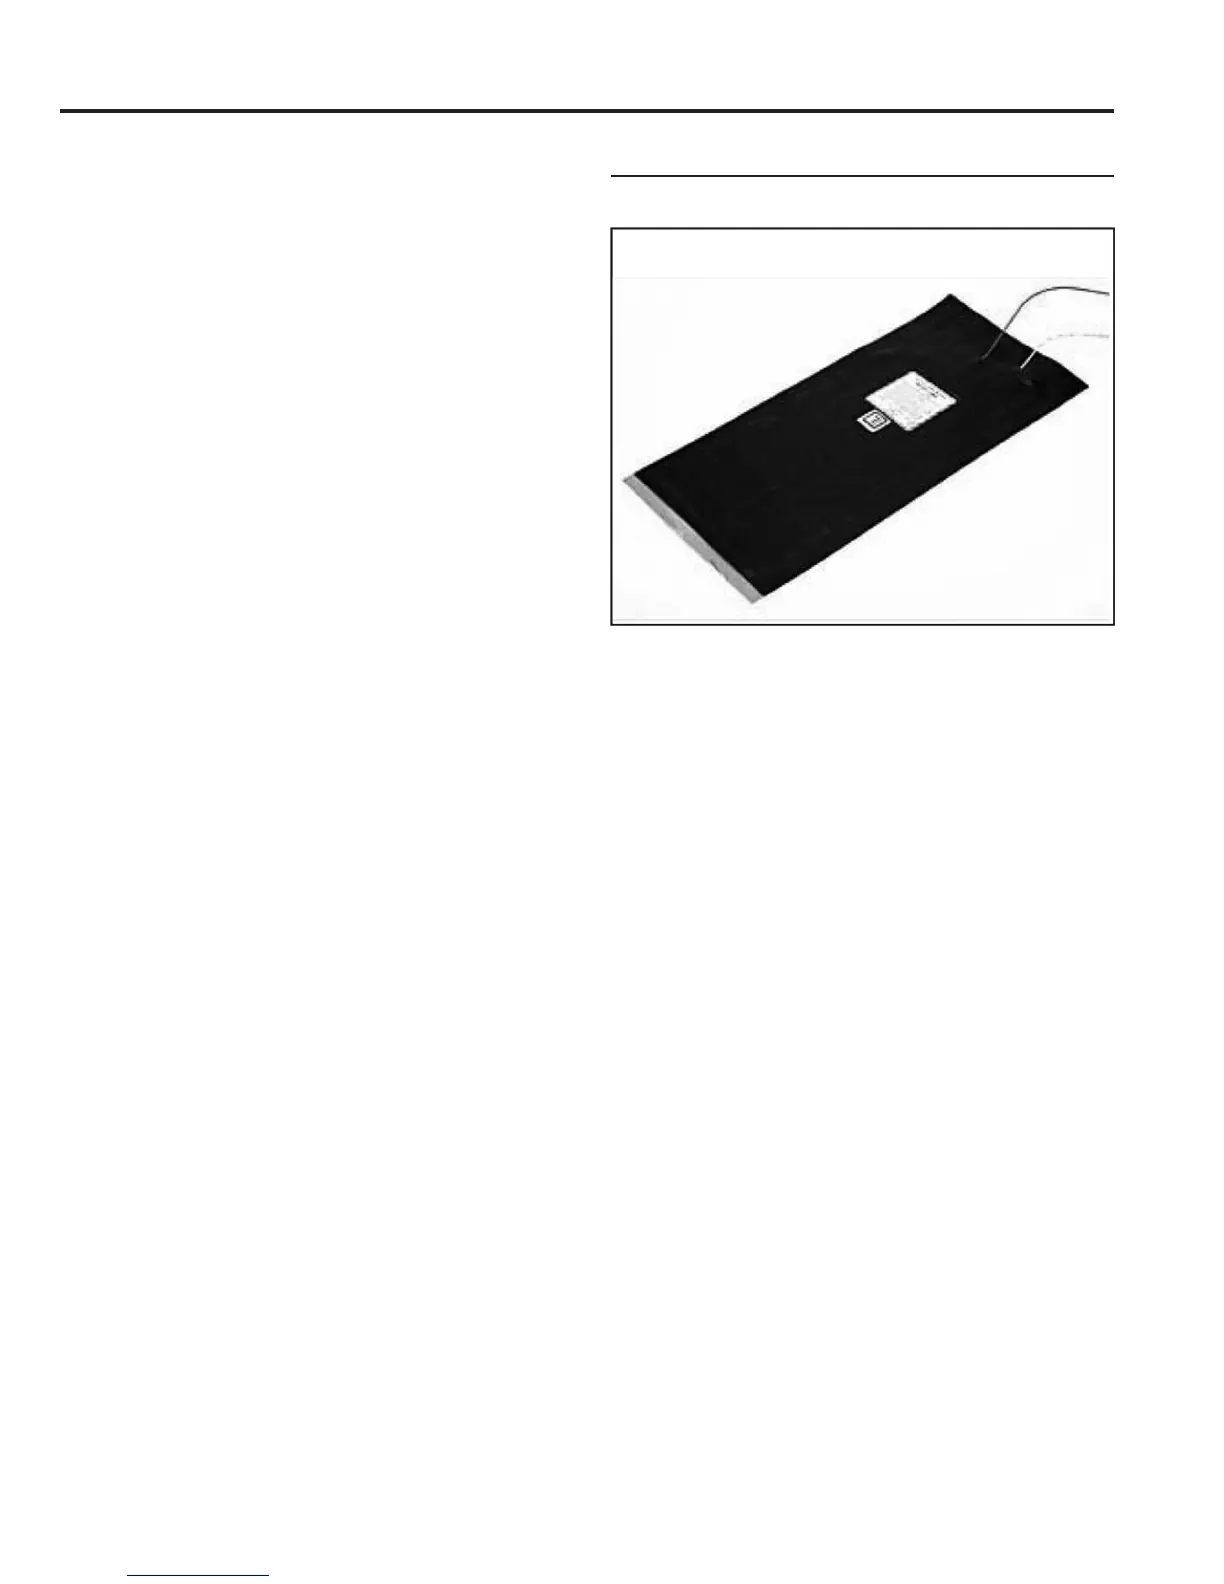
Heating Pads
1. When the outside temperature is near freezing, sim-
ply turn ON the holding tank heater’s 12 VDC power
switch and/or plug in the 120 VAC power cord.
2. There must be liquid in the holding tank, pipes, and
elbows when UltraHeat™ heaters are ON.
3. The tank heater immediately starts protecting your
holding tank from freezing up.
4. The thermostat on the heater will turn ON the tank
heater as soon as the tank temperature drops to
44° F (7° C). The tank heater immediately starts
protecting your holding tank. When the temperature
in the holding tank rises to 64° F (18˚ C), the tank
heater will automatically turn OFF.
5. If using a generator or other power source, which
exceeds the heater’s voltage requirements, turn the
heater OFF and/or unplug the power cord to avoid
eventual damage to the heater’s thermostat.
6. Turn the power switch OFF (and/or unplug the
power cord on the Dual Voltage Model) when the
outside temperature is above freezing.
7. Failure to follow these operating instructions could
result in the voiding of your warranty. (The control is
generally located in the command center.)
NOTE:
Tank heaters are thermostatically controlled. This prod-
uct has been tested and designed to be used as a heat-
ing device for RV fresh water supply and waste water
holding tanks made of standard grade plastics. Ultra-
Heat, Inc. assumes no liability for any usage of product
for purpose other than what is consistent with the origi-
nal design and testing.
CARE AND MAINTENANCE
54