6
WWW.FORNEYIND.COM
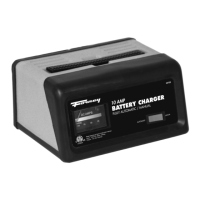
Wheel Charger Assembly Instructions:
NOTE: Charger must be assembled before operating
Parts Tools
(2)10-32 screws 5/16" wrench
(2) 1/4-20 screws 3/8" wrench
(2) wheels Hammer
(2) axle caps Screwdriver
(1) handle
(1) mounting foot
(1) axle
Tools necessary
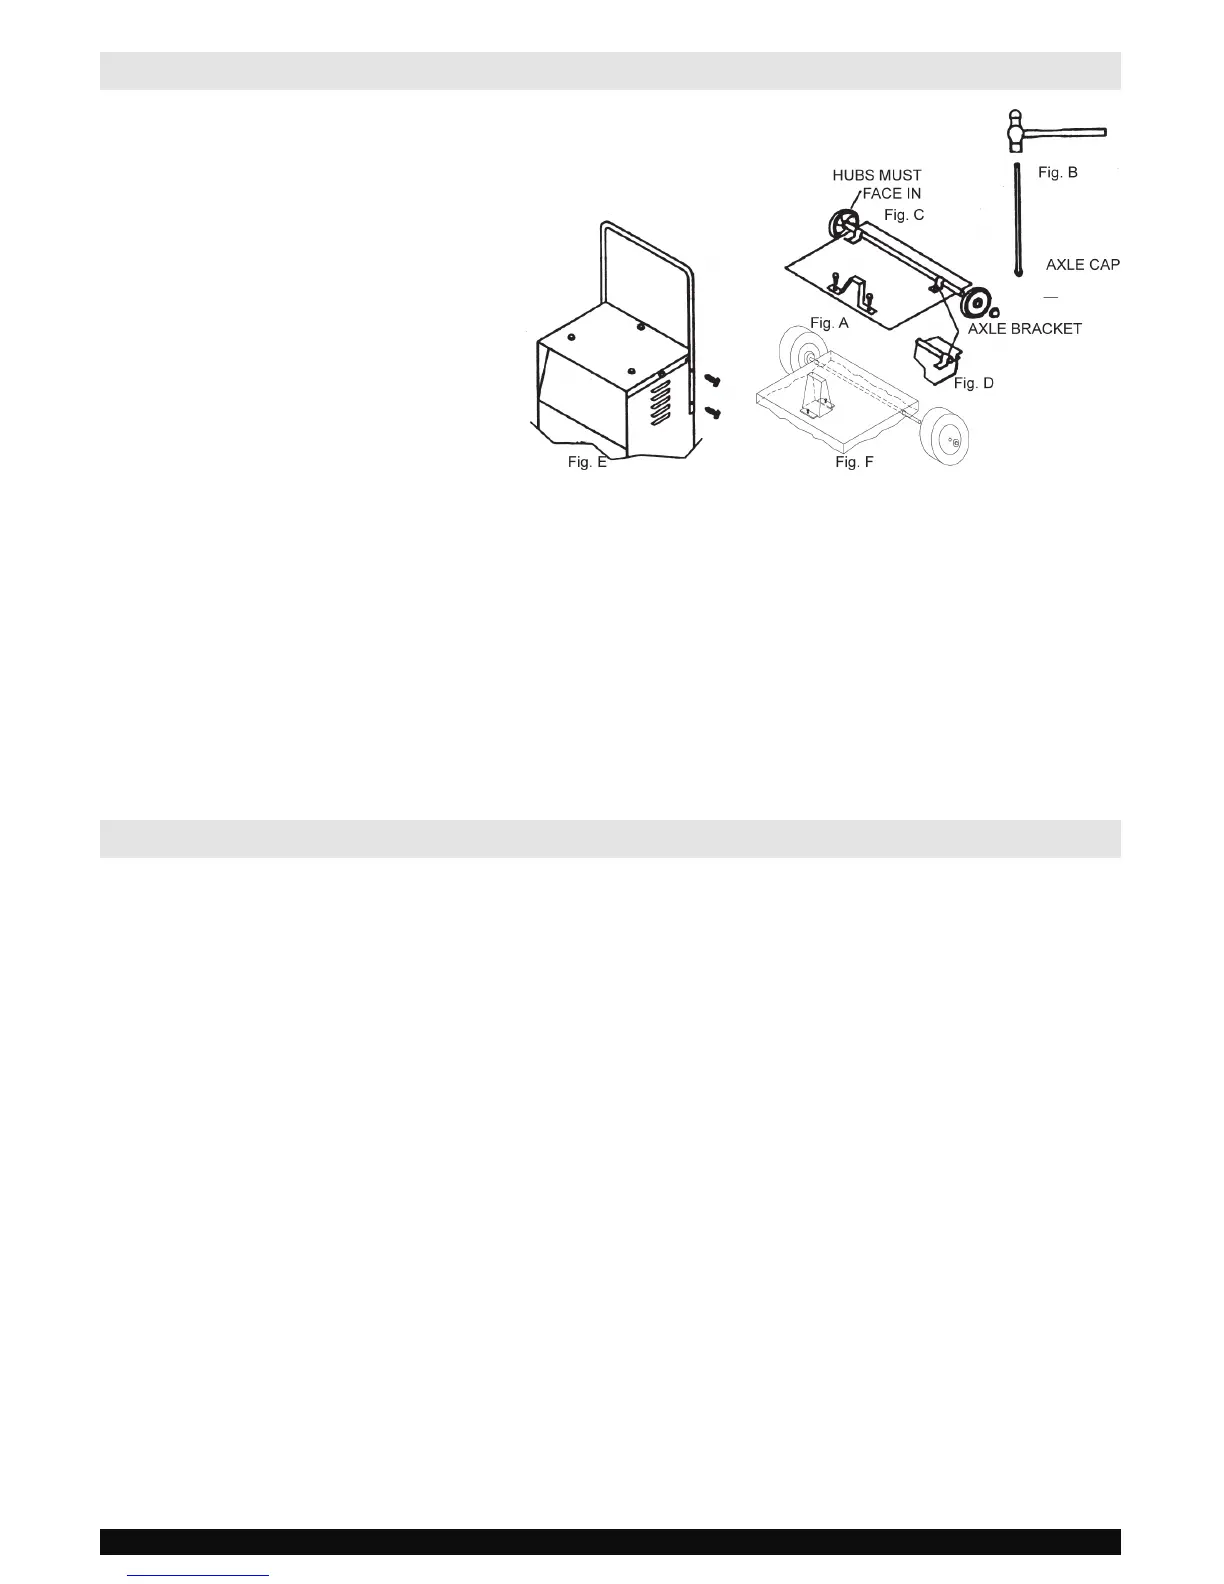
1. First place the charger on it side.
2. Next mount the mounting foot FIG. A with (2) 1/4-20 screws, or FIG. F with (2) 10-32 screws.
3. Next pound the axle firmly into an axle cap using a hammer FIG. B.
4. Slide one wheel onto the axle with hub facing in, as shown in FIG. C.
5. Poke above assembly thru holes in charger back until axle sticks out of the other end.
6. Turn charger on its other side.
7. Slide wheel and pound cap onto the axle end.
8. Next turn the charger right side up onto its foot and wheels.
9. Remove the (2) top screws from each side of the charger, line up the handle and reinstall the screws FIG. E.
ASSEMBLY INSTRUCTIONS
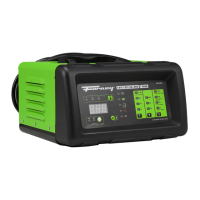
CONTROL PANEL
Charge Rate Selector Switch
Use the Charge Rate selector switch to select the
charge rate or engine starting setting you require.
• 2A Slow Charge Rate – Intended for charging small
batteries such as those commonly used in garden
tractors, snow mobiles and motorcycles.
• 30A Fast and 60A Rapid Charge Rate – Use
for charging automotive, marine and deep-cycle
batteries. Not intended for industrial applications.
• 200A and 300A Engine Start – Provides 200 or 300
amps for cranking an engine with a weak or run down
battery. Always use in combination with a battery.
Timer
• Timer Setting: The timer allows you to set a specified
time for charging. After the timer expires, the charger
stops charging your battery. The main function of
the timer is to prevent over charging while allowing
a battery time to obtain a satisfactory charge. To
properly set the timer, you must know the size of
the battery in ampere hours or reserve capacity in
minutes and the state of charge. It is important that
you determine the appropriate state of charge of
your battery as specified in Section "CALCULATING
CHARGE TIME" and set the timer accordingly.
• Hold: This position defeats the timer function,
allowing for continuous operation. Be sure to
monitor the charging progress and stop it when
the battery is charged. Not doing so may cause
damage to your battery or may cause other
personal property damage or personal injury.
Ammeter
The Ammeter indicates the amount of current,
measured in amps, that is being drawn by the battery.
As a battery takes on a charge, it draws less current
from the charger. Correspondingly, the meter will show
less current being drawn by the battery. When the
current stops decreasing, the battery is charged. The
start area of the meter indicates a high rate of current
being drawn from the charger. When cranking an
engine, the meter needle will be at the extreme right
side of the start area. The 2 amp charge rate may
indicate some activity on the meter, although the meter
does not have the resolution to display this low rate.