1414 15
Deployment through a FortiGate
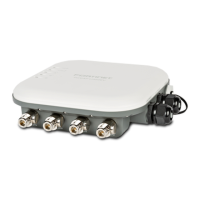
B
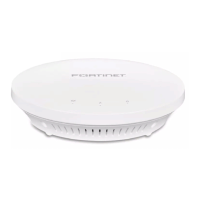
If your FortiGate is on the same network as your FortiAP:
1. Preauthorize your FortiAP device using your FortiGate. If you are not familiar with
deploying a FortiAP using your FortiGate, refer to the “Access Point Deployment”
section of the Deploying Wireless Networks Guide found at http://docs.fortinet.com.
2. Plug your FortiAP into your local Ethernet connection. The FortiAP will self-configure.
Or
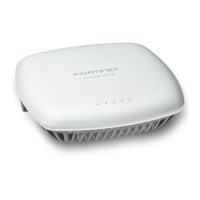
1. Instead of preauthorizing, you can authorize your FortiAP via the FortiGate after you
have connected the FortiAP to your local Ethernet.
2. Within two minutes of connecting the FortiAP to your FortiGate, the device will
appear on the Managed FortiAP page in the Web-based Manager: authorize the
device and assign a profile to the device.
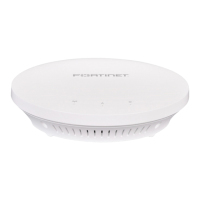
If your FortiGate is not on the same network as your FortiAP:
1. Log in to the FortiAP directly (IP address: 192.168.1.2) with username admin and no
password, and specify the IP address of the controlling FortiGate.
2. Connect to the FortiAP via the CLI using the instructions in the “Connecting to
FortiAP CLI” section of the Deploying Wireless Networks guide.
3. Specify the IP address of the controlling FortiGate:
cfg -a AC_IPADDR_1=0.0.0.0
cfg -c
where 0.0.0.0 is the address of the FortiGate.
4. The FortiAP will connect to the FortiGate, and then you can authorize the FortiAP.
1. Visit http://www.forticloud.com and sign in or create a new account.
2. Click the “Add Device” link, enter the unique FortiCloud key located on your FortiAP
device, then click Submit.
3. Deploy the FortiAP to an existing AP network, or create a new AP network, then click
Submit.
4. Follow the prompts to associate the FortiAP device to an SSID.
5. Connect your FortiAP to an Internet connection. This can be a modem or another
source of Internet connectivity. The FortiAP will self-configure.
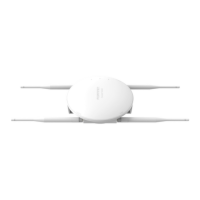
FortiCloud
A
 Loading...