PREPARATION GAGGLE
®
4 ASSEMBLY
Carefully remove and lay out all hardware and parts. Check quantities and
match the parts list. Construct the Gaggle Buggy on an even at oor.
Note: During the assembly process whenever using nuts or bolts, Check
each with the parts list by letter and size identication. Place each nut or
bolt on the diagram of the item which is sketched actual size. Be sure to
use the proper size specied in the assembly directions. If any parts are
missing or broken or you need assistance with assembly
DO NOT return your product to the dealer. Please identify the Gaggle
Buggy by the model number identication label on the bottom of the frame
when you call or write to Foundations. Make note of all identification
numbers and include this information with your request.
DO NOT Substitute Parts! Only replacement parts supplied or
recommended by the manufacturer or distributor shall be used.
SUGGESTED TOOLS
1/2 in. wrench and 1/2 in. socket and matching ratchet wrench.
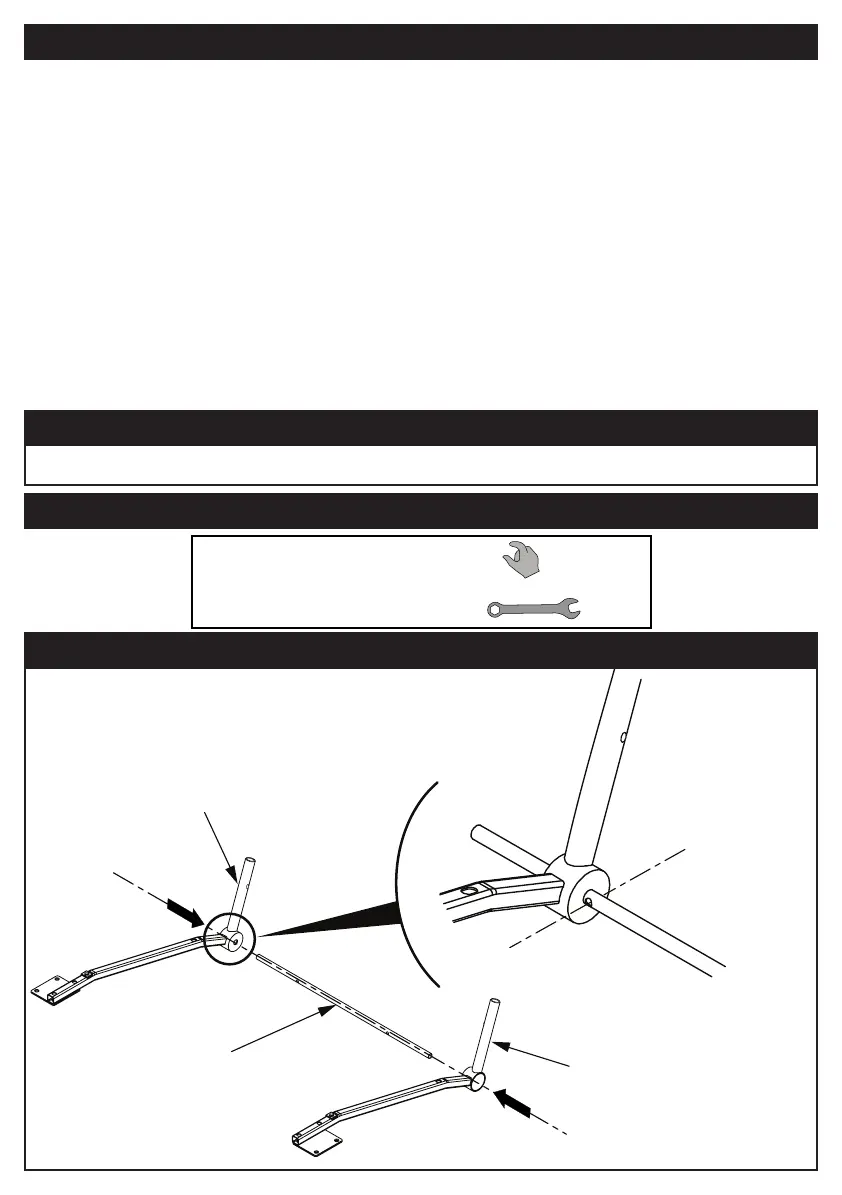
STEP 1
G
D
E
ASSEMBLY LEGEND
Hand tighten only:
Tighten fully with wrench:
5