42
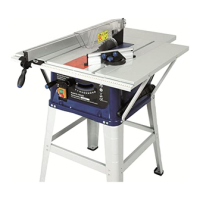
Align the three holes of each extensions with the three holes of the workbench on one of the
lateral sides of the workbench (Fig. 13, 14, 15 e 16).
Use the six screws and nuts M6 x 15 to fix these two extensions.
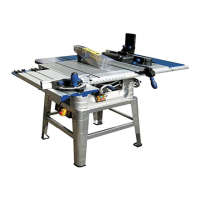
To assemble the four bearings of the extensions, use 8 screws M6x15, the lock washers M6,
the corresponding nuts, and the 16 washers. You must assemble them outside to inside: the
screws towards the inside, then the washer, the extension and the bearing, then the washer,
the spring washer and the nut.
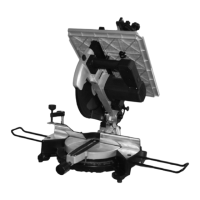
4) Assemble the left rail to the front side of the left extension and to the front side of the
workbench with the M5 x 12 screws, the M5 washers, the spring washers and the
corresponding nuts.
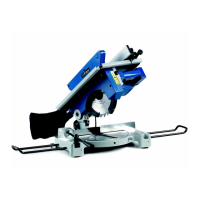
5) Check the correct functioning of the rip fence by placing the fence in the front rail groove
and by tightening the its handle anti-clockwise to lock it. Loosen the fence to check if it
slides normally.
6) Assemble the rail to the right side of the machine with the ends aligned to the ones of
the left rail by following the same procedure previously described.
ASSEMBLY OF WORKBENCH EXTENSIONS
ASSEMBLY OF FRONT RAILS